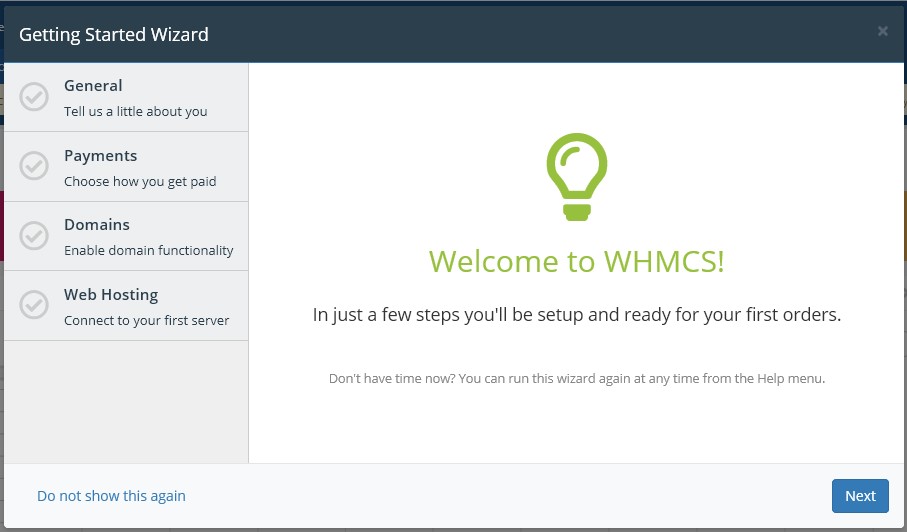
On your first visit to your WHMCS admin area you'll see the Getting Started Wizard - this walks you through setting up some of your business details, a payment gateway, adding a way for clients to purchase and manage domains through your WHMCS and connecting WHMCS to your WHM web hosting server.
On the first screen you can simply click Next
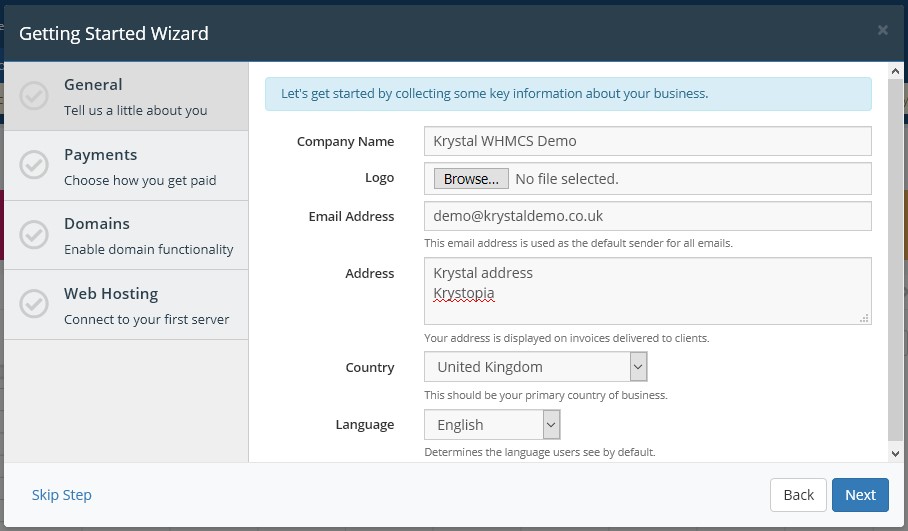
On the General tab you can enter details as appropriate - whatever you enter here will be reflected on your client facing WHMCS site - including your company name and any logo you upload. Click Next to continue.
On the Payments tab you can select from a limited number of payment providers. There are many more available to add within WHMCS including support for Stripe and others. If you'd like to setup PayPal or Mail-in payment you can do so here. You can click Next to continue or Skip Step if you'll setup a Payment Gateway later.
On the Domains tab you can decide whether you'd like to sell domains. WHMCS provide a link to setup a free eNom account. Krystal also offer a WHMCS Provisioning/Reseller module which allows you to sell domains to your clients and have those domains purchased and managed within your Krystal Client area. Setup WHMCS domain provisioning using the Krystal Domain Reseller Module If you wish use the Krystal module, then simply click Skip Step - or continue to Enable Domains and setup an eNom account.
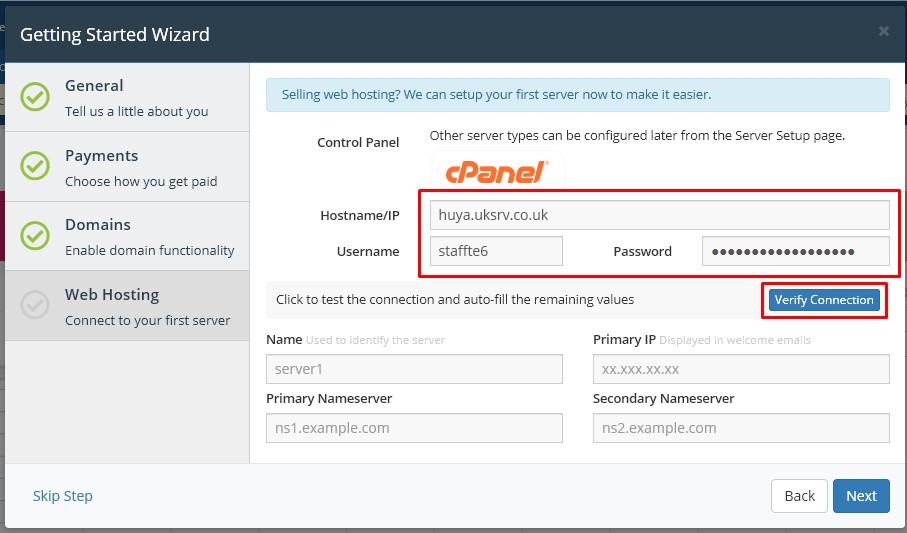
The Web Hosting tab is where you link your WHMCS install to WHM - so that it can provision/terminate/manage your clients hosting accounts.Here you'll need to enter your server hostname or IP address along with your WHM username and password - which you'll find in your welcome email. Click Verify Connection to ensure the details are correct.You can either enter Krystal's Nameservers in the Primary & Secondary nameserver boxes, or if you've setup custom name servers you can enter them. If you wish to setup custom name servers, but haven't done so yet - you can change them later in WHMCS >> Setup >> General Settings >> Domains - in the Default Nameserver fields.
Click Next one last time to complete the WHMCS Setup Wizard