create a MySQL database and user for WHMCS. Required permissions for the MySQL user are DELETE, INSERT, SELECT, UPDATE, LOCK TABLES and additionally during installation, upgrade, activating & deactivating modules ALTER, CREATE, DROP & INDEX.
For the purposes of this guide, WHMCS will ultimately be accessible directly on your apex domain URL e.g. https://example.co.uk. Should you wish to install WHMCS within a folder e.g. https://example.co.uk/whmcs you can do so - just create and upload the WHMCS files to the folder you'd like to use in Step 7 - and be sure to adjust any URLs in other guides to include your folder if necessary. Likewise, WHMCS can also be installed in a sub-domain if you create that first.
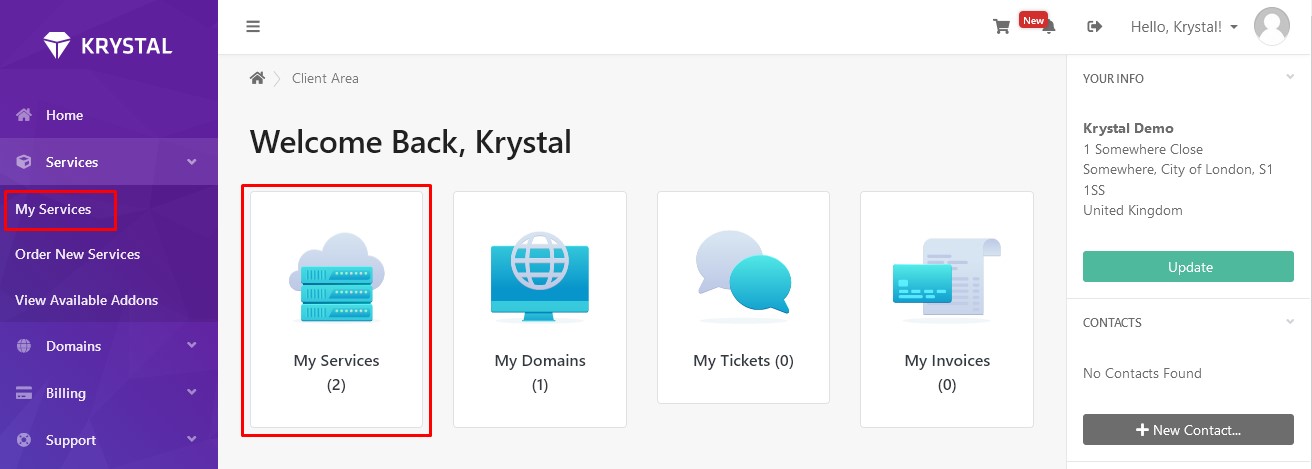
Within your Krystal client area - click on the My Services icon or click Services > My Services on the menu to view your current plans.
Identify your reseller package and click the Manage button
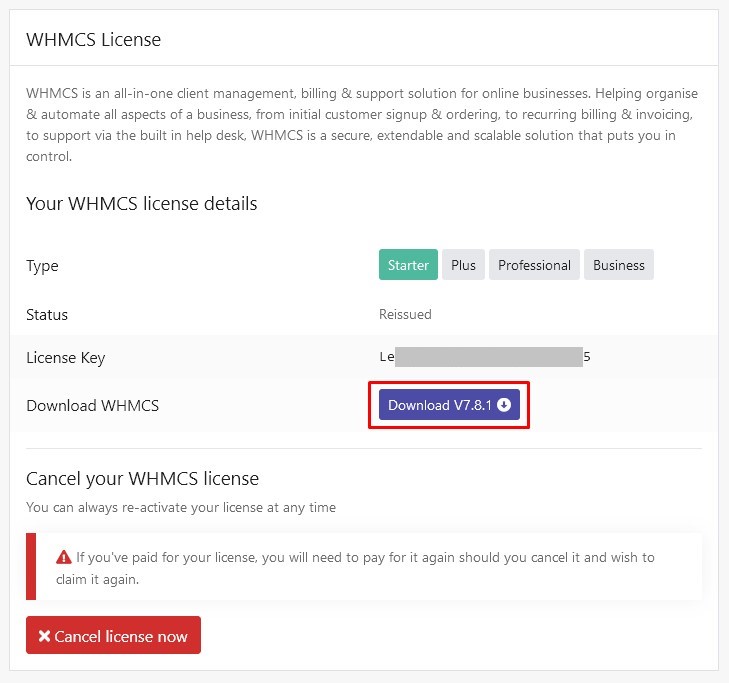
Towards the bottom of the page, you'll find the WHMCS License section. Click the Download Vx.x.x button. It's also worth taking note of your License key at this point as you'll need it in Step 11.
Find the downloaded WHMCS_vxxx_full.zip file on your system and extract the zip file using your preferred zip tool.
Within the extracted folder you'll see a whmcs directory - upload the contents of this directory to the /public_html directory (or folder) where you want to setup WHMCS using an FTP client. Alternatively, you could select all the files/directories inside the whmcs folder and zip them up, upload that .zip file to your /public_html directory (or another folder) using cPanel File Manager and then un-zip it once it's uploaded (then delete the zip file you uploaded).
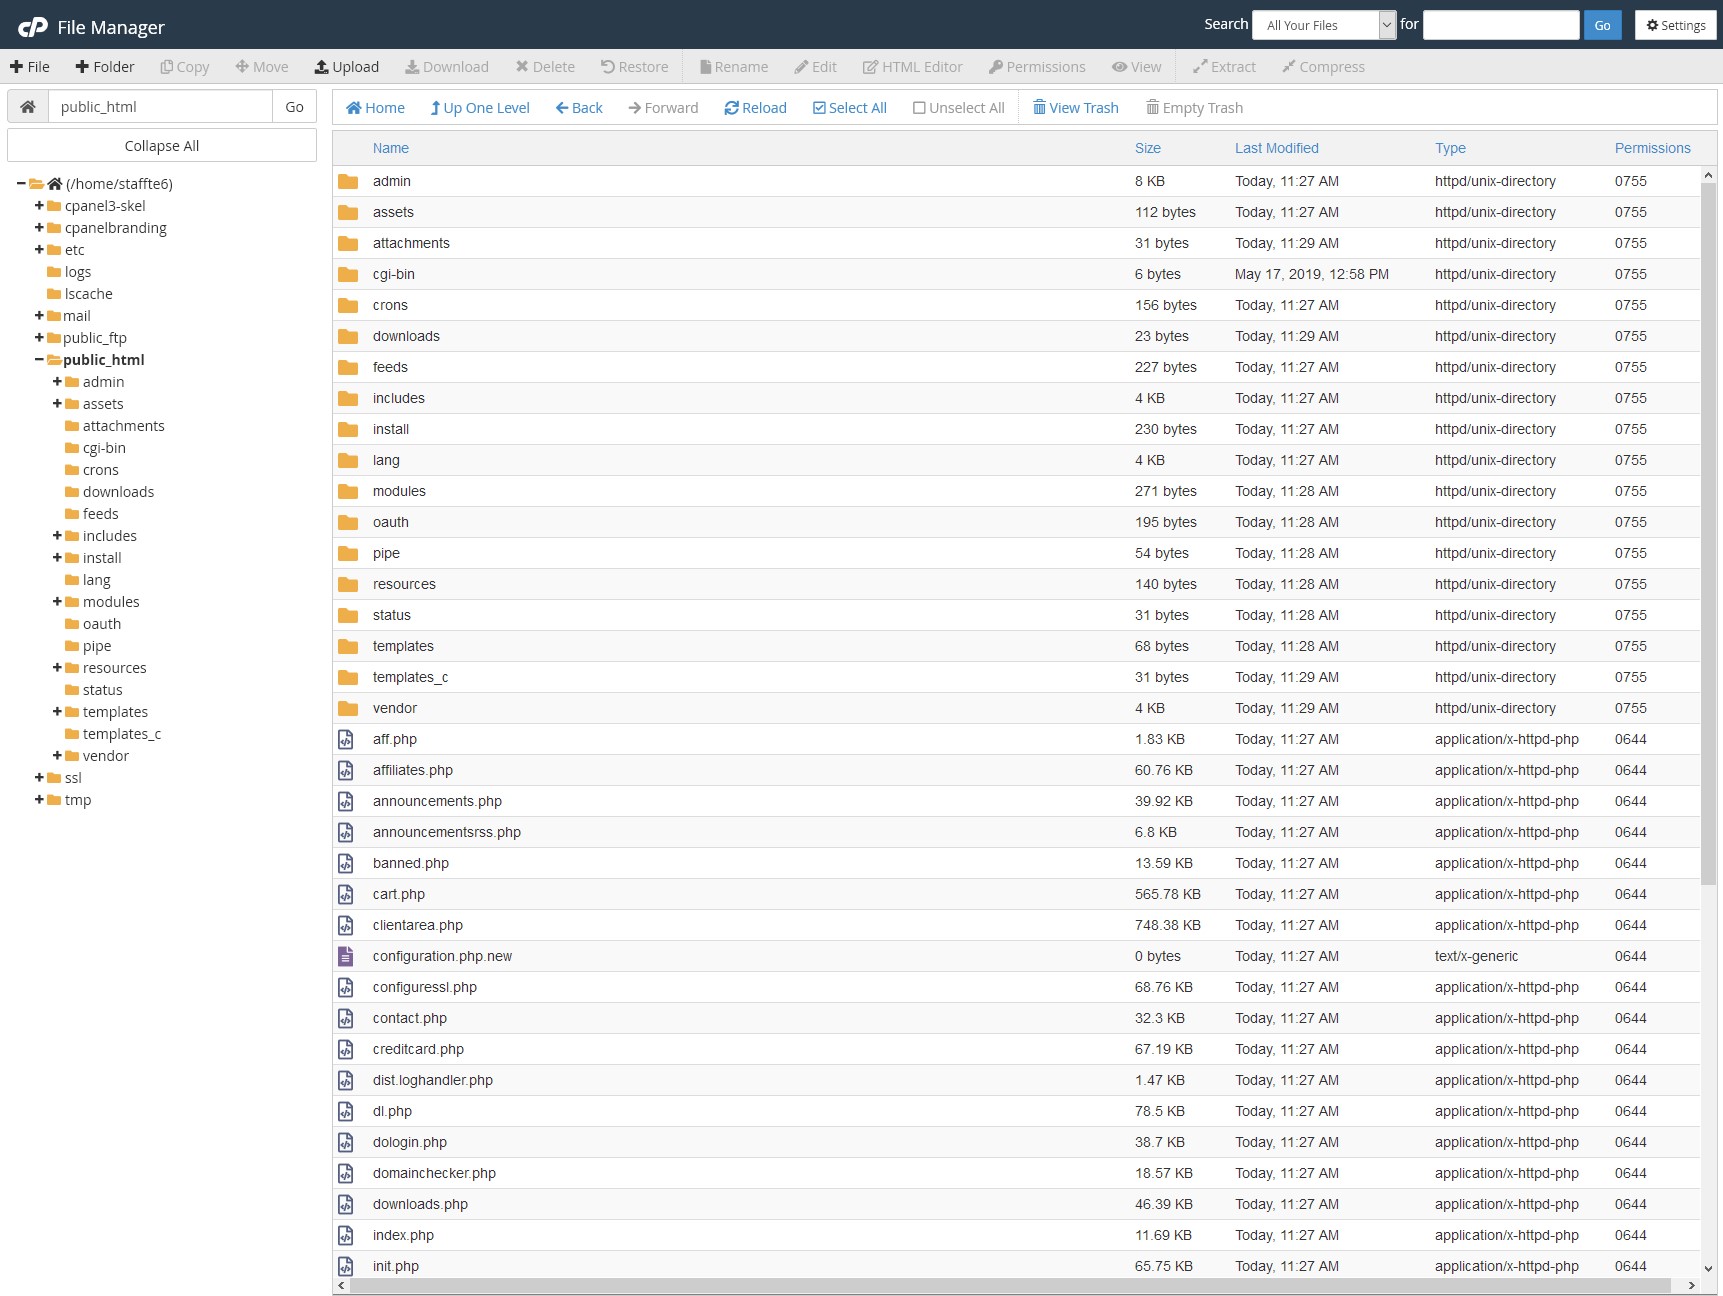
Your server view within cPanel File Manager or your FTP client once you've uploaded WHMCS should look something like this - with the admin and other files/directories directly inside your /public_html directory (or another folder).
Working on the server - find the file name configuration.php.new and rename it to configuration.php
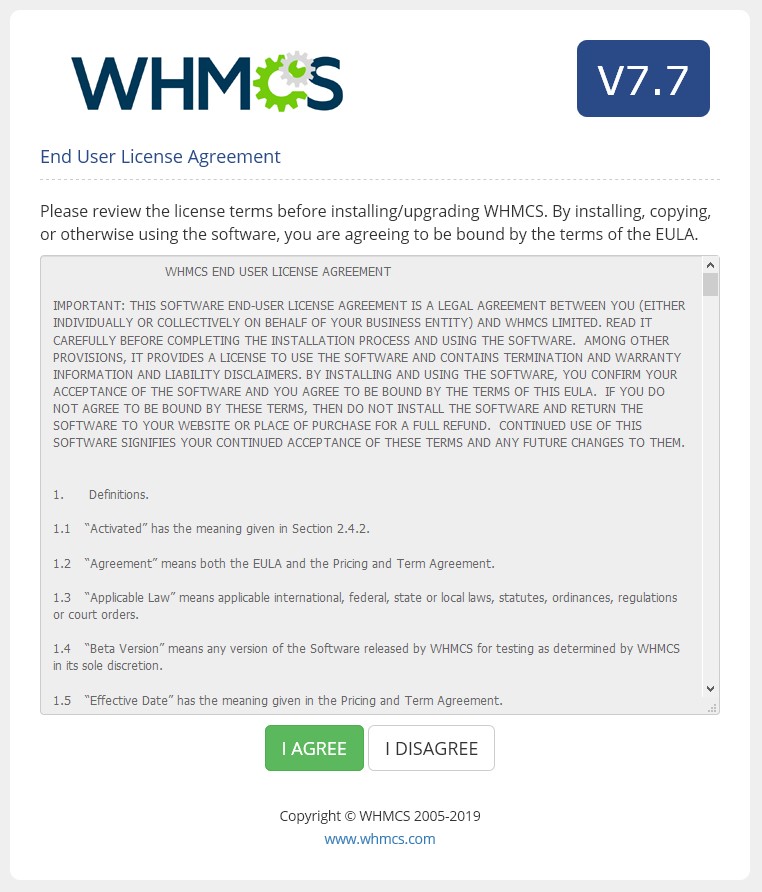
Once you've uploaded the files you should visit https://your-domain.co.uk/install - replacing your-domain.co.uk with your actual domain.Click the I Agree button to accept the license agreement.
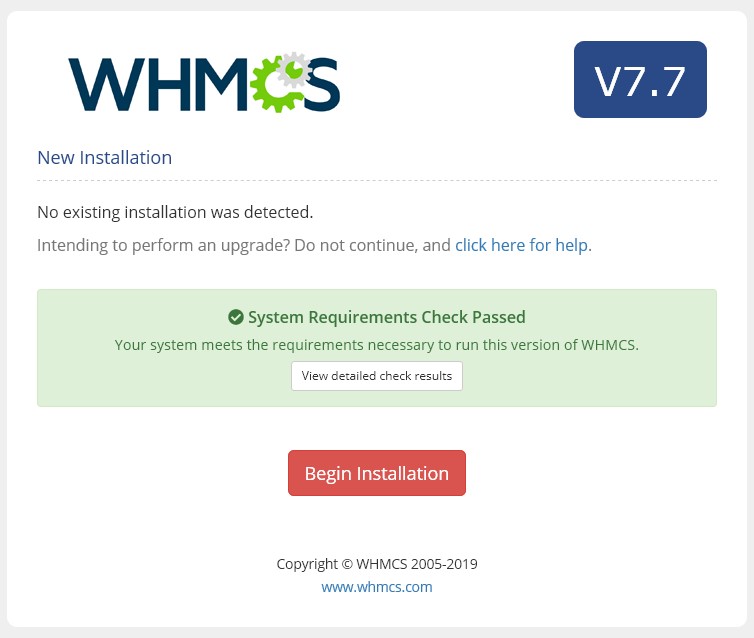
WHMCS will perform some System Requirements checks and if all pre-requisite steps have been completed successfully it should pass.Click Begin Installation to continue.
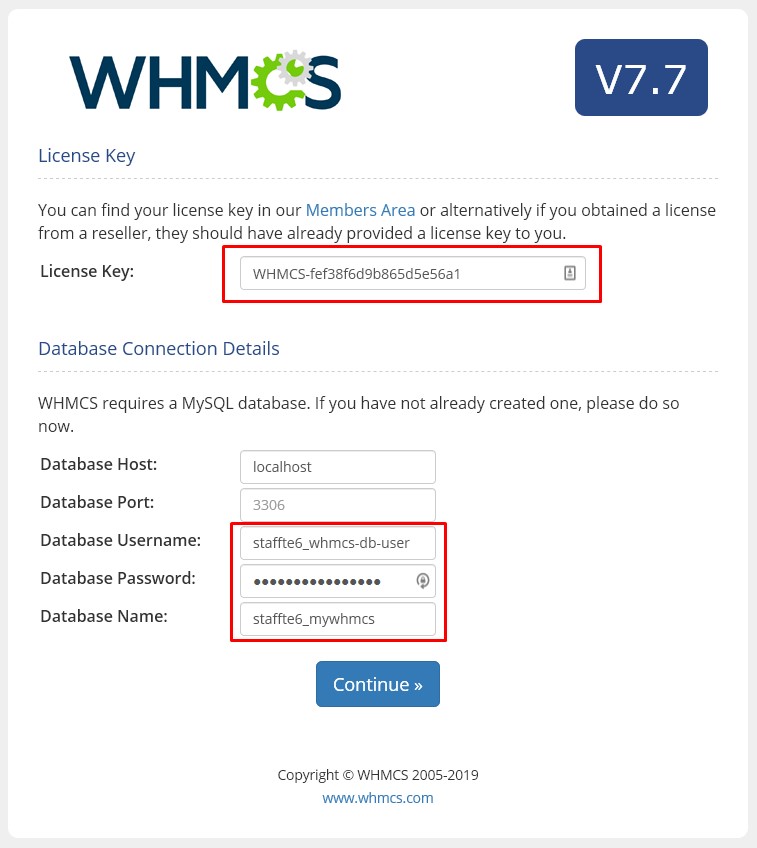
You'll now need your WHMCS license key, and the details of the database and database user you created in the pre-requisites.Enter the WHMCS license key, Database Username, Database Password and Database Name for the MySQL database and user you created. Click Continue.
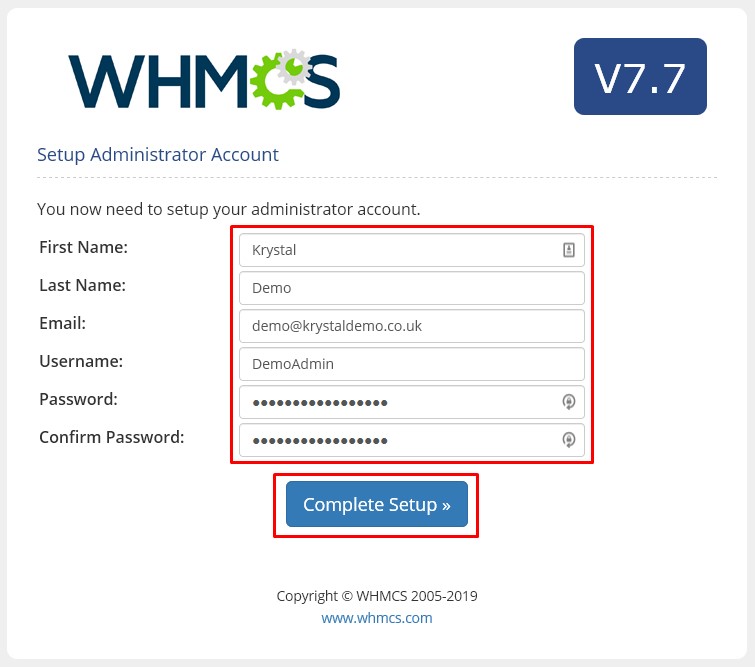
You'll now be prompted to set up the WHMCS Admin user.Enter all the details required and click Complete Setup to continue.
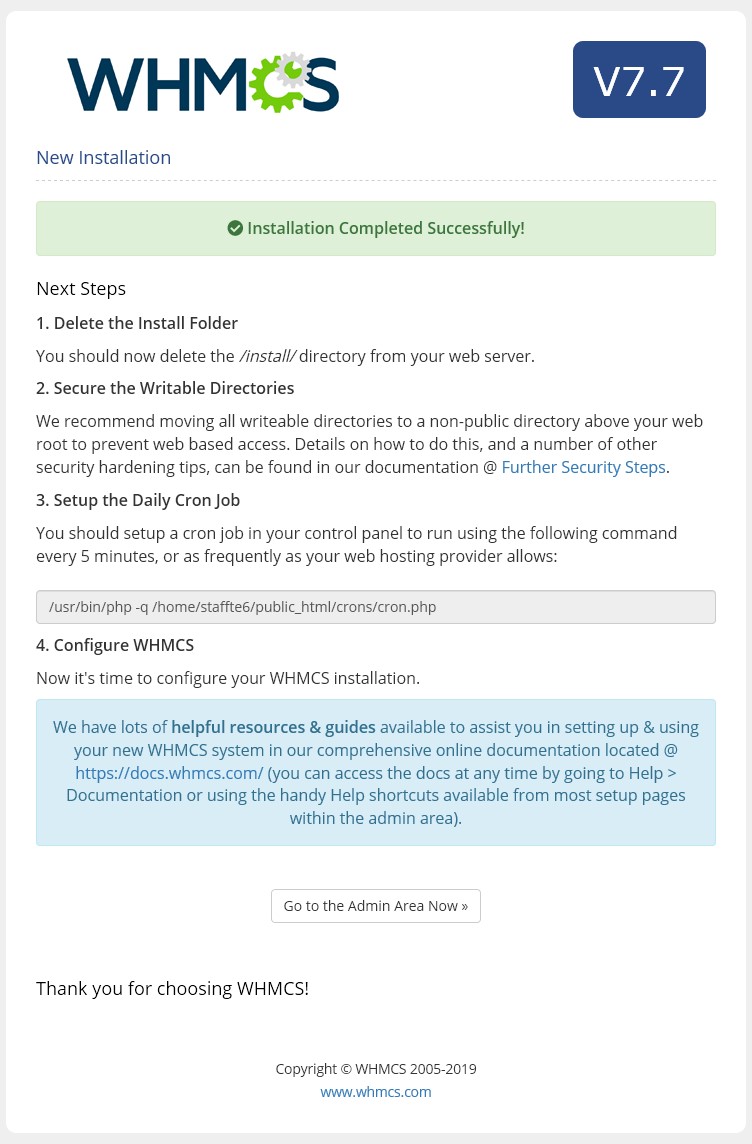
Once the installation completes you'll see the final screen detailing some further actions that need to be completed before you can start using WHMCS.
The first instruction is to delete the /install/ folder - you won't be able to access WHMCS until you do this. You can complete this using either cPanel File Manager or your FTP client.
The following two steps each have a separate guide - you should complete them in order.