Creating a Python App using the Flask framework

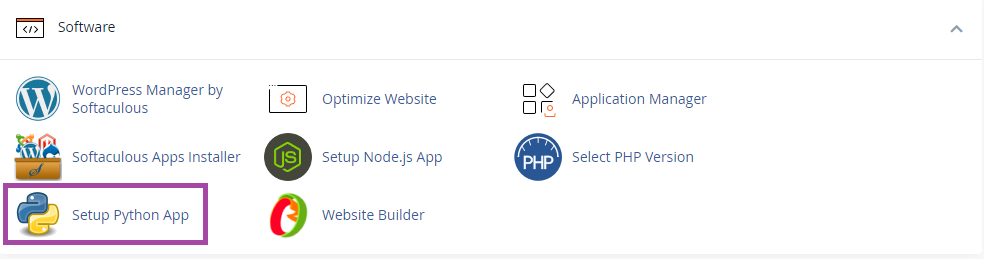
From the cPanel SOFTWARE section, click the Setup Python App icon.
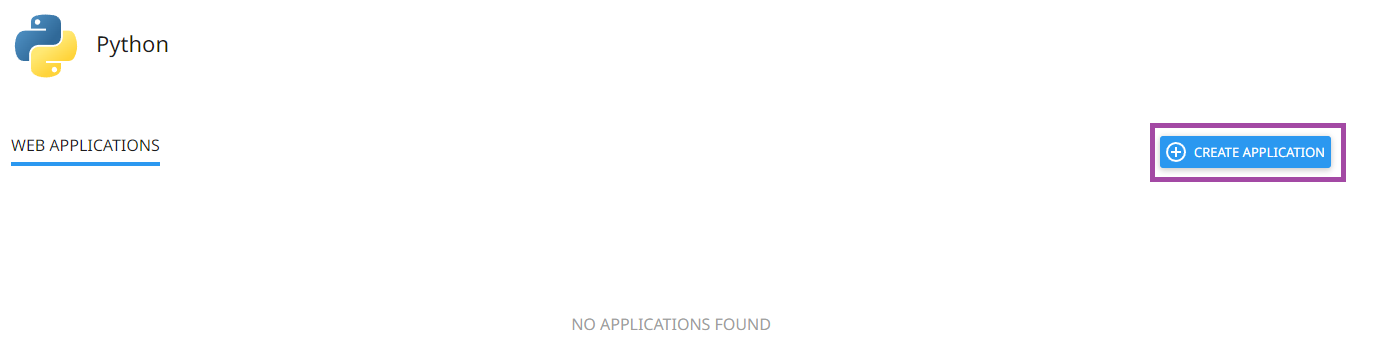
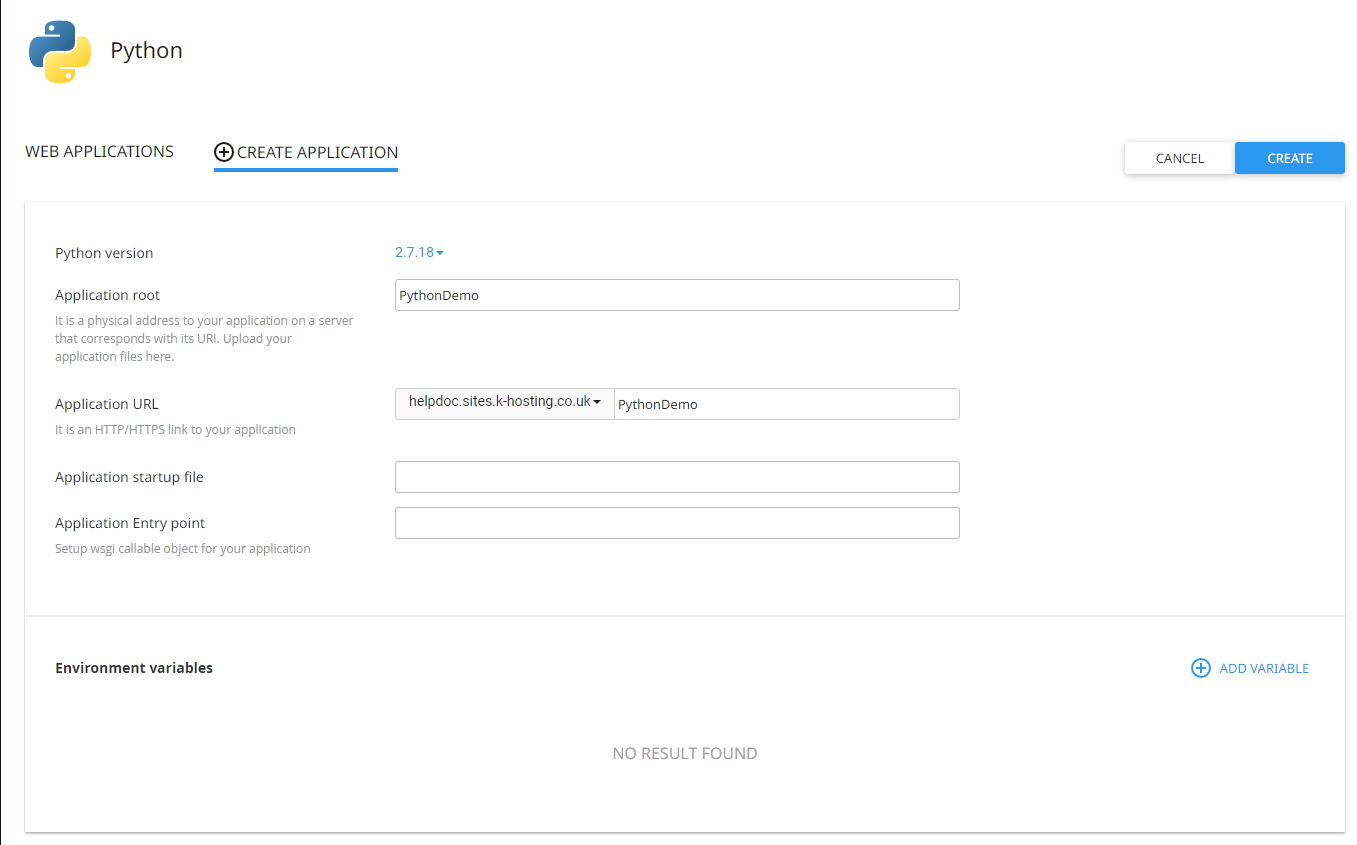
Click the + CREATE APPLICATION button. For this tutorial, we are going to create a simple application using the FLASK framework - external link opens in a new window. Complete the following fields.
In our example, we will install the application in /home/krystald/myapp, and serve it from http://helpdocs.sites.k-hosting.co.uk/PythonDemo, using Python version 2.7.18.
Once the application has been created, you will be shown the following information, which includes how to switch to the virtual environment for your python application from the command line.
Log into your cPanel account via SSH.
We have separate guides for using SSH for Windows (link opens in a new window) and SSH for Mac (link opens in a new window).
Enter the virtual environment command line above.
source /home/krystald/virtualenv/myapp/3.7/bin/activate && cd /home/krystald/myapp
You'll see a response something like:
(myapp:3.7)[krystald@server myapp]$
You will notice that the command prompt changes, and is now prefixed with (myapp:3.7). This tells us that our shell environment is now set up for our application's own python installation. List the files in the current directory, which should look like this.
ls -la
You'll see a response something like:
total 24
drwxr-xr-x  4 krystald krystald 4096 Oct 16 06:29 .
drwx--x--x 26 krystald krystald 4096 Oct 16 06:29 ..
-rw-r--r--  1 krystald krystald  147 Oct 16 06:29 passenger_wsgi.py
drwxr-xr-x  2 krystald krystald 4096 Oct 16 06:29 public
-rw-r--r--  1 krystald krystald  329 Oct 16 06:29 start.py
drwxr-xr-x  2 krystald krystald 4096 Oct 16 06:29 tmp
We can see that our application startup file start.py has been created. Indeed, if we browse to our URL, in this case http://krystaldemo.co.uk/flaskapp, we will see a simple message giving the Python version.
It works!
Python v3.7.3
This is because cPanel created a basic application startup file start.py. You may also notice another file, passenger_wsgi.py. This file is used by Passenger, a web application server that uses the WSGI (Web Server Gateway Interface) convention to provide the glue between your python application and our webservers.
Now we need to install the Python FLASK framework and install our actual FLASK startup file. We can install FLASK , simply with.
$ pip install flask
Once complete, we can now install our basic FLASK startup file.
Edit the start.py file using your favourite editor, e.g.:
$ nano start.py
... and edit the contents so they look like this:
from flask import Flask
app = Flask(__name__)

@app.route("/")
def hello():
    return "Welcome to your FLASK application!\n"

if __name__ == "__main__":
    app.run()
To save the file in Nano, hold Ctrl-x and confirm the changes.
If all has gone well, we can test the script using the FLASK built-in web server. Type:
python start.py
You'll see a response something like this:
 * Serving Flask app "start" (lazy loading)
 * Environment: production
   WARNING: This is a development server. Do not use it in a production deployment.
   Use a production WSGI server instead.
 * Debug mode: off
 * Running on http://127.0.0.1:5000/ (Press CTRL+C to quit)
Press Ctrl-c to shut down the temporary web server, because we actually want our application to be served to the public via Passenger.
Browse again to our application URL, in this case http://krystaldemo.co.uk/PythonDemo, and now you should see the message:
Welcome to your FLASK application!