MacOS is derived from Unix style operating systems, so understandably, the tools to manage SSH connections are already built in.
Public/private key authentication, as the name suggests, uses two special cryptographic files (called keys) to authenticate your login. The private key remains on your computer and should be kept safe from unauthorised access. The public key can be freely installed on remote systems. It doesn't matter if your public key gets stolen or lost. Because only you have the private key you can always regenerate the public key again from it. The key files are just plain text - nothing magical. You can open them in TextEdit.app if you are curious!
Create the keys
Open the Terminal application from the Applications/Utilities folder, or press - and search for Terminal using Spotlight. Once Terminal is open, we need to change change directory to the hidden .ssh directory. Enter the following commands.
cd .ssh
pwd
This should then echo this back to you:
/Users/[your user name]/.ssh
Now we need to generate your keypair. Enter the following command carefully:
ssh-keygen -t rsa -b 2048 -C "John Smith" -f john
Just replace John Smith with your own name (keeping the quotation marks, they're important!). Replace john with a single word (no spaces) that will help you identify the files that the command will generate. When you hit enter you will be asked to provide a Passphrase. Enter a STRONG passphrase including upper and lowercase letters, numbers, and symbols. Keep this passphrase somewhere secure so you can get to it later (you'll need it anytime you want to use your private key from a new computer). Note: If your private key ever gets stolen, this password is your last line of defence. A private key with a weak or no passphrase is a gift to hackers! Generally speaking, a good 16 character passphrase will keep the world's most powerful computers at bay until the sun burns out! In the above example, two files will be created in the hidden .ssh directory, john and john.pub If you now enter the command
cat john.pub
then the contents of your public key will be printed to the terminal. Now, simply mark the whole of the key and copy it into the clipboard.
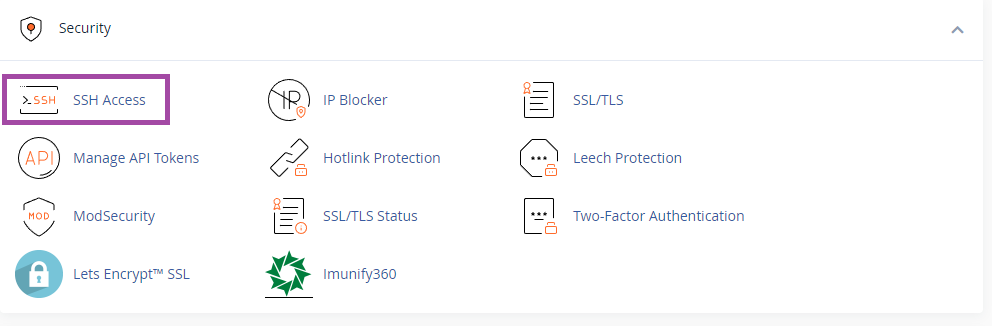
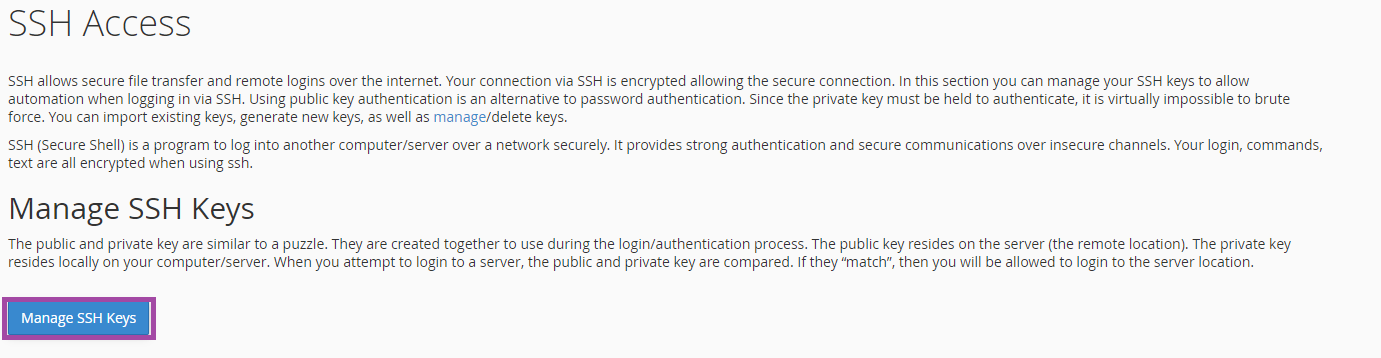
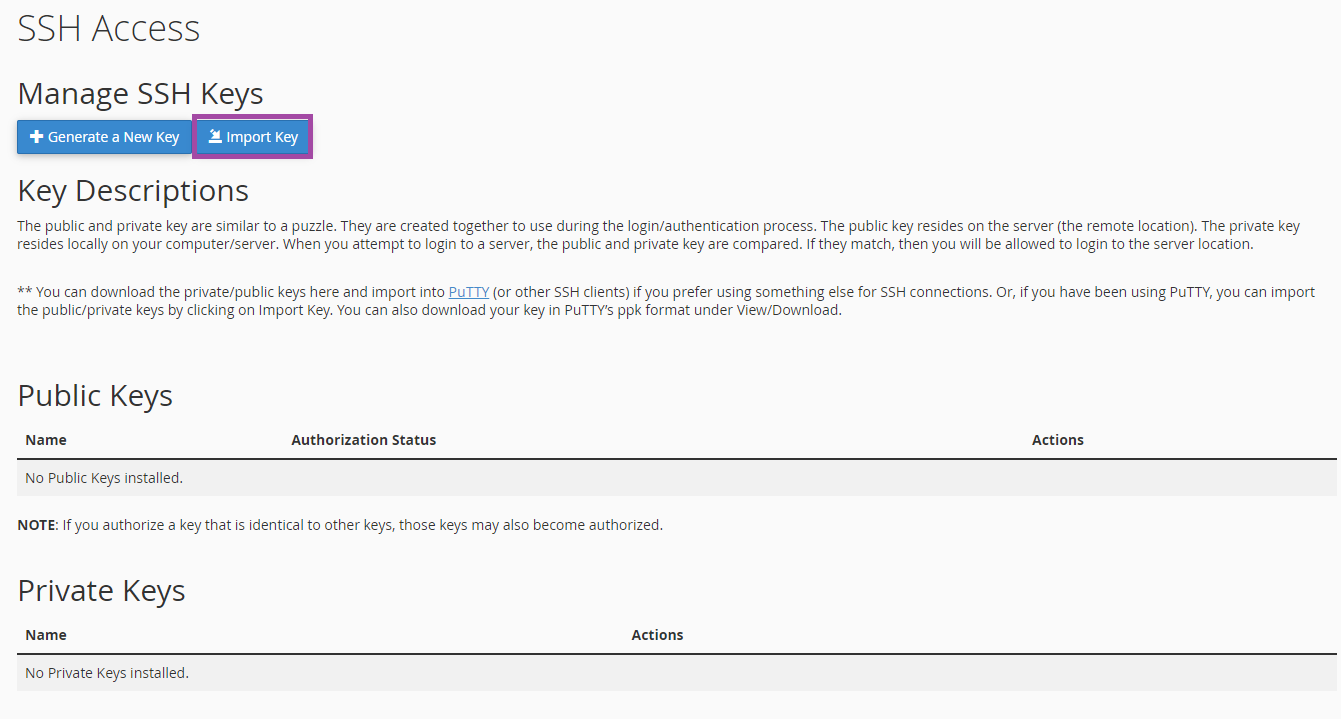
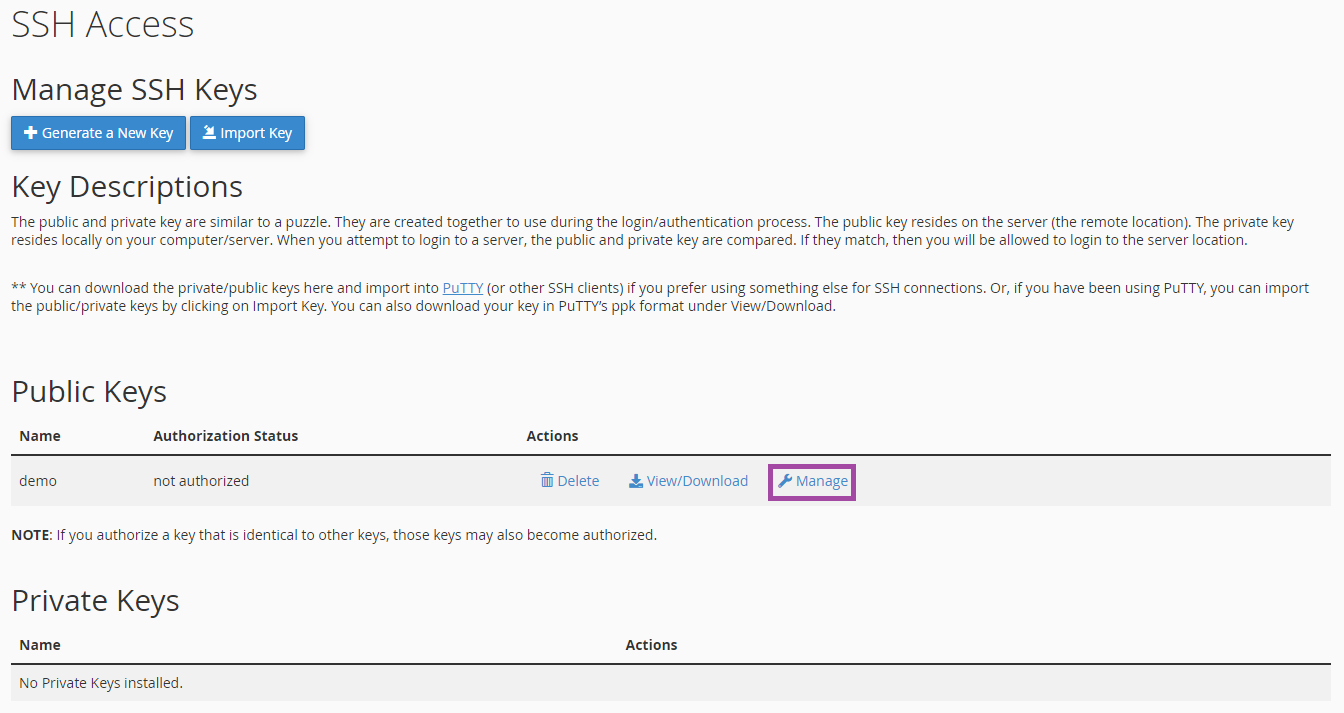
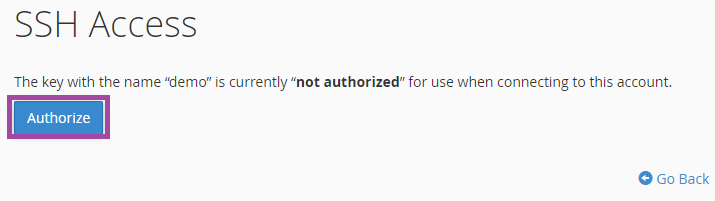
Setting up your cPanel account with your public key Log into your cPanel account, and click on the SSH Access icon in the Security group of icons.Click the Manage SSH Keys button.Click the Import Key button to get the Import SSH Key screen.Paste your public key into the public key text box. Give your public key a name, as shown (this becomes the filename your public key is saved as) and click the Import button. If you don't give your key a name, it will default to being called id_dsa.The next step is to authorise your public key.Back on the Manage SSH Keys cPanel screen, click Manage for your key (as shown) Then, on the Manage Authorization screen just click the Authorize button and you should receive a confirmation that the key has been authorised. That's it, you're now ready to use your private key!
Log in using your keys OK, lets leave the .ssh directory and go back to our local home directory on our Mac
cd ~/
Now we have to connect to the webserver using the ssh command. We must tell ssh to use our private key.
This tells ssh to connect using (-p) Port 722 and using (-i) Identity within the private keyfile at .ssh/john to hestia.krystal.co.uk as user krystald (phew!) - Just replace your private key file name, krystald with your own cPanel username, and hestia.krystal.co.uk with your own Home Server name or your primary domain name. Your Mac will now ask you for the password for your private key. Enter your password and tick the box to save the password to your Keychain (read below!). If you don't tick the box, then next time you log out and back into your Mac and try this connection again, you will be asked for the password again.
It is important to protect your private key by making sure you have to enter a password to log into your Mac as well, because once you are logged into your Mac, then it is a trivial matter to obtain your private key password from the Mac's Keychain application. So, you should also have a reasonably strong login password on your Mac!
You will probably get a message echoed in the terminal like Identity added: .ssh/john (.ssh/john) but if all goes well, you should have been logged in.
In future you won't have to specify your private key, so you can simply login using
ssh -p 722 krystald@hestia.krystal.co.uk
Enhancing SFTP Access using Filezilla with public/private keys
Assuming you have already Setup Filezilla to connect using SFTP with your account password, then there is very little to do
Just open Filezilla's Site Manager from the File menu, locate your connection profile under My Sites, and remove the password.
With your SSH details saved in your keychain you will be logged in automatically.