Setting and managing up Onyx CRON jobs
 Updated 3 years ago
by
Tristan Payne
Updated 3 years ago
by
Tristan Payne
CRON allows you to schedule commands to run on a repeating schedule.
If you wish to disable your WordPress Internal CRON job and replace it with an Onyx CRON job we have a separate guide that covers this.
This guide covers adding other CRON tasks.
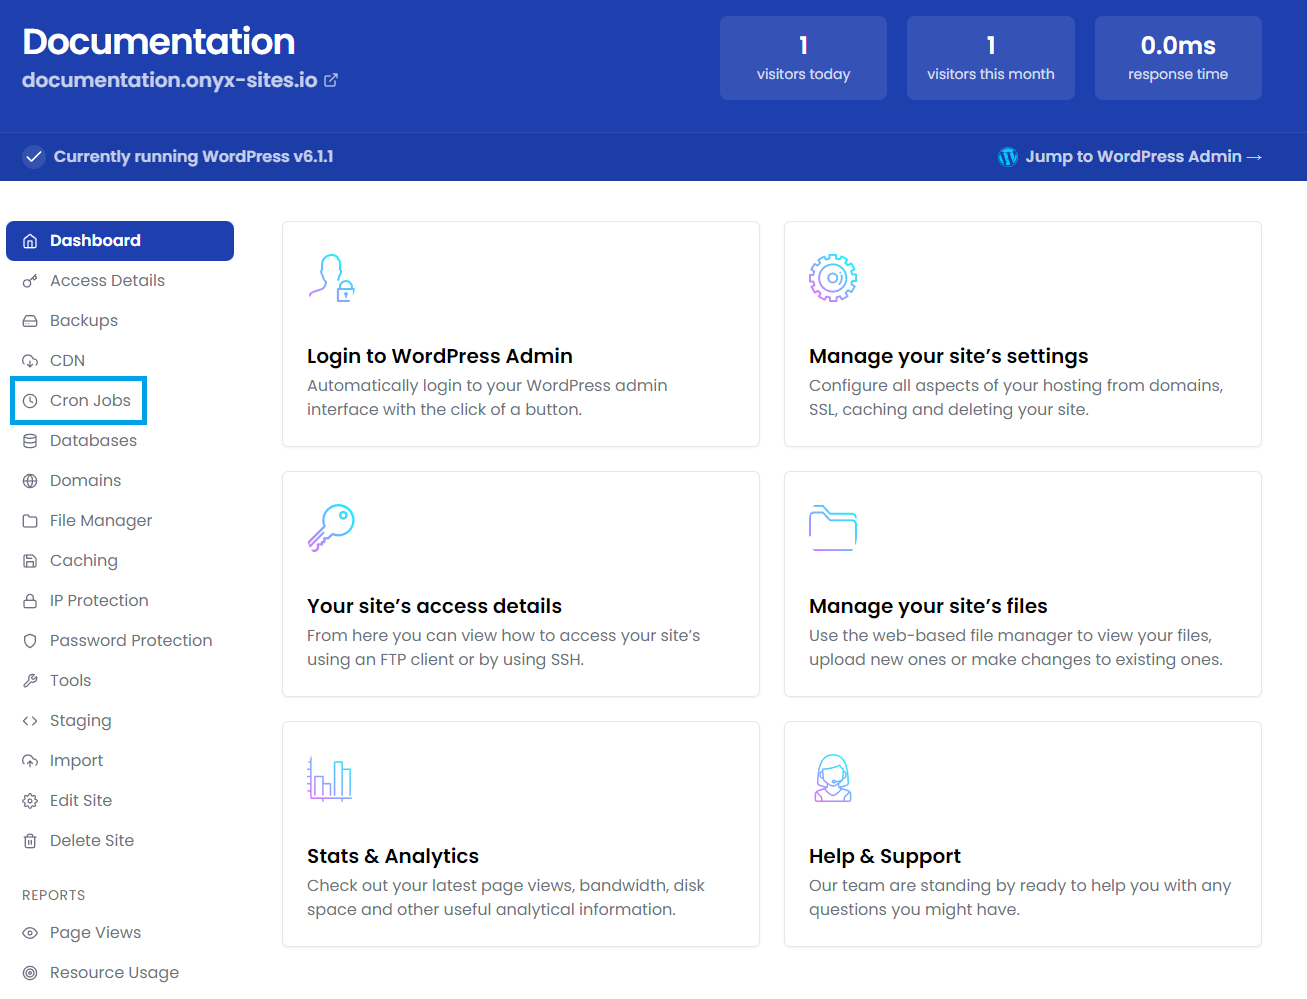
Managing Onyx CRON jobs via Settings > Cron jobs
Adding a CRON job
Click the Add a cron button.

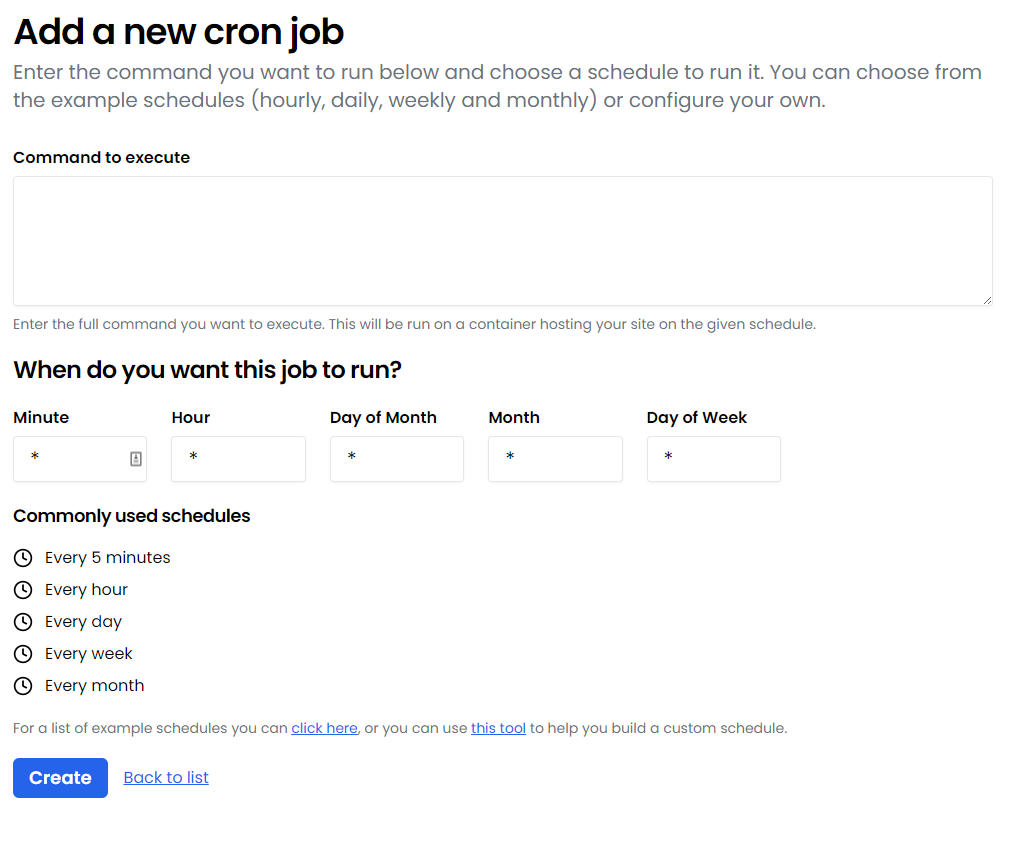
Enter the full path to the script you'd like this CRON job to run in the Command to execute box.
You have some pre-sets you can select for the schedule by clicking the Hourly, Daily, Weekly and Monthly buttons.
You can manually enter each field:
Minute: 0 - 59
Hour: 0 - 23
Day of month: 1 - 31
Month: 1 - 12
Day of week: 0 - 6 (Sunday to Saturday)
* in any field means Every (minute, hour, day of month, month, day of week)
Once you've configured your desired schedule click Create Cron Job.
Editing or Removing a CRON job

CRON jobs can be edited by clicking the Edit button or removed by clicking the Remove button next to them in the list.