Managing your Onyx site caching
Onyx utilises LiteSpeed load balancers and they work alongside the LiteSpeed WordPress Caching plugin.
WordPress installations on Onyx come with the LiteSpeed caching pre-installed. If you've migrated your site to Onyx and the plug-in is not installed, or it's been removed for some reason we have a guide on reinstalling the default plug-ins and other Onyx tools.
The cache features of Onyx can be managed from either the Onyx Dashboard, or from within your WordPress site.
Manage caching from the Onyx dashboard
Every site is unique and as such, caching will need to be tweaked to achieve the best performance. Please ensure you test the site thoroughly when making changes to ensure that the site continues to work as expected.
- You'll need to start by logging in to your Onyx dashboard.
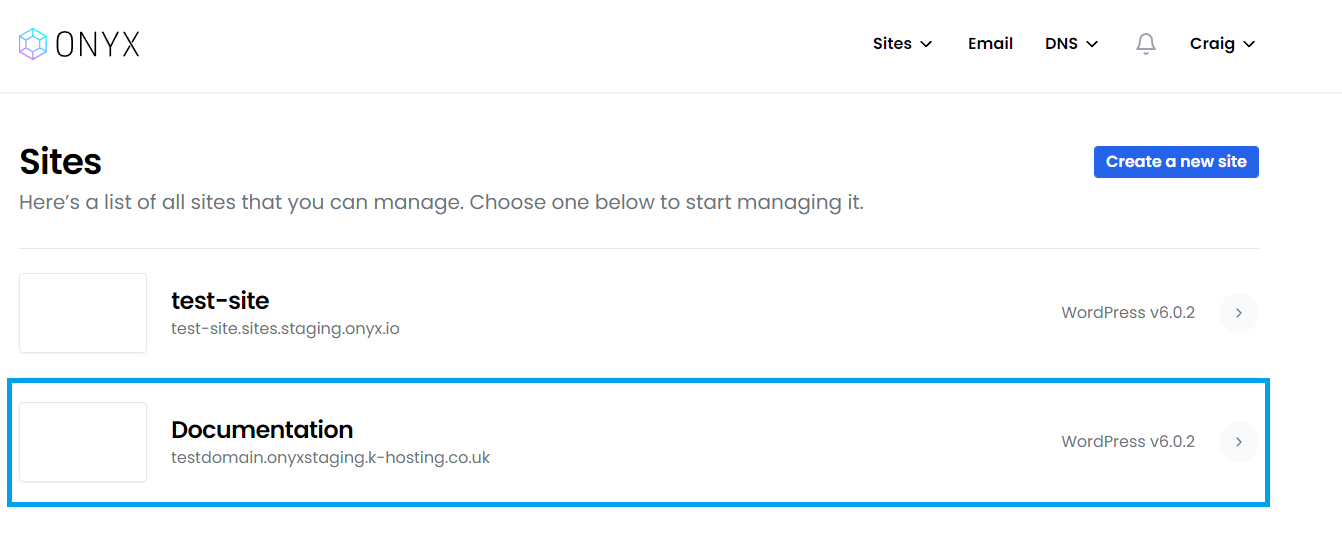
- From your Onyx dashboard, click on the site you would like to access

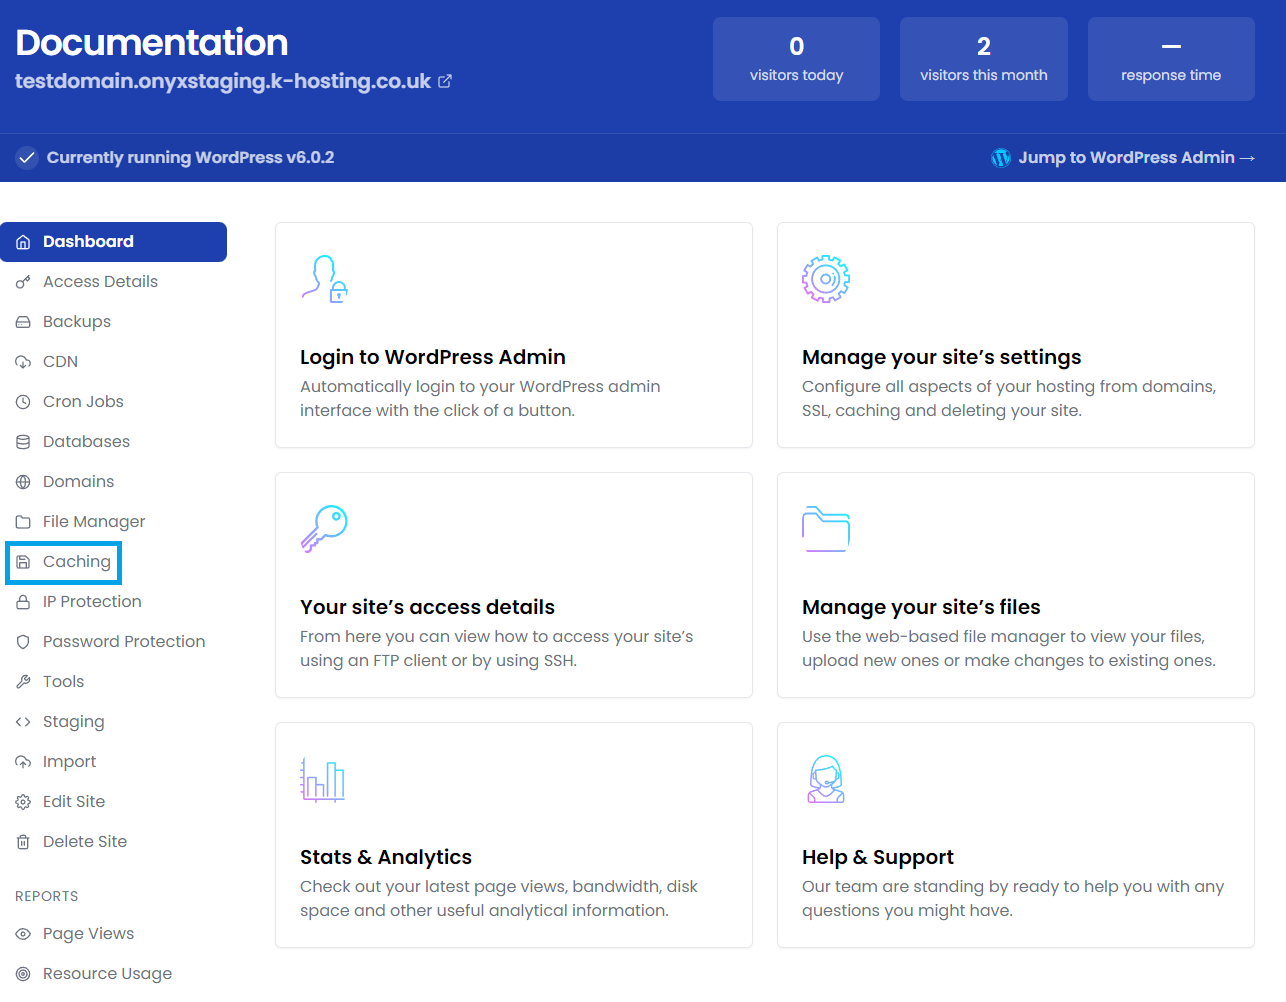
- From the Settings drop-down on the left click Caching

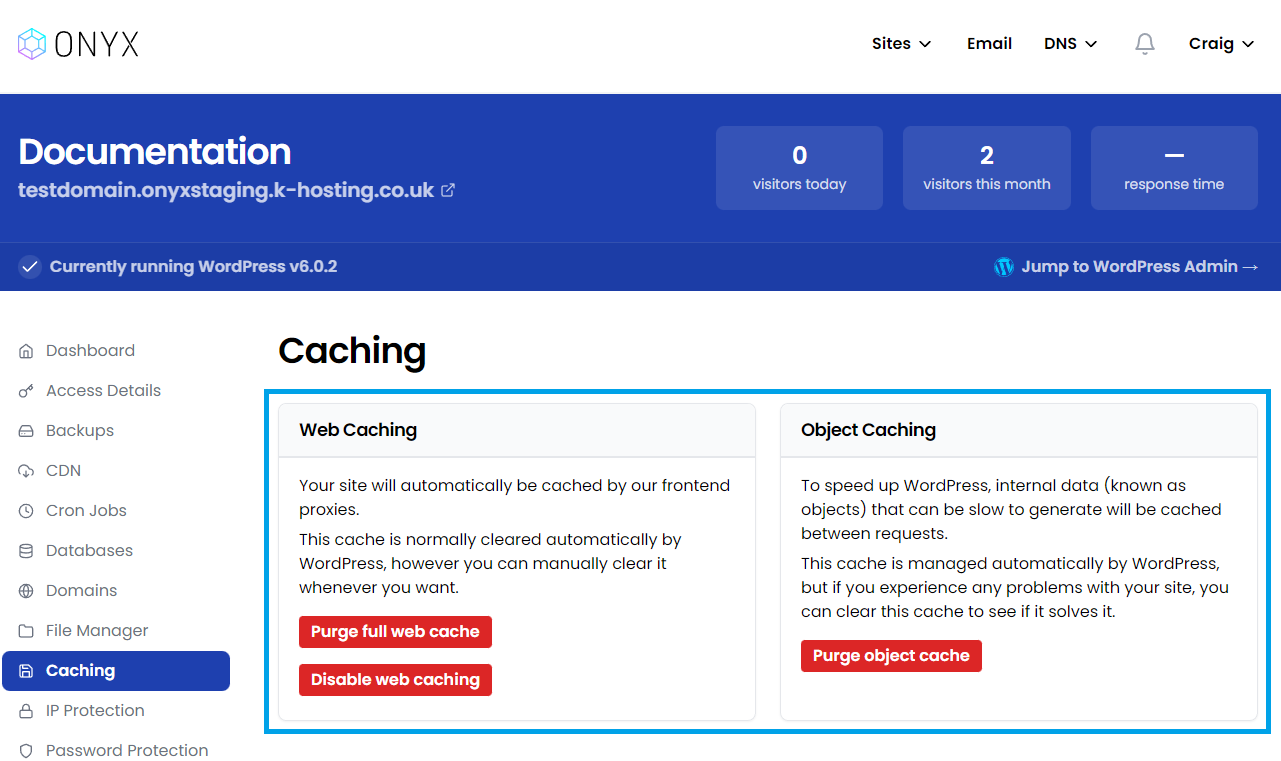
- You'll now see the caching options available;

- Disable web caching - disables the LiteSpeed server caching for this site (does not disable any additional Optimisation/Tuning functions enabled within the LiteSpeed Cache WordPress plug-in.
- Purge full web cache - causes LiteSpeed to fully purge the static file cache for this site.
- Purge object cache - causes the object cache to be purged.
Manage caching from within WordPress
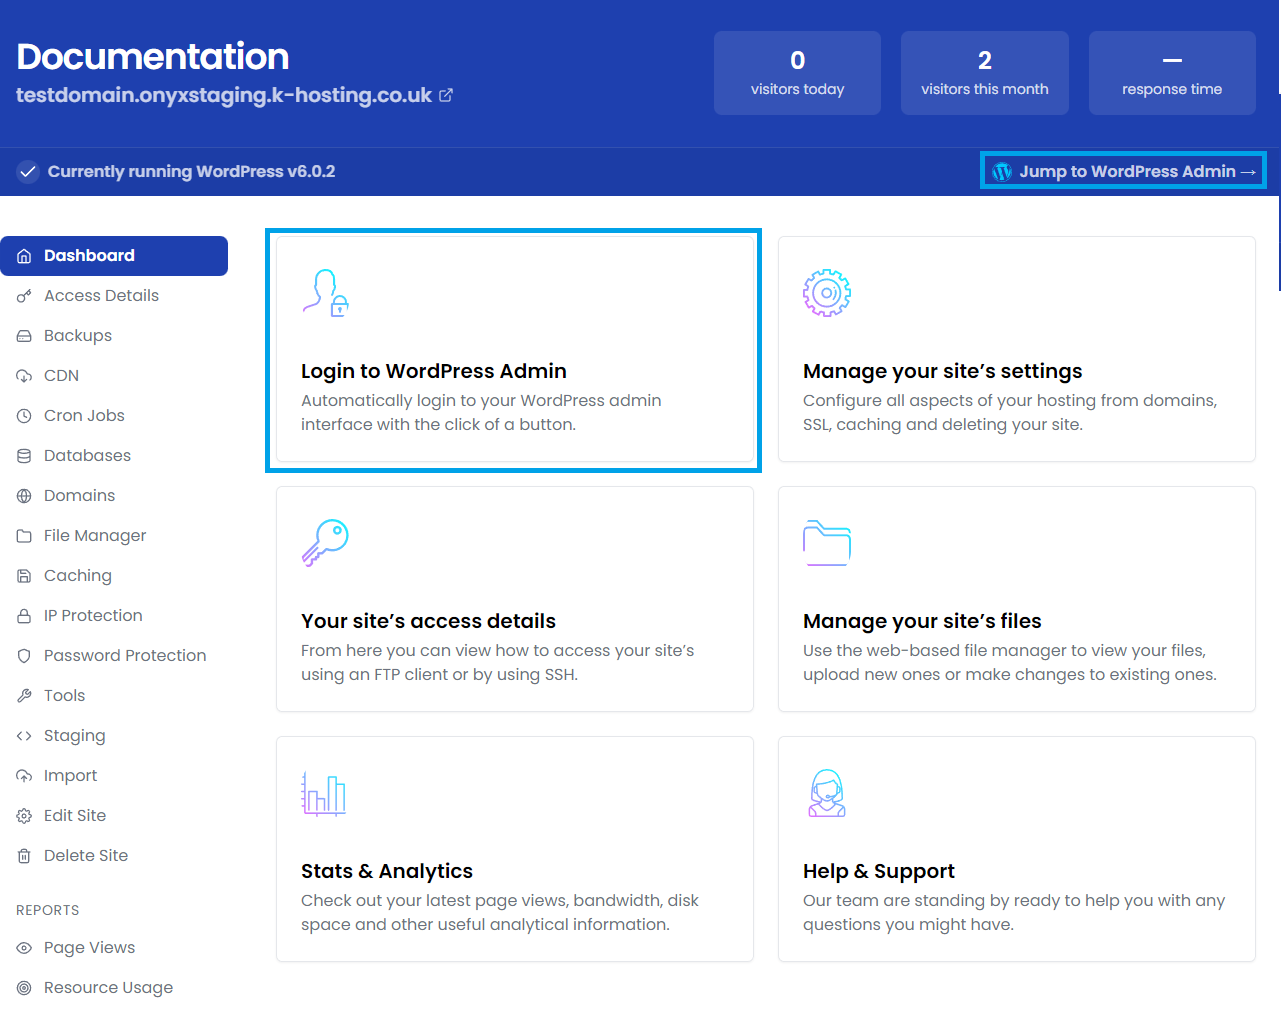
- Access your WordPress Dashboard.

- The cache controls within WordPress for both files and database (object cache) are handled by the LiteSpeed plug-in.

Cache Default Settings
If you re-install the plug-in using the Onyx Tools > Re-install default plug-ins option - then these default settings will already be applied, if you install the LiteSpeed plug-in manually you'd need to set them yourself.
General > Caching > Enabled
Optimize > CSS HTTP/2 Push > Off
Optimize > JS HTTP/2 Push > Off
ESI > Enable ESI > On
Advanced > Browser Cache > On, used to cache static resources at the ADC cache
Advanced > Browser Cache TTL > 86400 (caches static objects at ADC for 1 day, a relatively short time-frame)
Suggested Additional Settings
These may further improve your sites performance, but will likely require more testing to confirm that they don't break anything. They are not set by default.
We don't enable HTTP/2 by default - but we suggest it's the first setting you try turning on - it can make a huge difference to how swiftly your site is served and it's worth trying to resolve any issues that may come up from turning it on to gain the benefit.
Optimize > CSS HTTP/2 Push > On
Optimize > JS HTTP/2 Push > On
The following three settings only really apply where you are using HTTP/1. Using HTTP/2 negates some of the benefits of combining files by serving them synchronously.
Optimize > CSS Combine > On
Optimize > JS Combine > On
Optimize > Load CSS Asynchronously
The following settings may reduce the size of CSS/JS/HTML content - but should be used with caution. Some themes already minify content, and in other cases minification may also break things - please test carefully before deploying these settings on a live site
Optimize > CSS Minify > On
Optimize > JS Minify > On
Optimize > HTML Minify > On
Optimize > Inline CSS Minify > On
Optimize > Inline JS Minify > On
Optimize > Remove Comments > On
Will improve cache hit rates particularly through the CDN (Won't affect Onyx's own static content caching though)
Tuning > Remove Query Strings > On
Tuning > Load Google Fonts Asynchronously > On
Reduces the size of initial page loads, can cause issues with some styles though and may not provide as great UX when scrolling quickly on slower connections as images might not load quickly enough
Media > Lazy Load Images > On
Will increase server load and bandwidth usage, but make links within pages load more quickly when clicked.
Advanced > Instant Click > On
Advanced Configuration
Whilst the LiteSpeed plug-in will, in most cases work straight out of the box - it has a wealth of additional optimisation and tuning features.
Rather than re-invent the wheel, here's a link to the LiteSpeed documentation that runs through all the other features.

