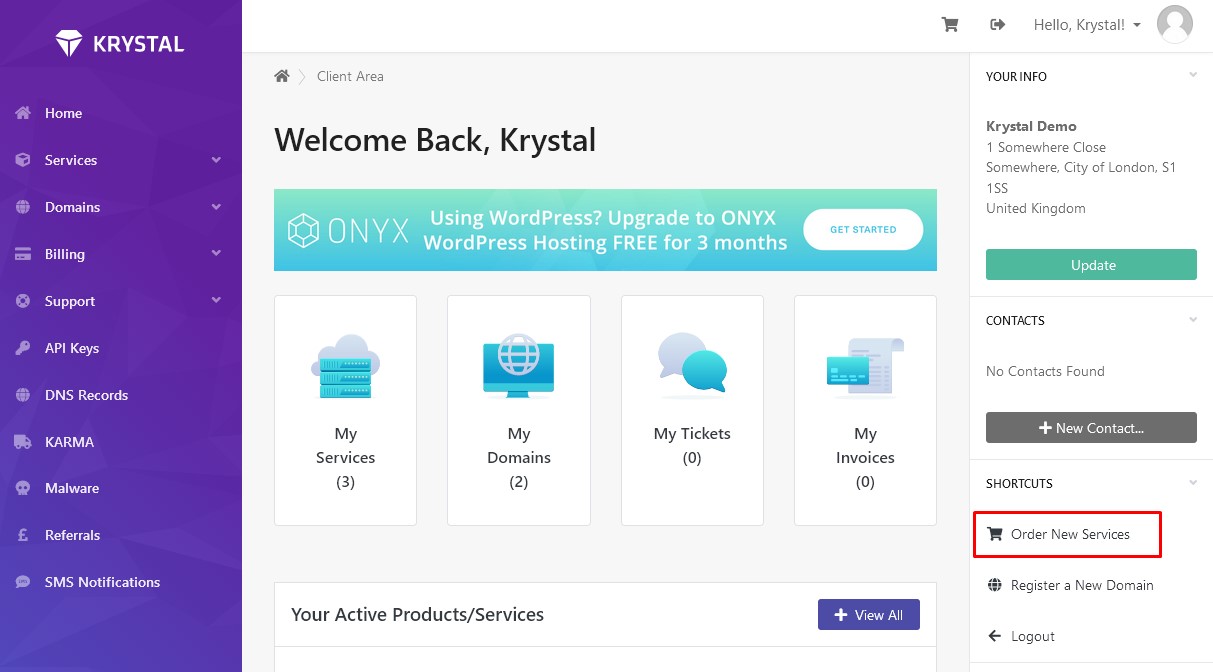
Click Order New Services in the Shortcuts section.
Click CDN from the Categories section.Choose the CDN that matches the amount of traffic you'll need it to serve. You can always choose the 50Gb CDN and upgrade later if you're not sure. Click the Order Now button of your choice.
Enter the Origin server - this is the URL of the existing site you want to add the CDN too.Click Continue.
Checkout to complete the purchase.
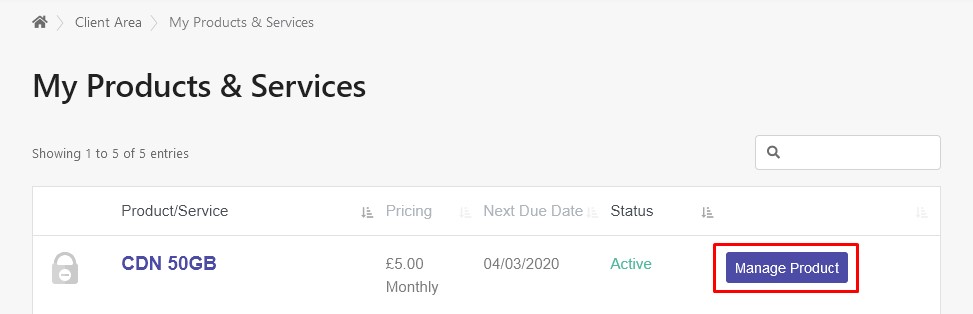
You'll now find your CDN within your Products & Services.