Start with AI site builder for Managed WordPress
 Updated 3 months ago
by
Tristan Payne
Updated 3 months ago
by
Tristan Payne
What is the AI site builder?
The AI Site Builder is a tool built into Managed WordPress (Onyx) that helps you create and design a website without needing technical skills. It combines ready-made templates and layouts with an AI Assistant that can generate and edit content for your pages.
This makes it quicker to build a professional site, while still giving you full control to customise the design, style, and wording to match your brand and your vision.
Logging in:
First, you'll need to log in to the Krystal client area. We have a step by step guide covering this here (Internal Link - Opens in a new window)
Once you're logged in to the client area, you'll then need to log in to your Managed Wordpress Dashboard (Internal Link - Opens in a new window)
How to build your site with AI
Building your site with AI is a straightforward process, the AI Site Builder guides you through choosing a design, generating content, and customising everything to fit your chosen brand.
- Add new site
- Enter your website namePlease note: This is the name of the site, rather than the domain name
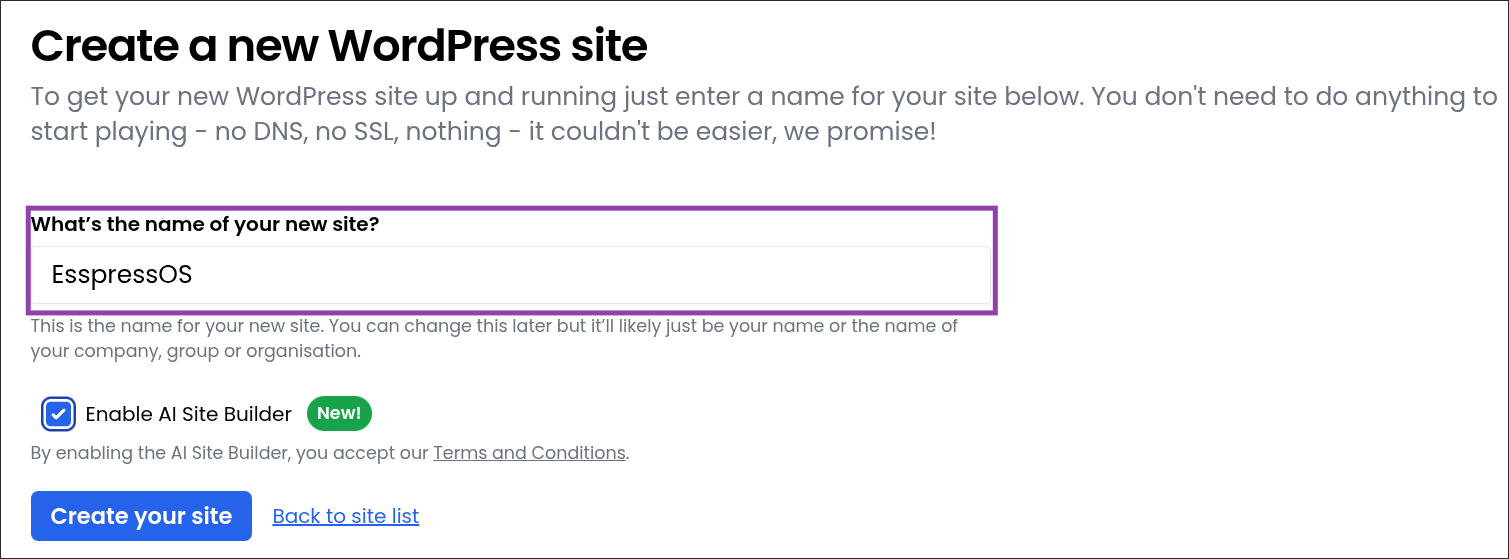
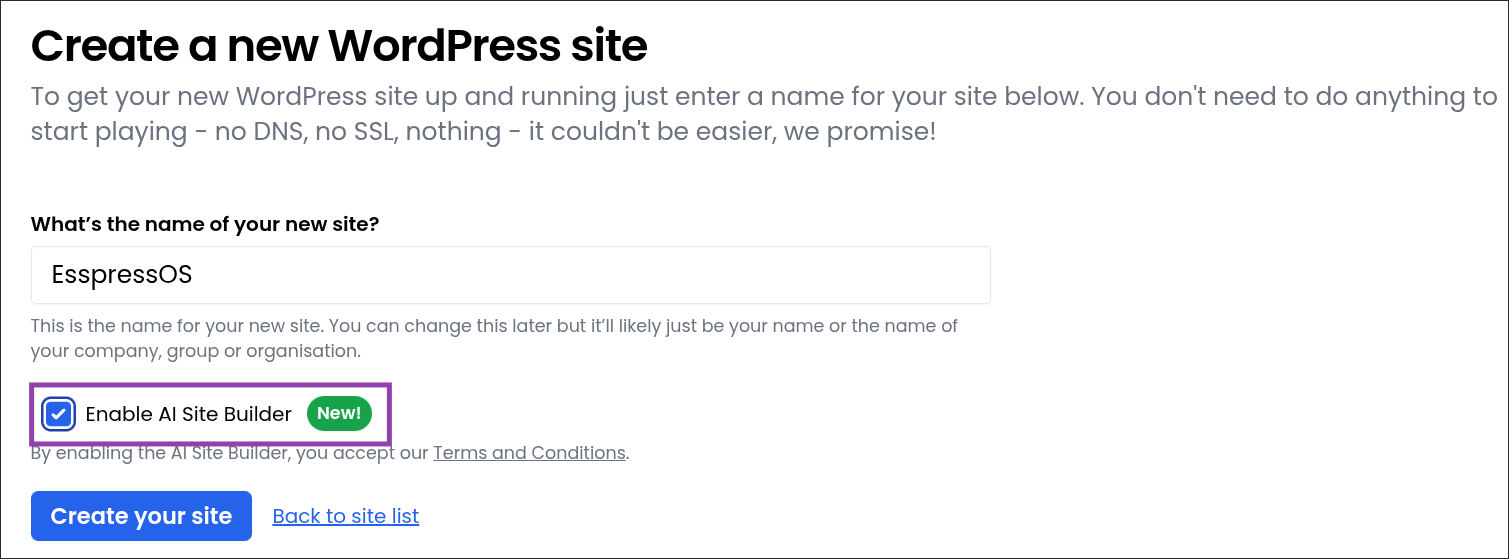
- Click "Enable AI Site Builder"
- Click "Create your site"

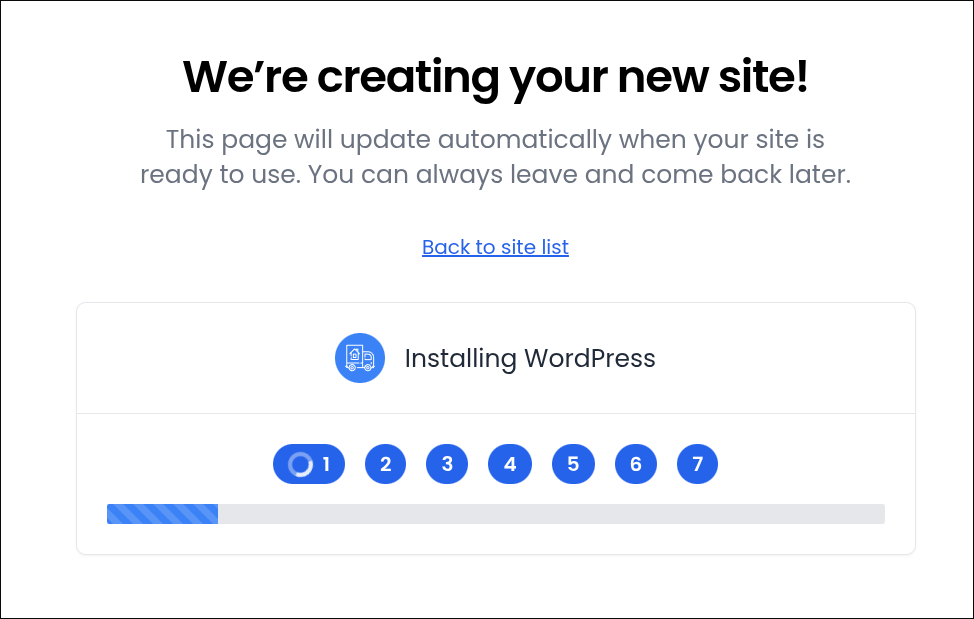
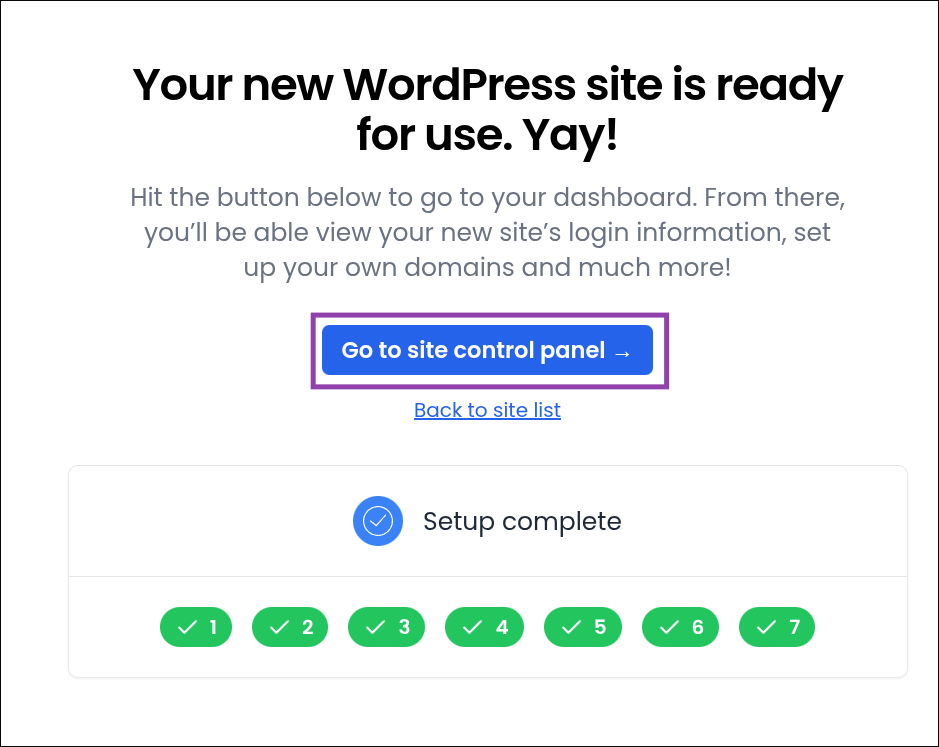
- Wait for the site to be created
- Click "Go to site control panel"
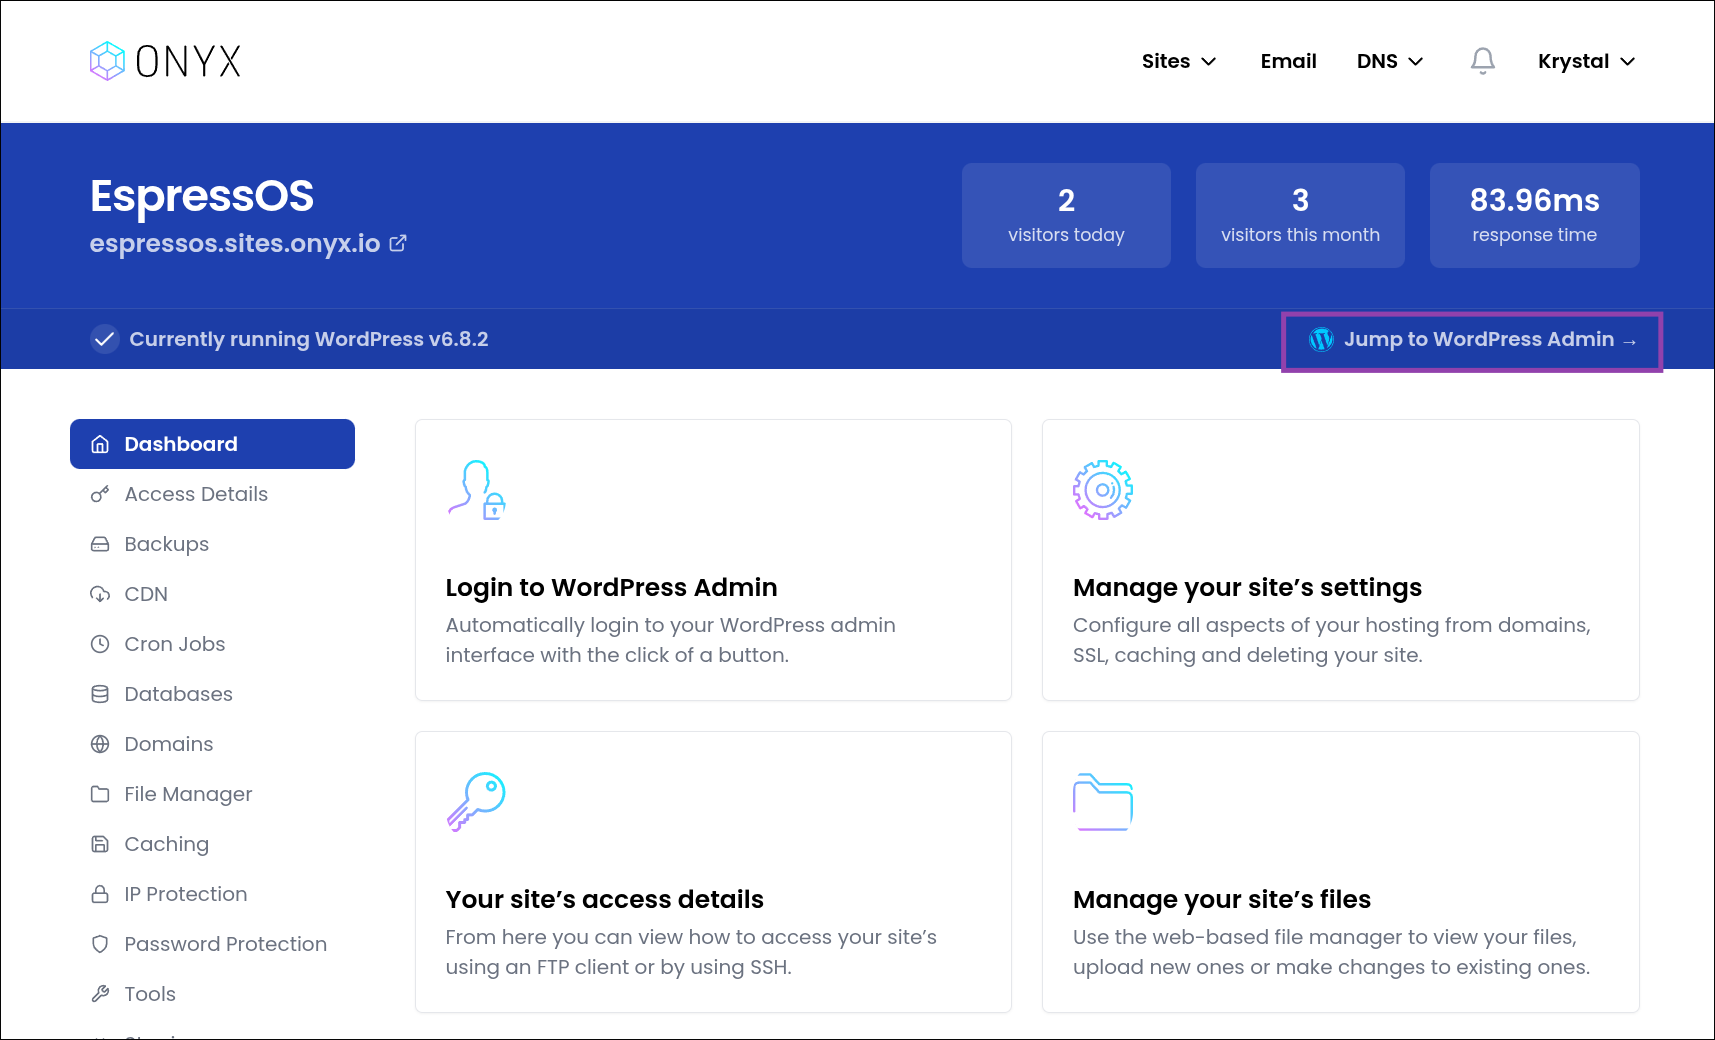
- Click "Jump to WordPress Admin"
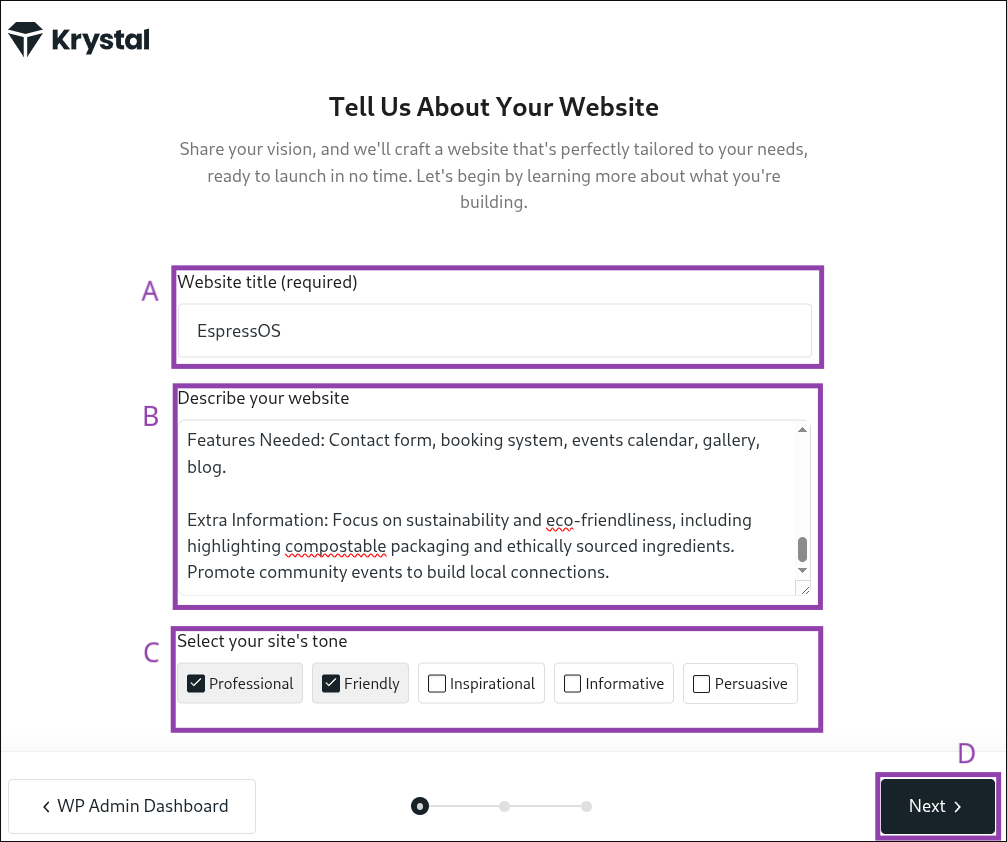
- Complete the initial design prompt
In this step, you’ll provide some basic details so the AI can shape your site to fit your business.- Enter your website title (for example, “EspressOS”). This will be used as your site’s name and shown in key areas like the header.
- Fill in the description box with information about your business or organisation. Include your business name, industry, and locationTIP: The more detail you give here, the better the AI can generate relevant content. We've included a helpful template below to help you provide as much information as possible during this stage.
- Choose your site’s tone of voice by selecting one or more options such as Professional, Friendly, Inspirational, Informative, or Persuasive. This helps the AI adjust the writing style to suit your brand.
- Once you’ve completed these fields, click Next to continue.
Using a template may help:
My website details are as follows:

Business/Organisation Name: [Enter here]
Business Type / Industry: [Enter here]
Location: [Enter here]

Purpose of the Website: [Explain the main goal, e.g. generate leads, showcase work, sell products, take bookings]
Target Audience: [Describe the audience, e.g. local customers, businesses, parents, young professionals]

Pages Required: [List all required pages, e.g. Home, About Us, Services, Contact, Blog, Shop, Testimonials, FAQ, Gallery]

Style and Branding Preferences:
Colours: [Preferred colour scheme or brand colours]
Fonts: [Preferred fonts or style, e.g. modern sans serif, traditional serif]
Overall Style: [Describe the overall style notes, e.g. modern, professional, minimalist, friendly, playful, elegant, bold]

Business Description / Tagline: [Short description of what the business does or a one-line tagline]
Key Services or Products: [List specific services or products that should be highlighted on the site]

Features Needed: [Choose from – contact form, newsletter signup, online shop, booking system, events calendar, testimonials/reviews, portfolio/gallery, blog]

Extra Information: [Any other details about the business, brand, or audience that would help build the site]   (Will test and create a template to go here)
- Review recommendations
The AI has suggested settings for your new site based on the details you entered. Take a moment to review and adjust these options to match your needs:- How many pages will your site need?
Choose between a single-page site with different sections, or a multi-page site with separate pages for content like services, about, and contact.
- Do you want visitors to contact you?
Select “Yes” to include a contact form or contact details, or “No” if you don’t need this feature.
- Will you accept appointments or bookings?
Choose “Yes” if customers should be able to book appointments or reservations through your site. Select “No” if you don’t offer bookings.
- Will you promote any upcoming events?
If your site will feature events, select “Yes” so the AI can include an events section.
- Would you like to include a blog?
Choose “Yes” to add a blog section for articles, updates, or news posts.
- Can customers visit your business in person?
If your business has a physical location that customers can visit, select “Yes” to include this information on your site.
- Will your site include products that you sell?
Select “Yes, with a shopping cart” to sell products directly online, “Yes, for viewing only” if you want to display items without checkout, or “No” if you don’t sell products.
- Will you accept donations?
Select “Yes” if your business or organisation accepts donations online, or “No” if this isn’t needed.
When you’ve confirmed the recommendations, click Next to continue.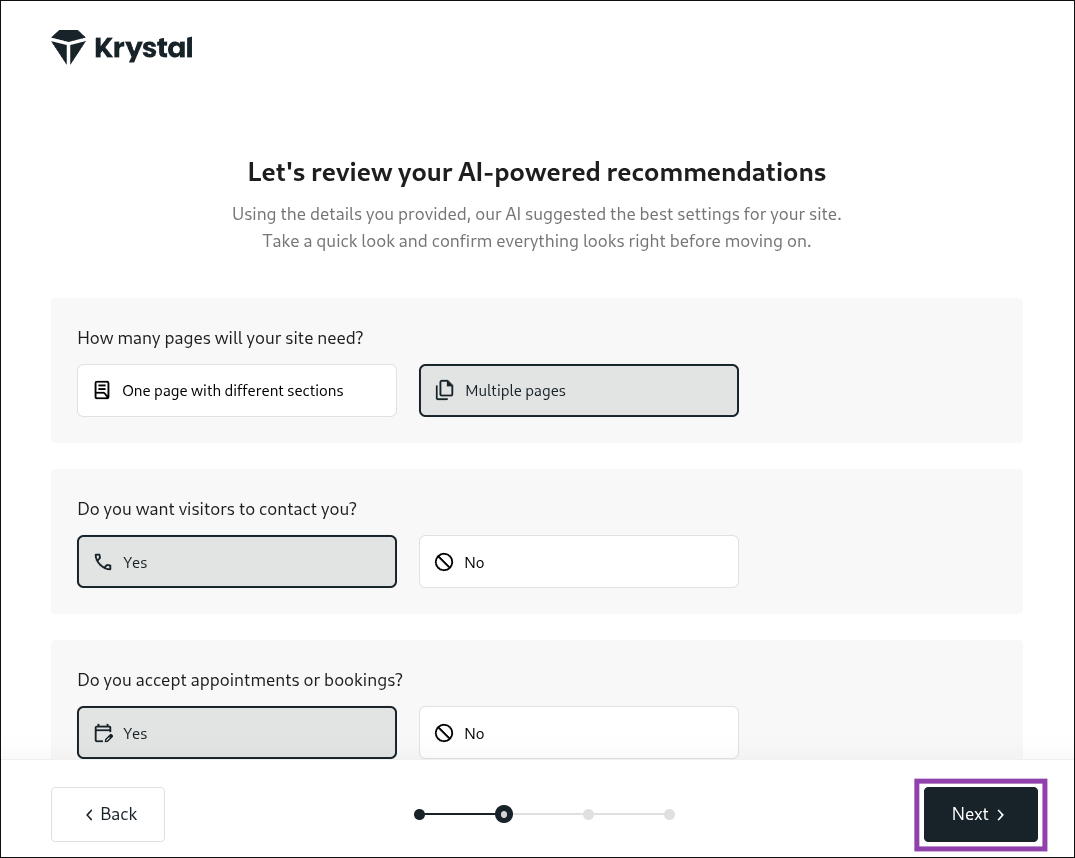
- How many pages will your site need?
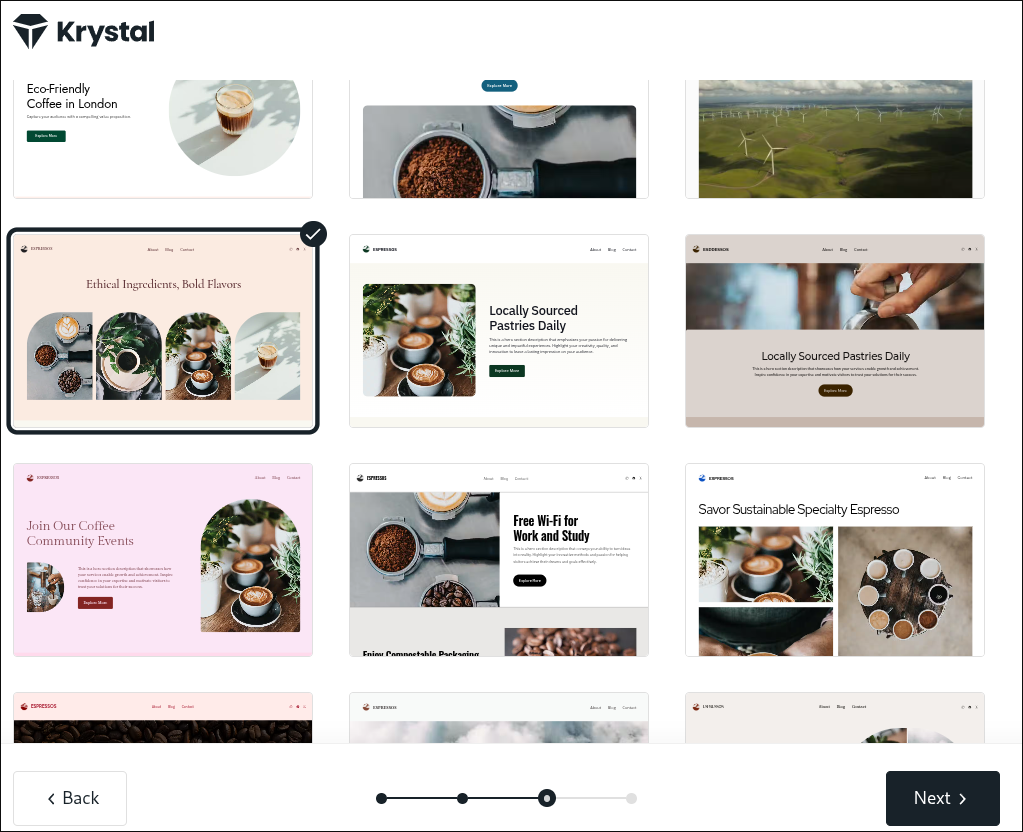
- Select your preferred template from the list
Choose the layout that best matches your business style (you can customise this later!)
- Pick the pages to add to your website
The AI has already chosen the most common options for your type of business, but you can add or remove pages as needed.TIP: You can use the eye icon to preview each one before deciding.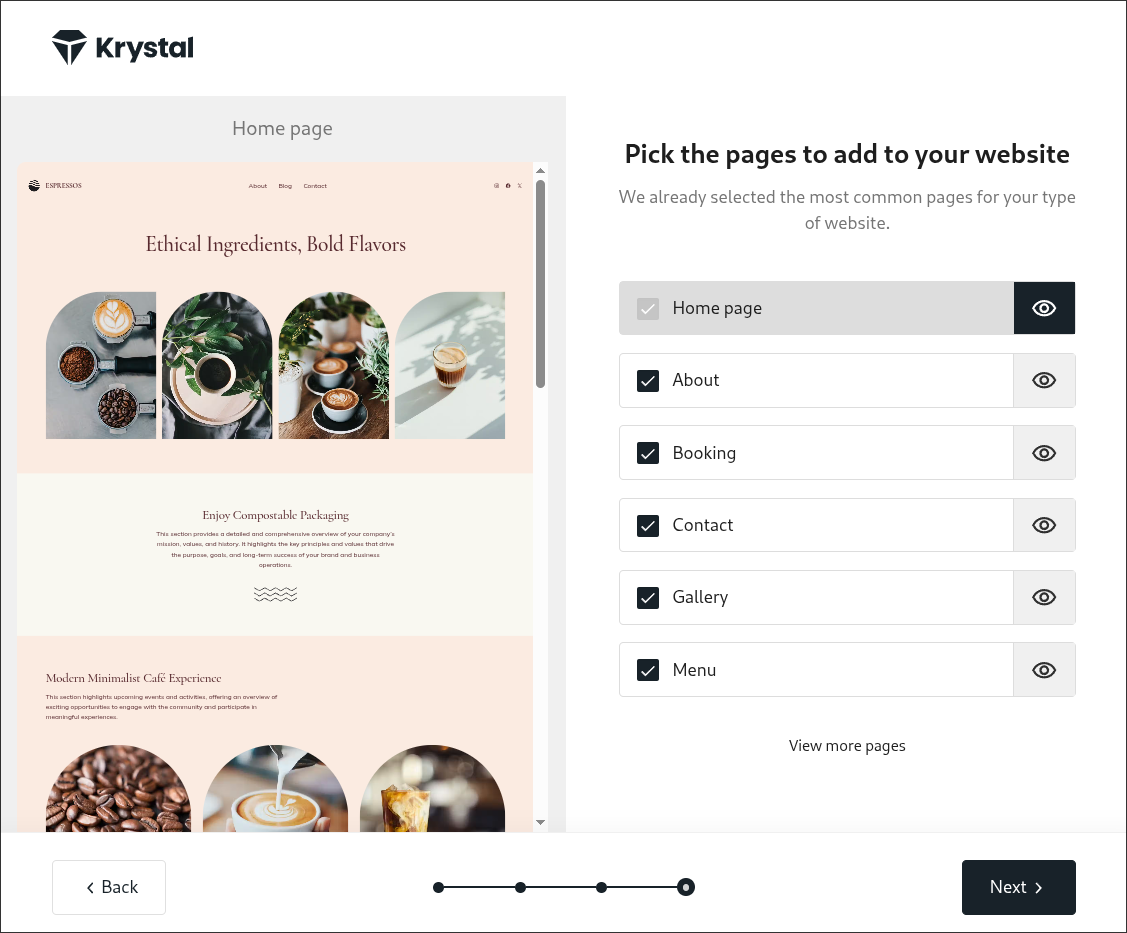
- Wait while the AI generates your website and content for you
The AI is now creating your pages with custom content, this will only take a few moments.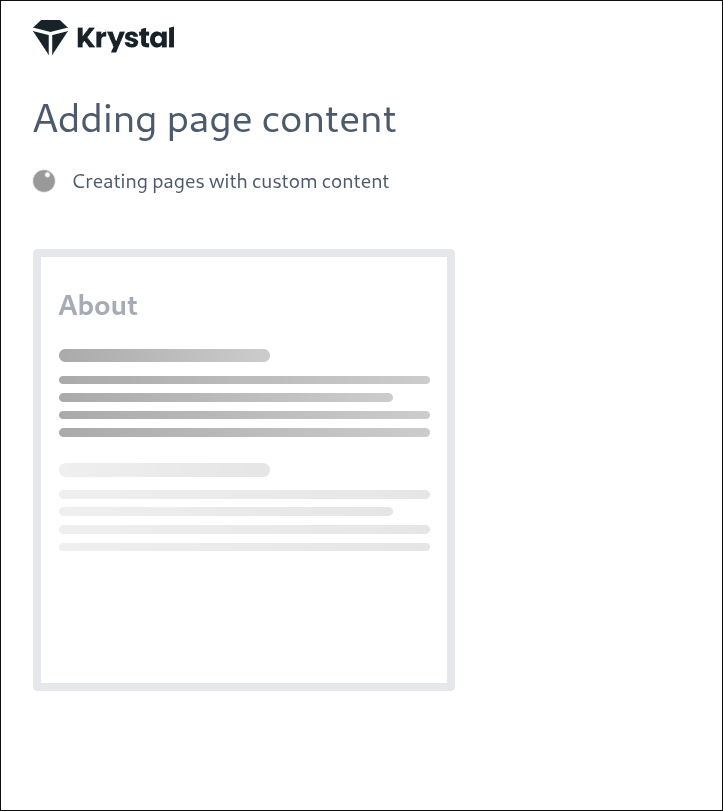
- Your site is ready!
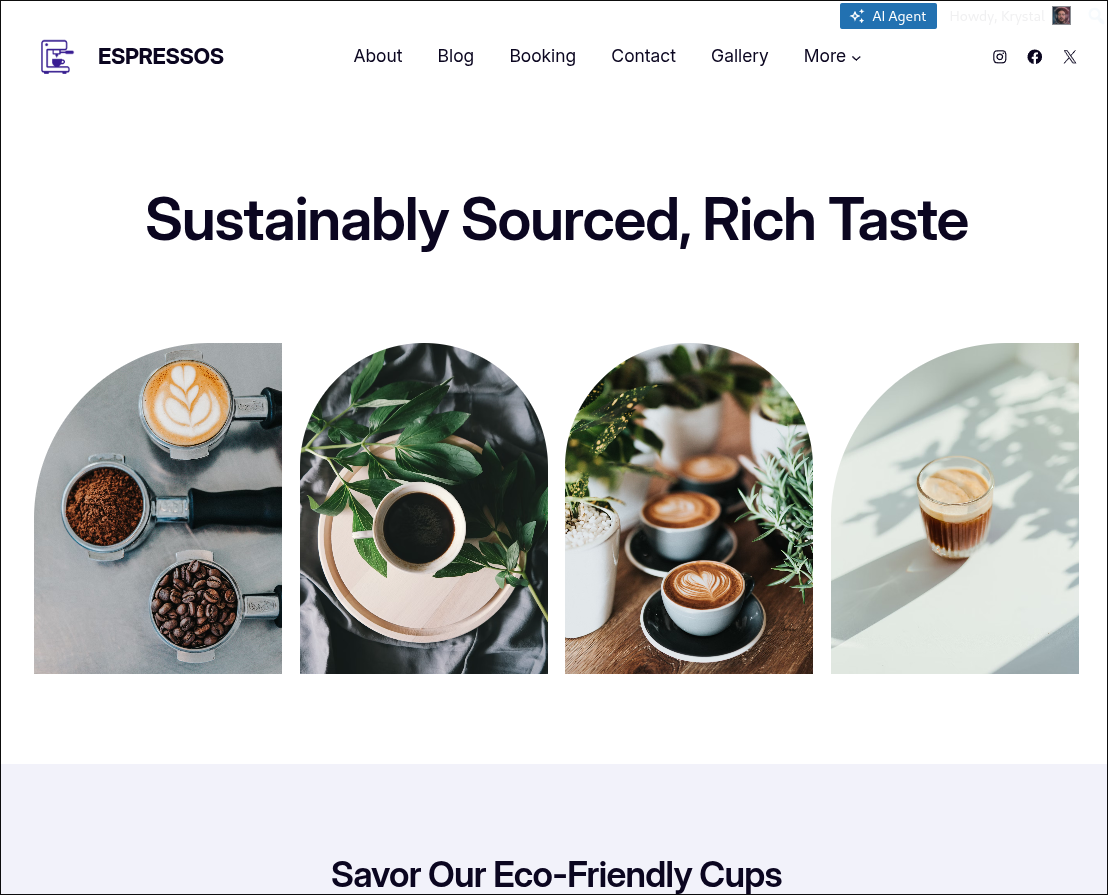
That’s it!
Your new website is live and ready to customise further.
From here, you can explore additional features to get the most out of the AI Site Builder. If you’d like to adjust the overall look and feel, see our guide on Designing Your Site with the AI Site Builder (Internal Link - Opens in a new window).
When you’re ready to add or refine text, we also have a guide on using the AI Assistant to Write and Edit Content (Internal Link - Opens in a new window).