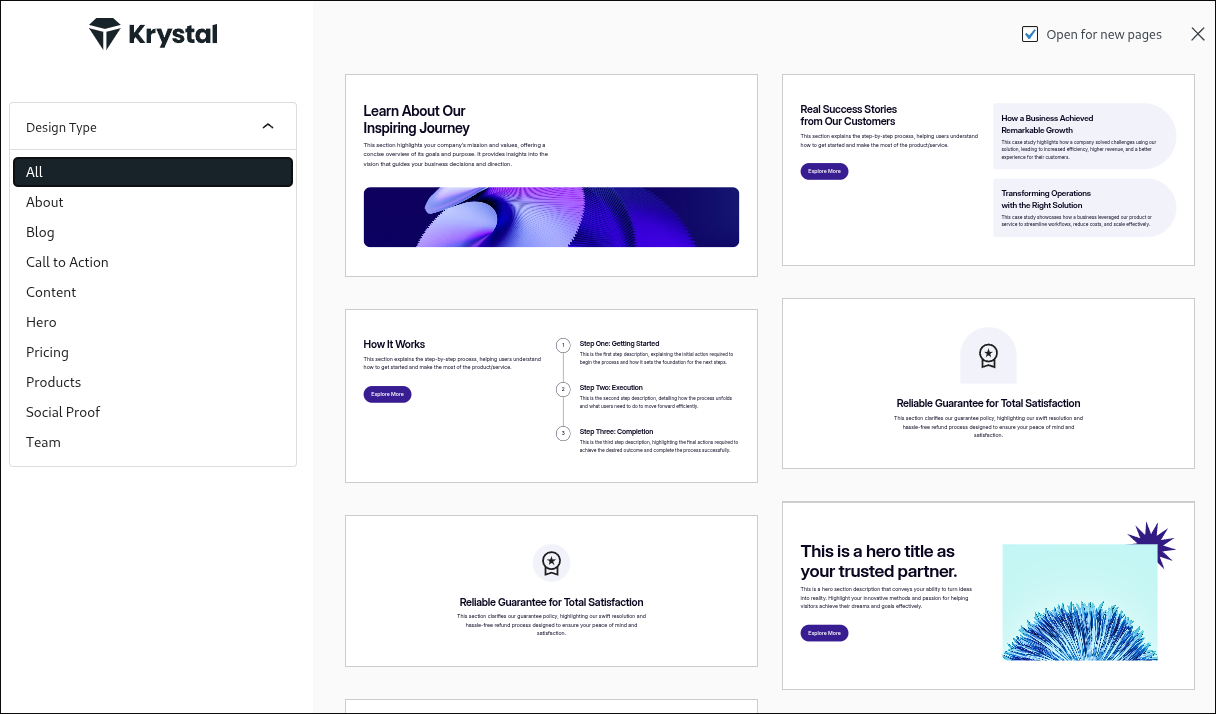
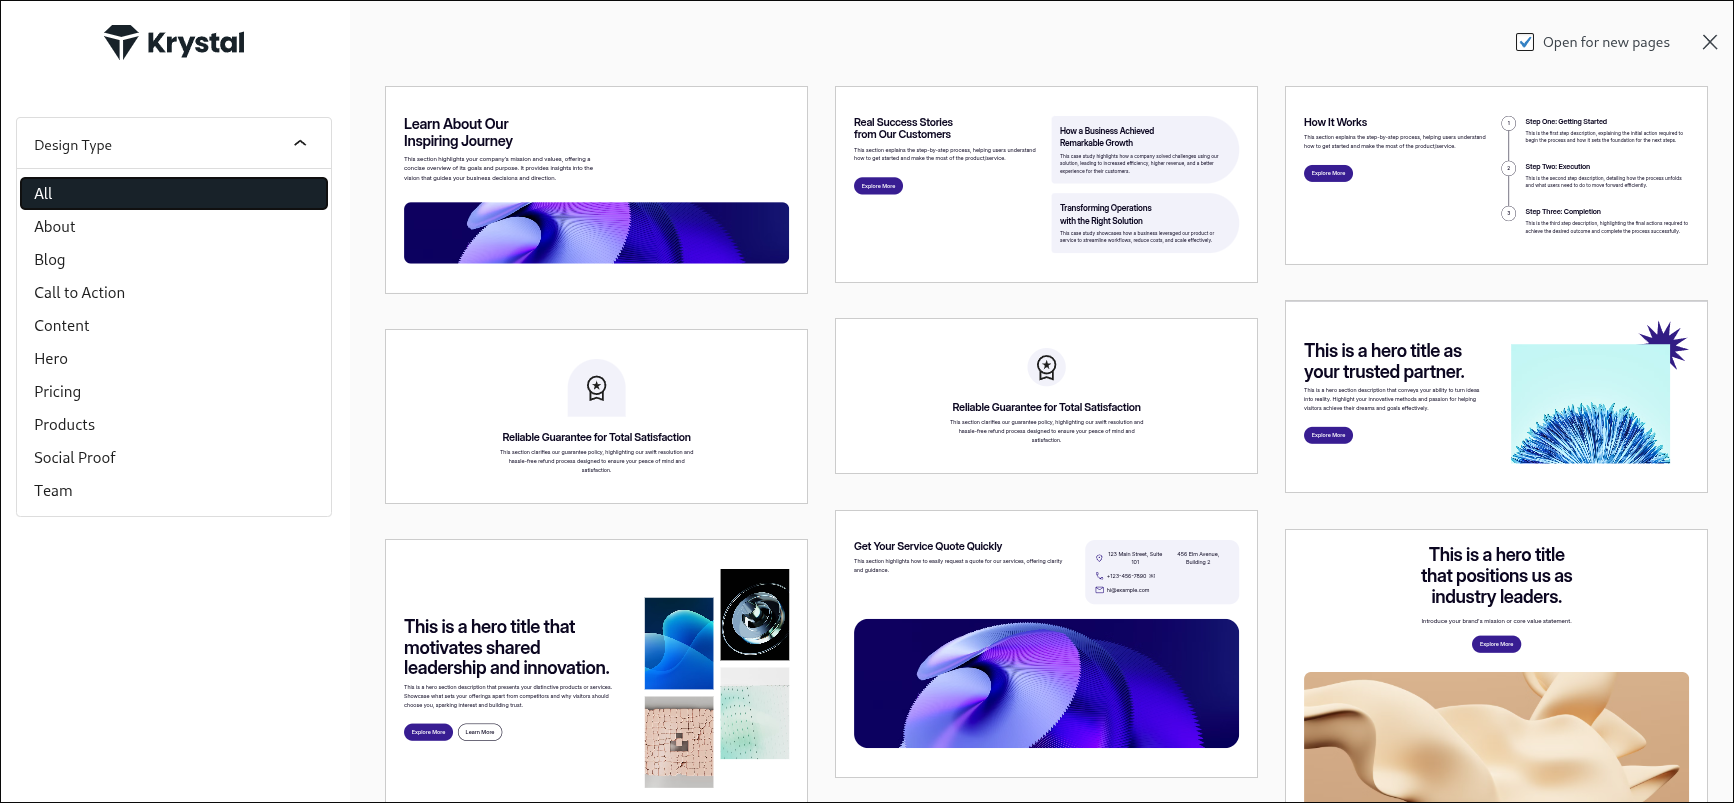
The AI Site Builder includes a library of templates, block patterns, and style controls that let you create a professional design without needing custom code. You can choose from ready-made layouts, then customise them to fit your brand with your own colours, fonts, and images.
The AI Site Builder Library provides complete page templates and smaller block patterns. Templates give you an entire page layout in one click, while block patterns add ready-made sections like testimonials, pricing tables, or image galleries.
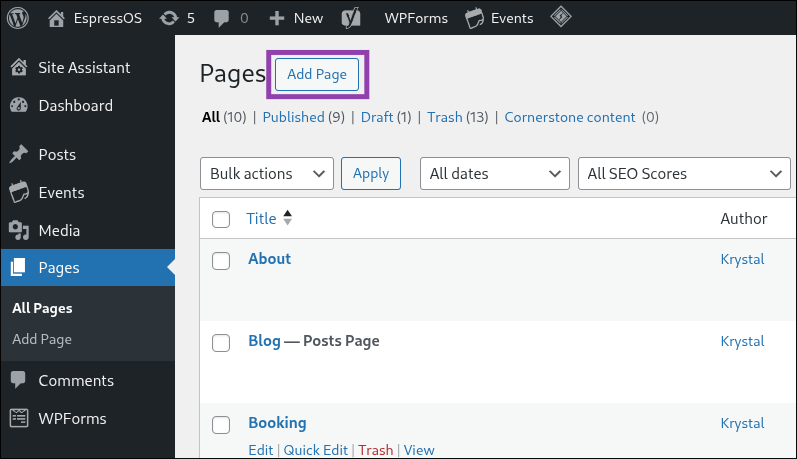
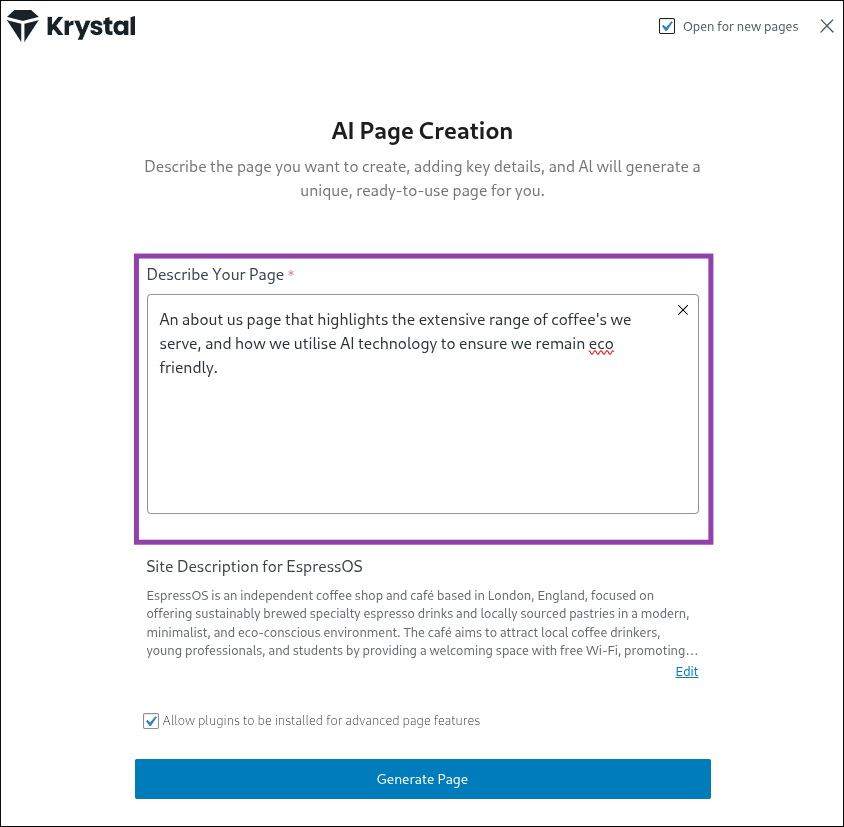
For a new page:
Click the "Pages" button
Click "Add Page"
Complete the AI Page creation prompts
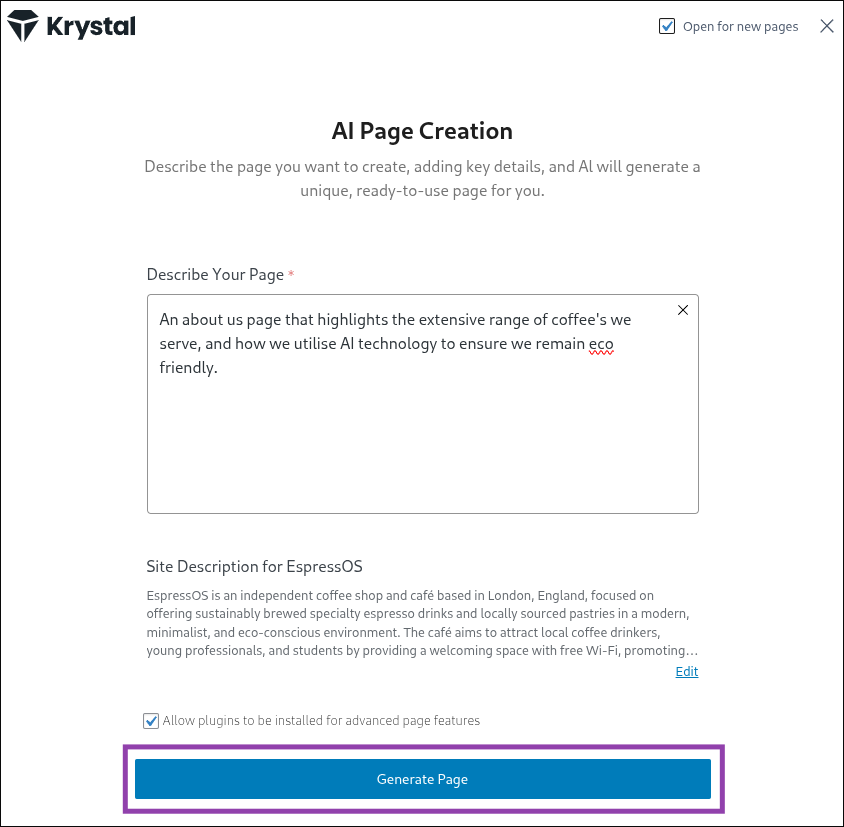
Click "Generate Page"
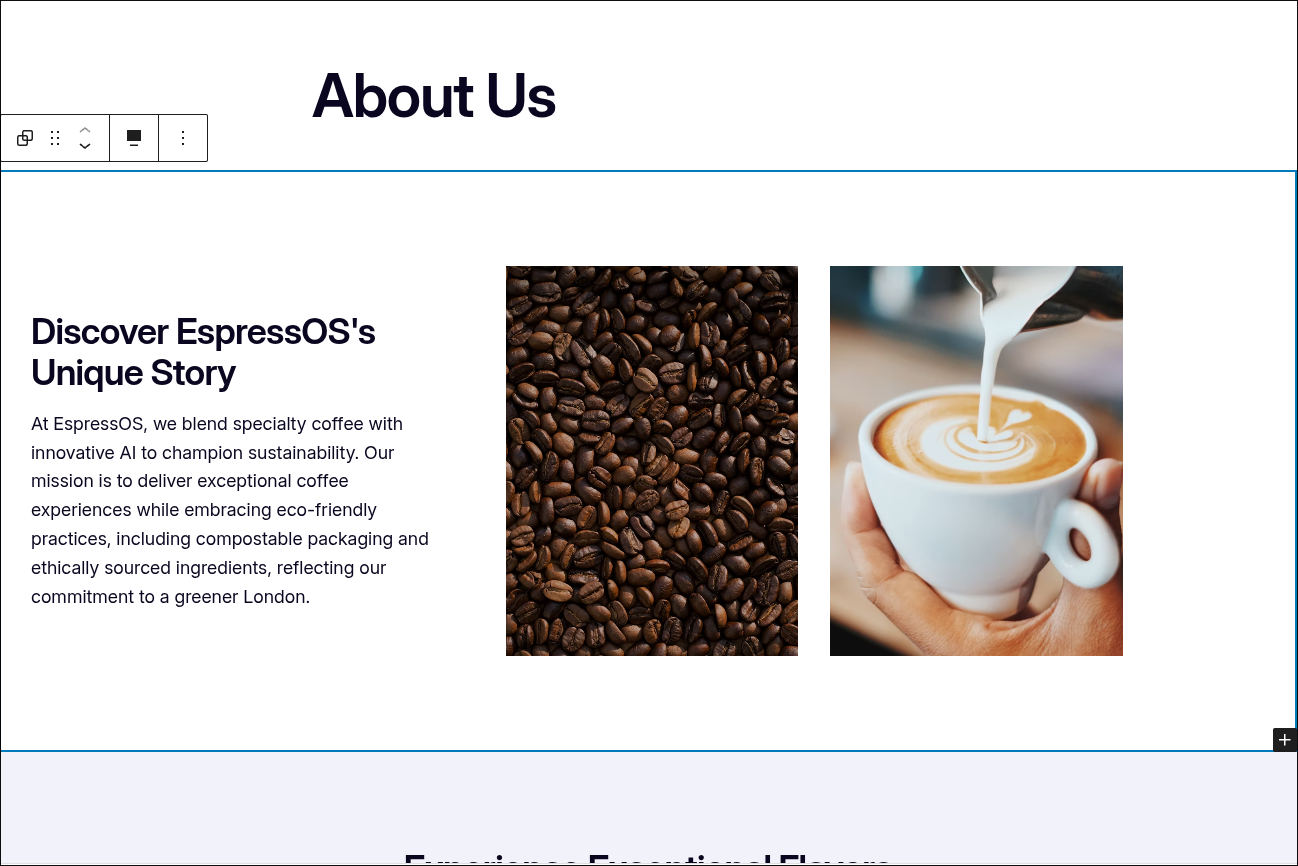
Review your newly created page!
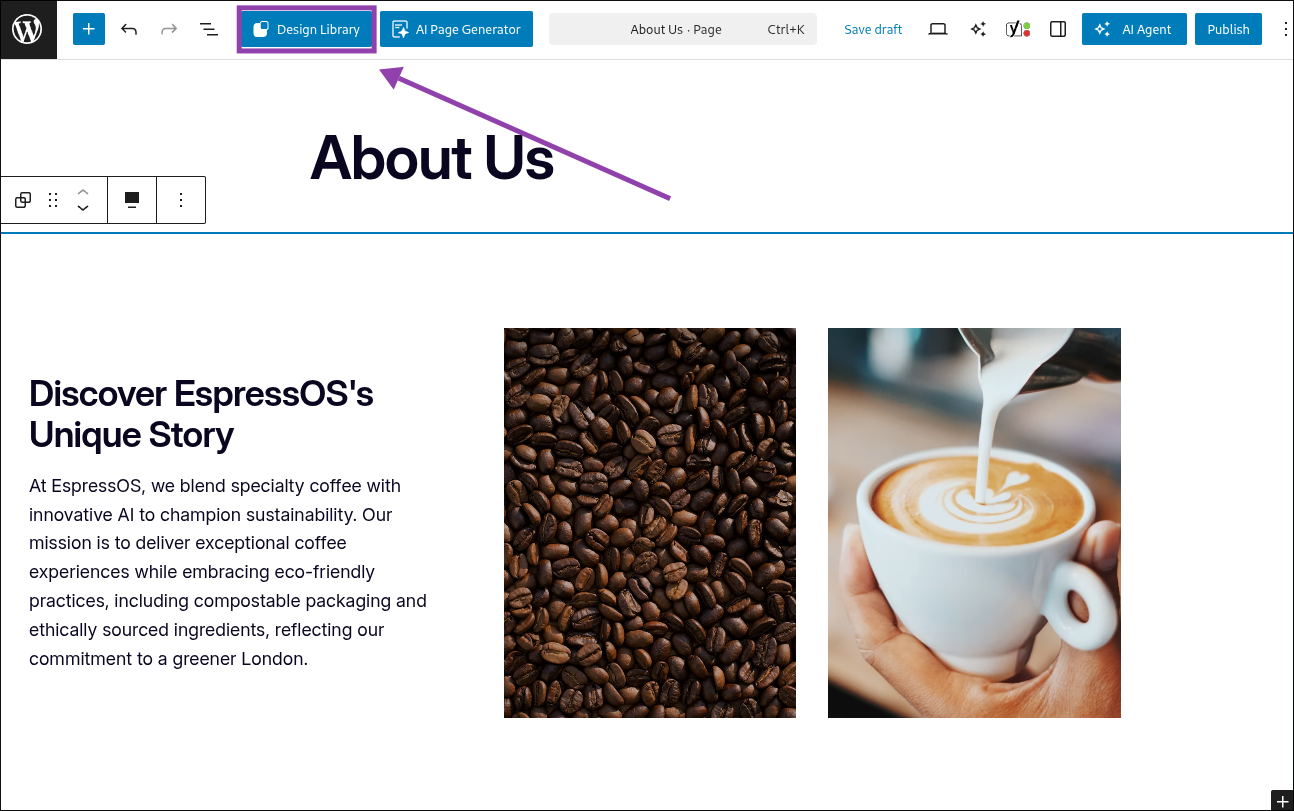
If you want to change the layout, click the "Design library button"
Select your preferred template
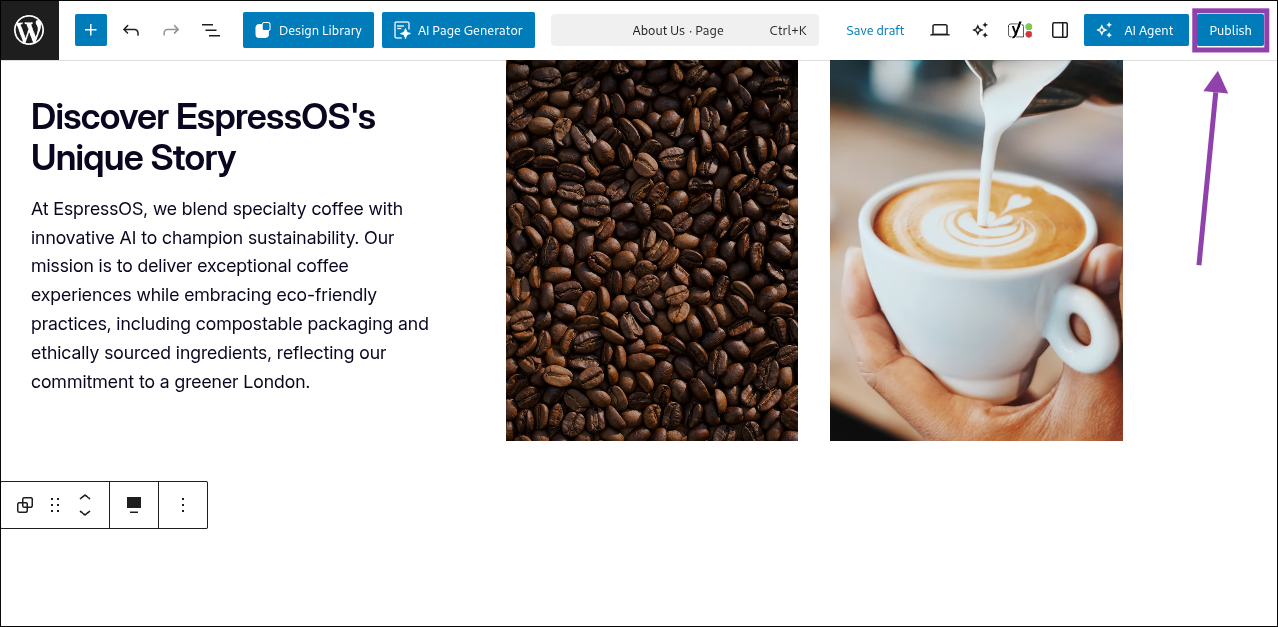
When you're ready, click "Publish" to make your new layout live!
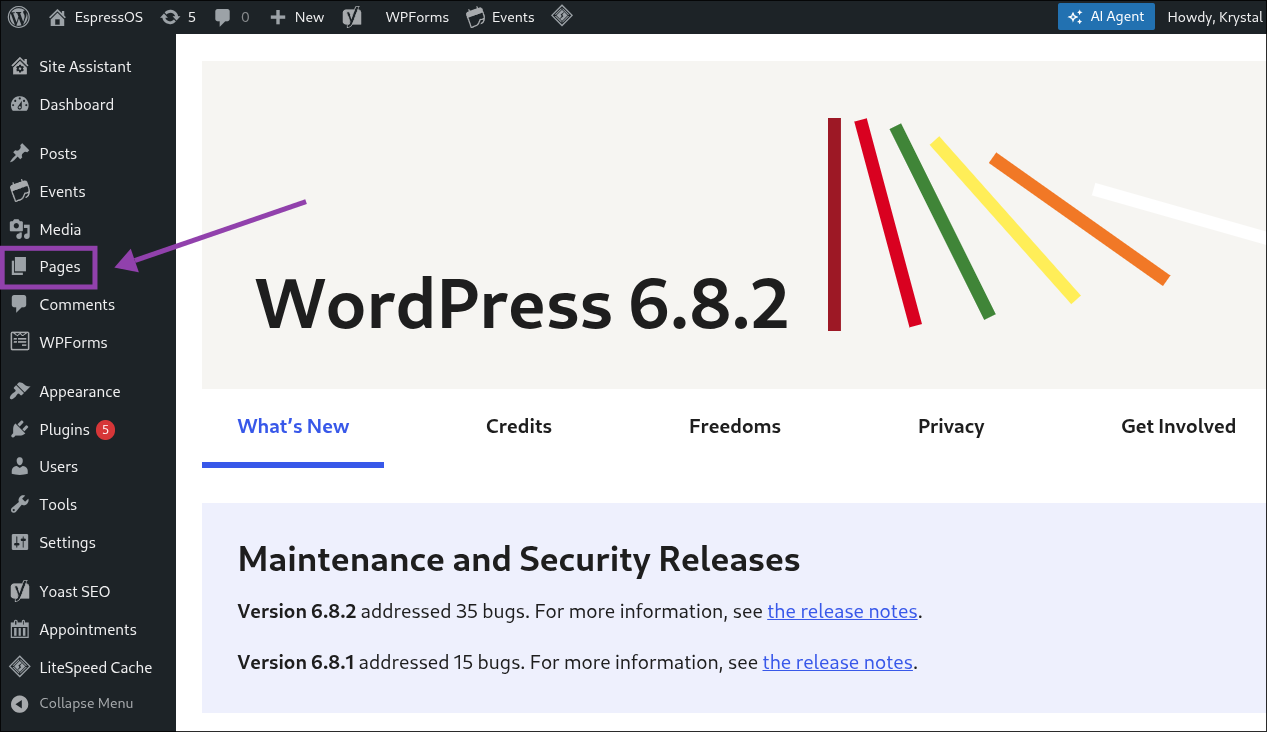
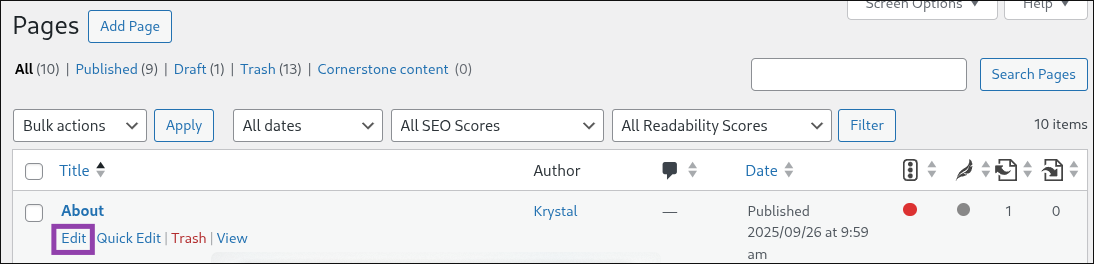
For an existing page:
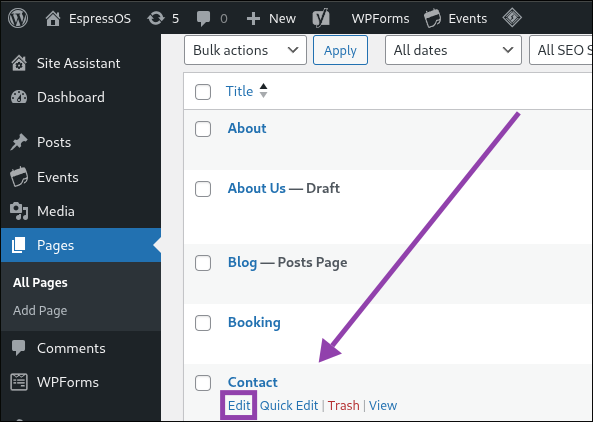
Click the "Pages" button
Click "Edit" near the page you want to update
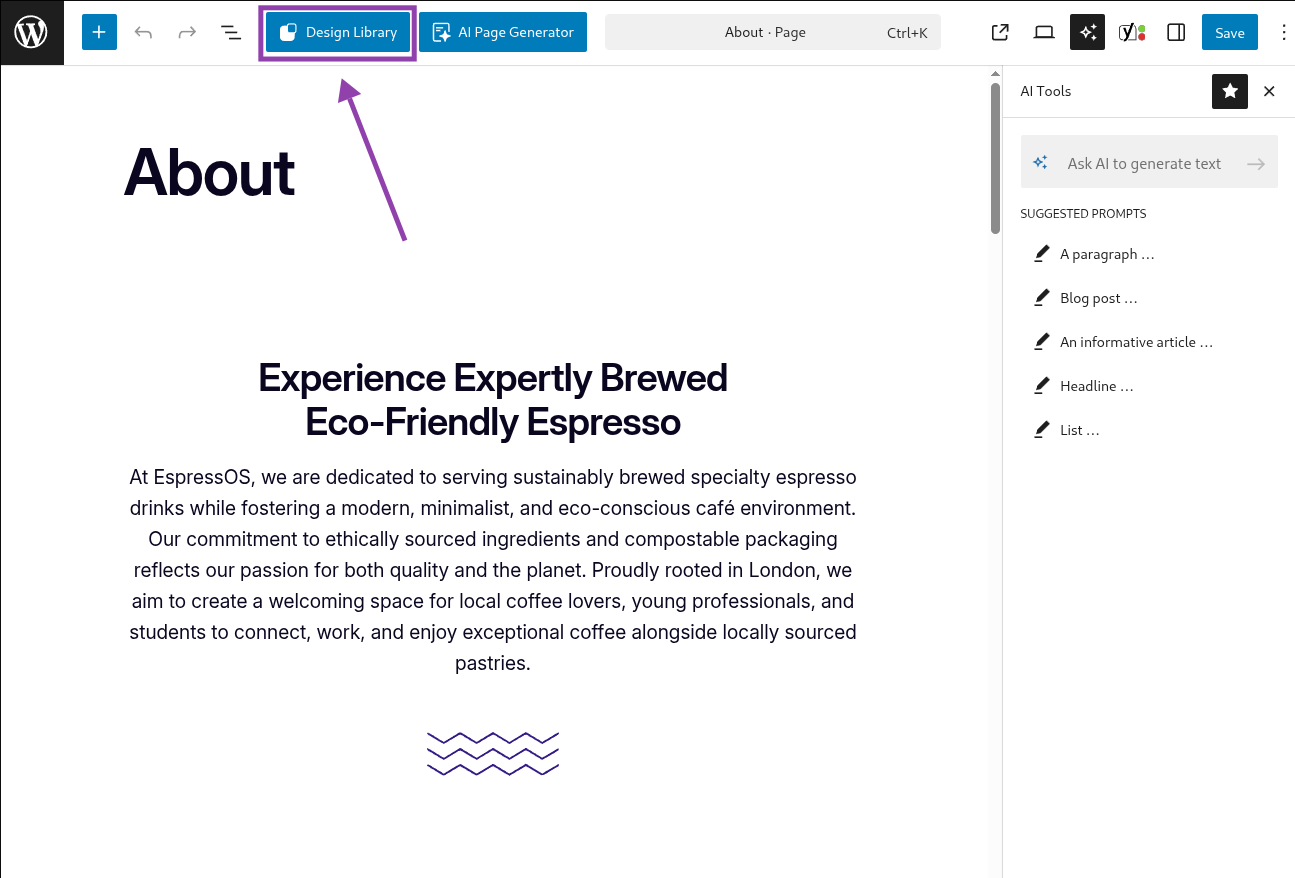
Click "Design Library"
Now you can select your preferred design from the list of templates, and organise this by the design type
When you're ready, click "Publish" to make your new layout live!
Working with the Block Editor
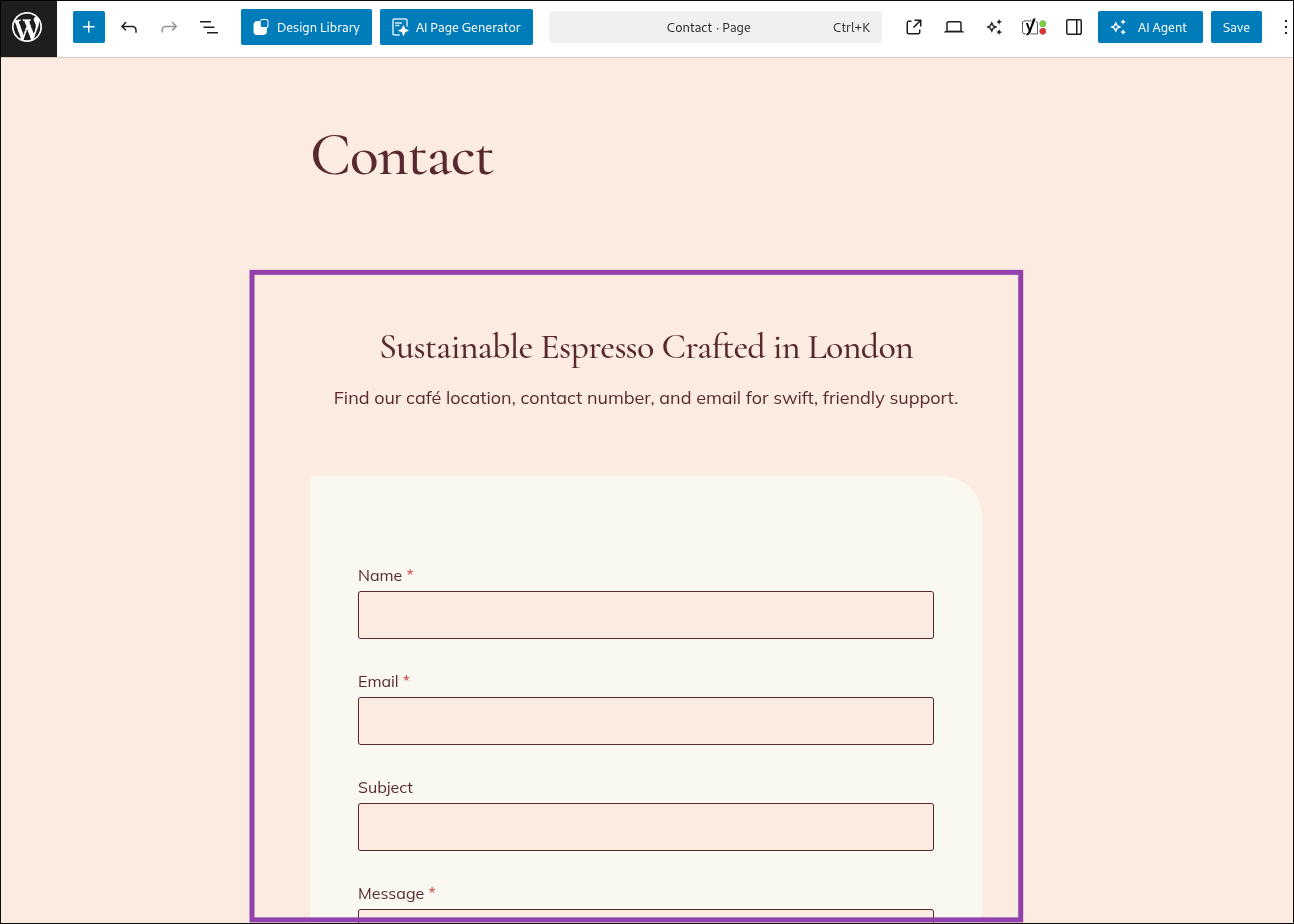
The block editor is where you’ll spend most of your time customising your site. Each piece of content (text, image, button, etc) is a “block” that you can add, move, and style.
From the menu on the left, click “Pages”.
Hover over the page you want to edit (for example, “Home”) and click “Edit”.This will open the block editor. You’ll see your page content in the main area.
To edit text
Click directly on the block of text you want to change.
Start typing to replace the existing content.
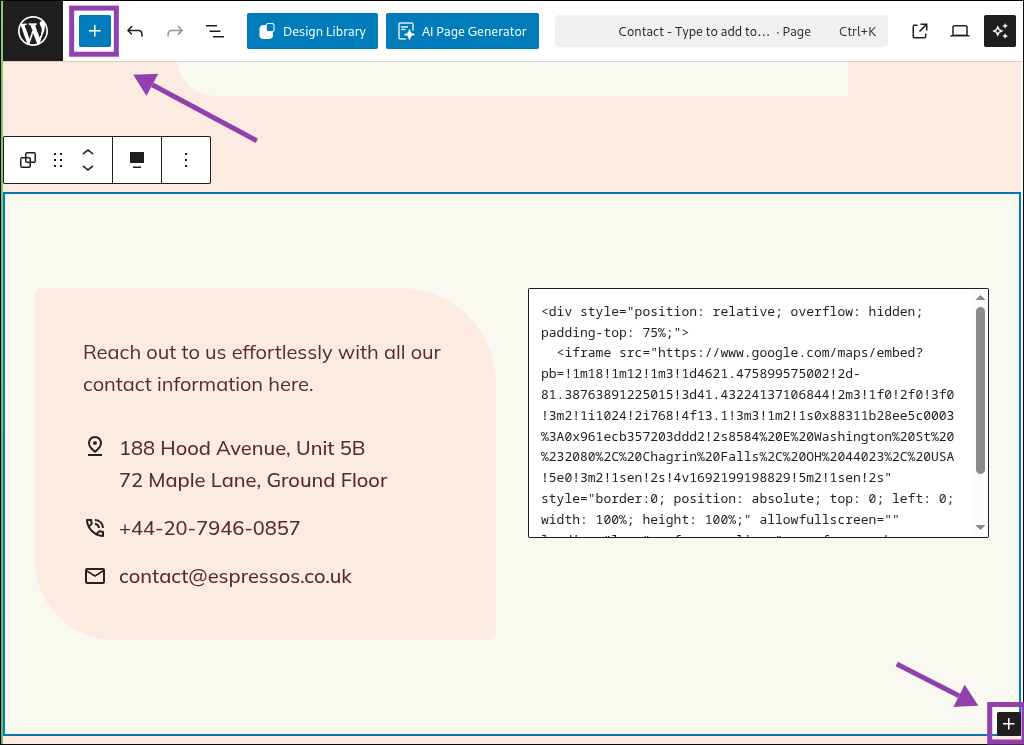
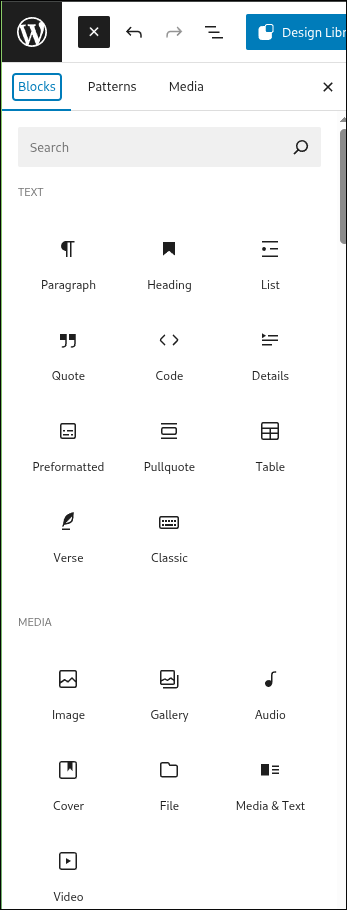
To add a new block, click the “+” button in the top left corner, or the small “+” that appears when you hover between blocks.
Select the block type to add
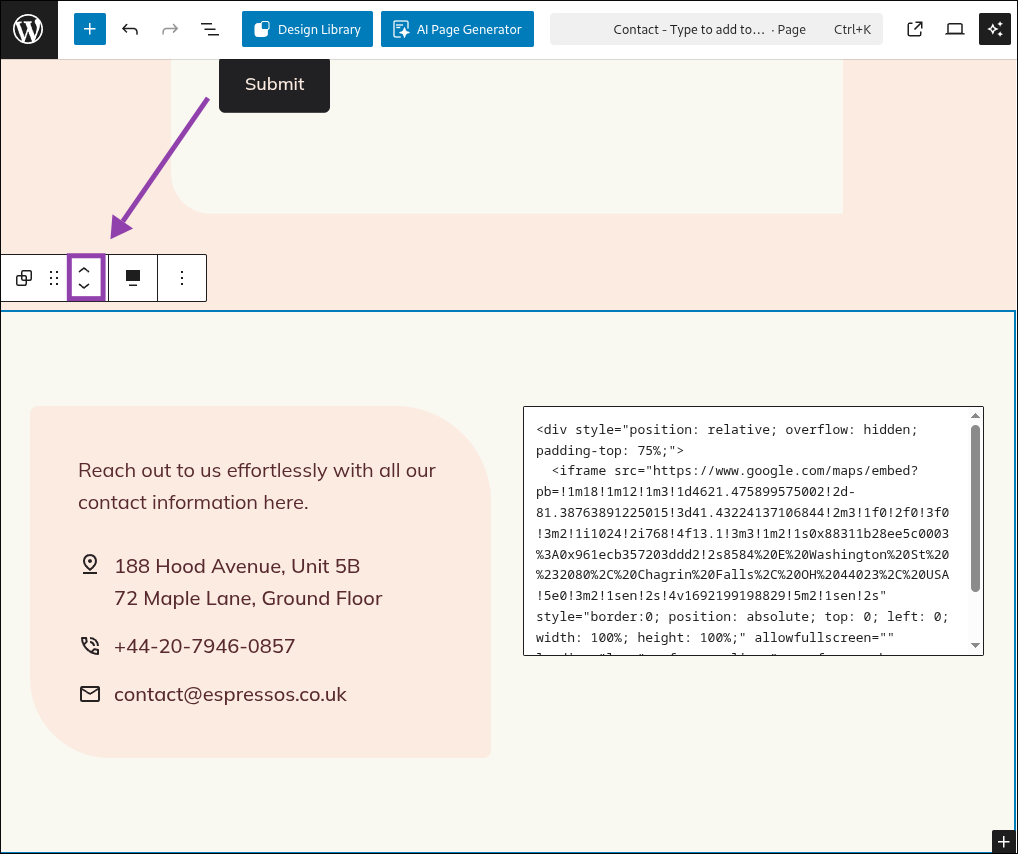
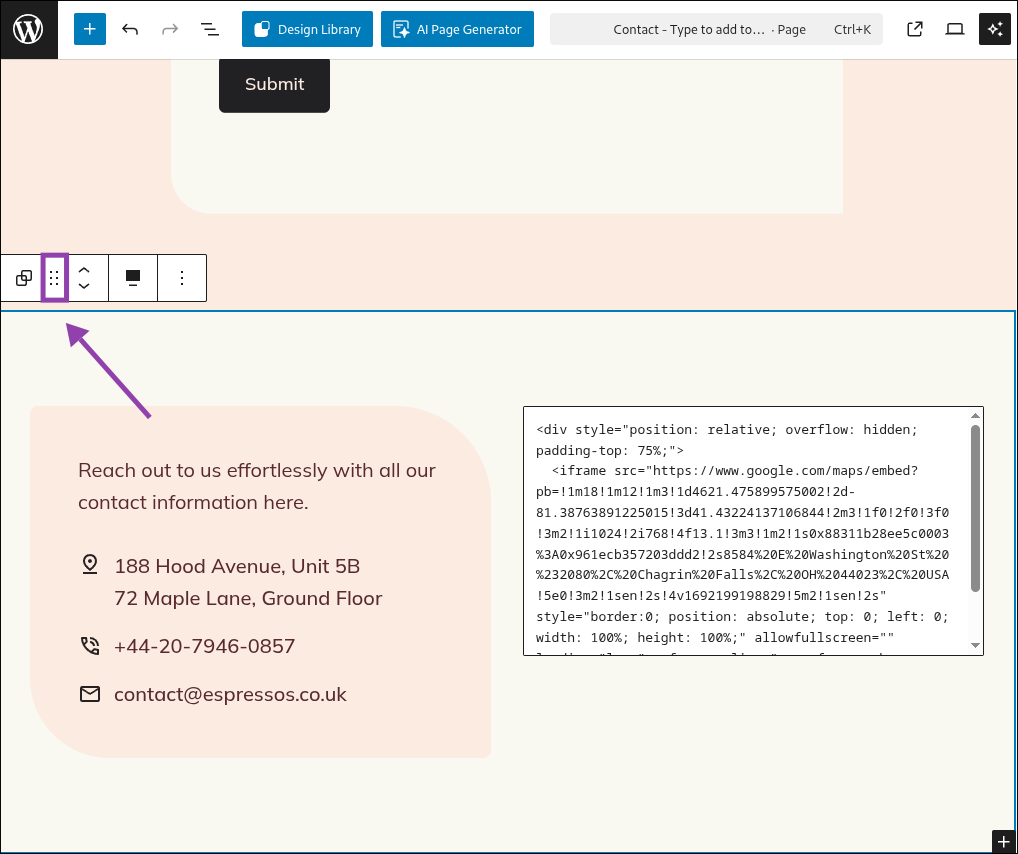
To move a block
Click once on the block you want to move.
Use the up or down arrows in the small toolbar above the block to shift its position.
Alternatively, drag the block using the “six dots” handle on the left.
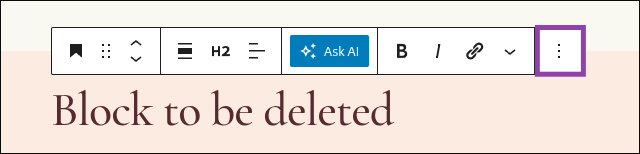
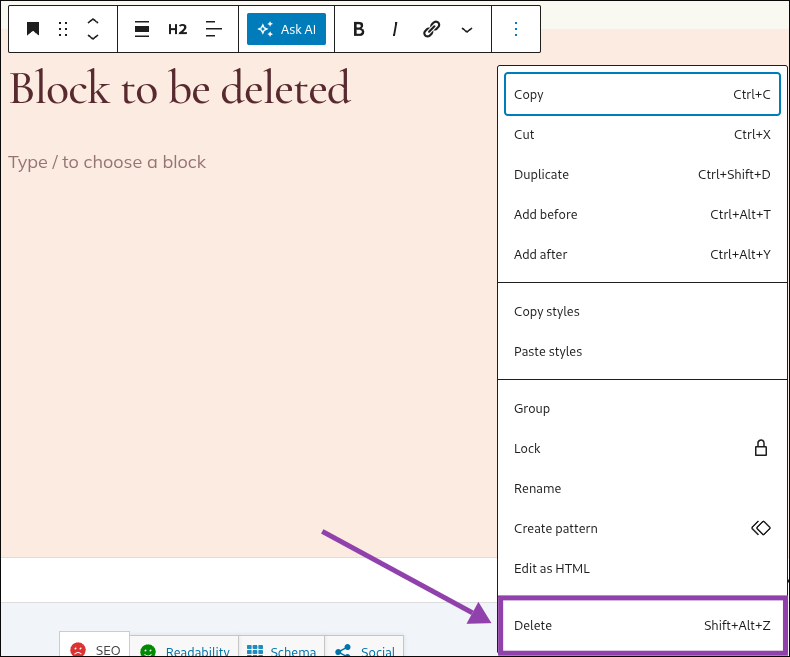
To delete a block
Click on the block to select it.
Click the three dots in the toolbar that appears above the block.
Select “Delete” from the menu.
To format a block (bold, italics, links, alignment)
Click on the block to bring up the toolbar.
Use the toolbar options to apply formatting:
B = Bold
I = Italic
Link icon = Add or edit a hyperlink
Alignment icons = Left, centre, or right align
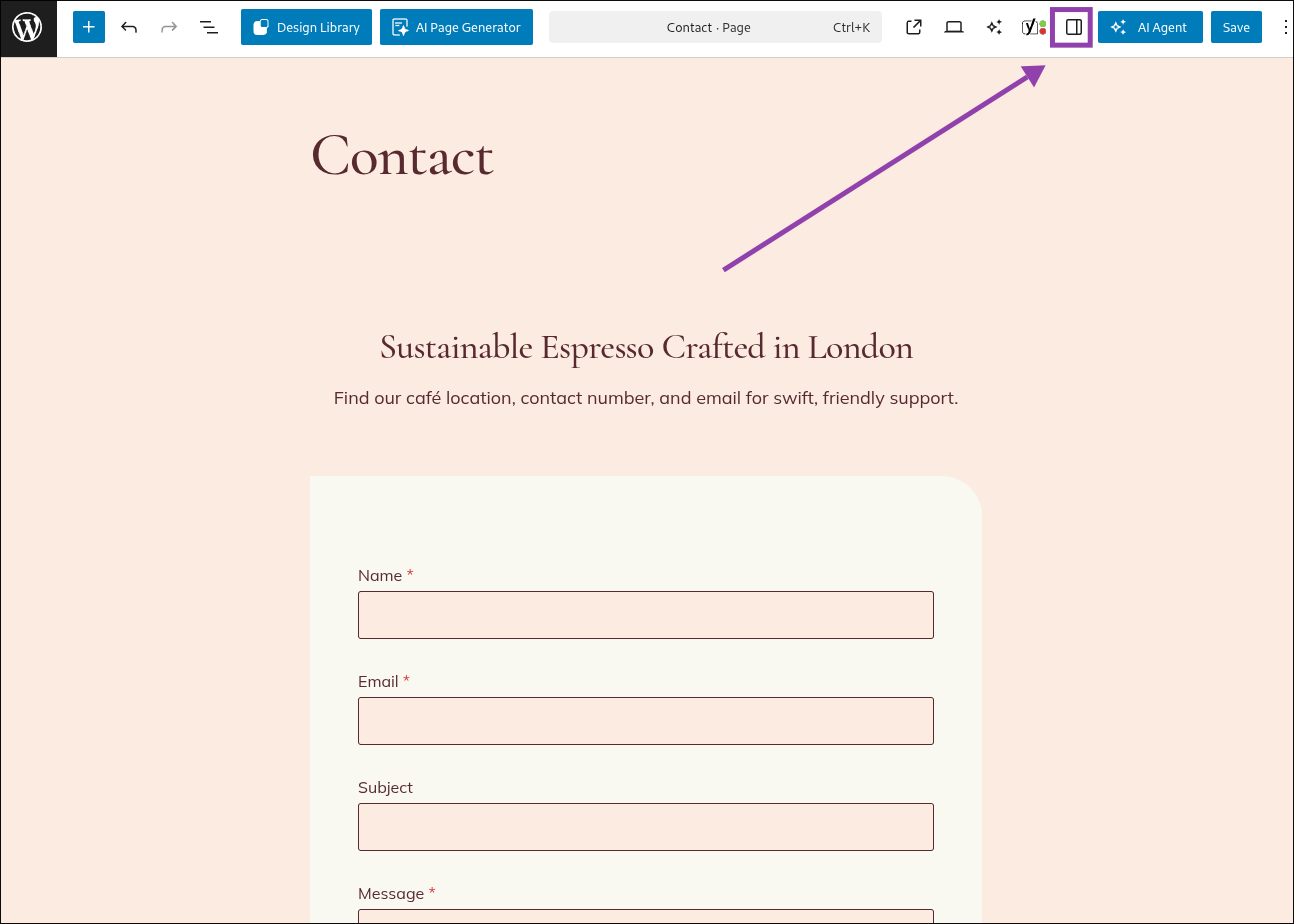
To use block settings in the sidebar
Select a block you want to customise.
If the sidebar is hidden, click the sidebar icon in the top right corner to show it.
Under the “Block” tab, adjust settings such as:
Text size and font
Text and background colour
Padding and margin (spacing around the block)
Styling Your Site
Global styles let you make changes across your entire site at once, instead of editing each page individually.
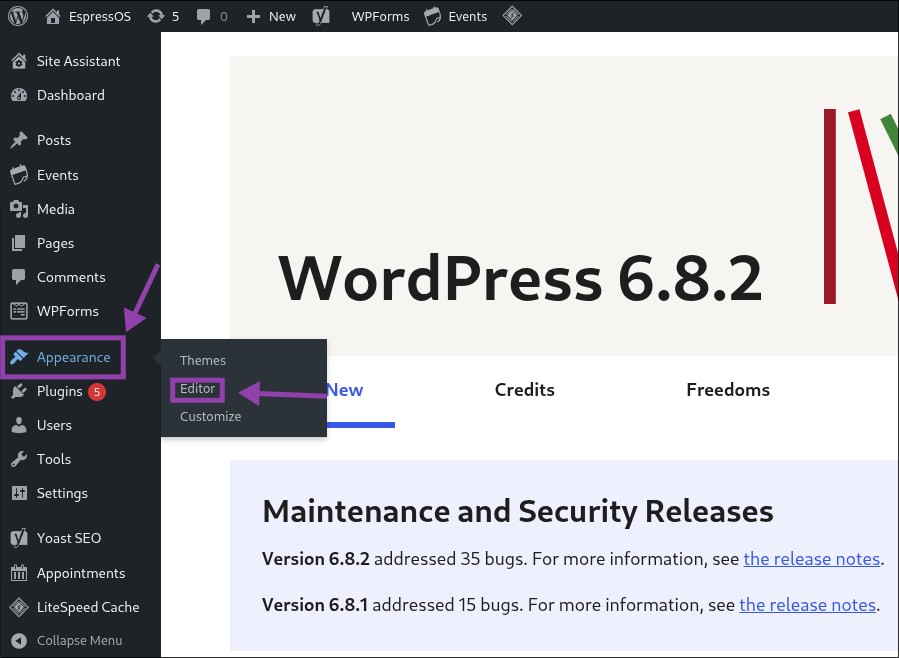
In the WordPress dashboard, go to “Appearance” > “Editor”.
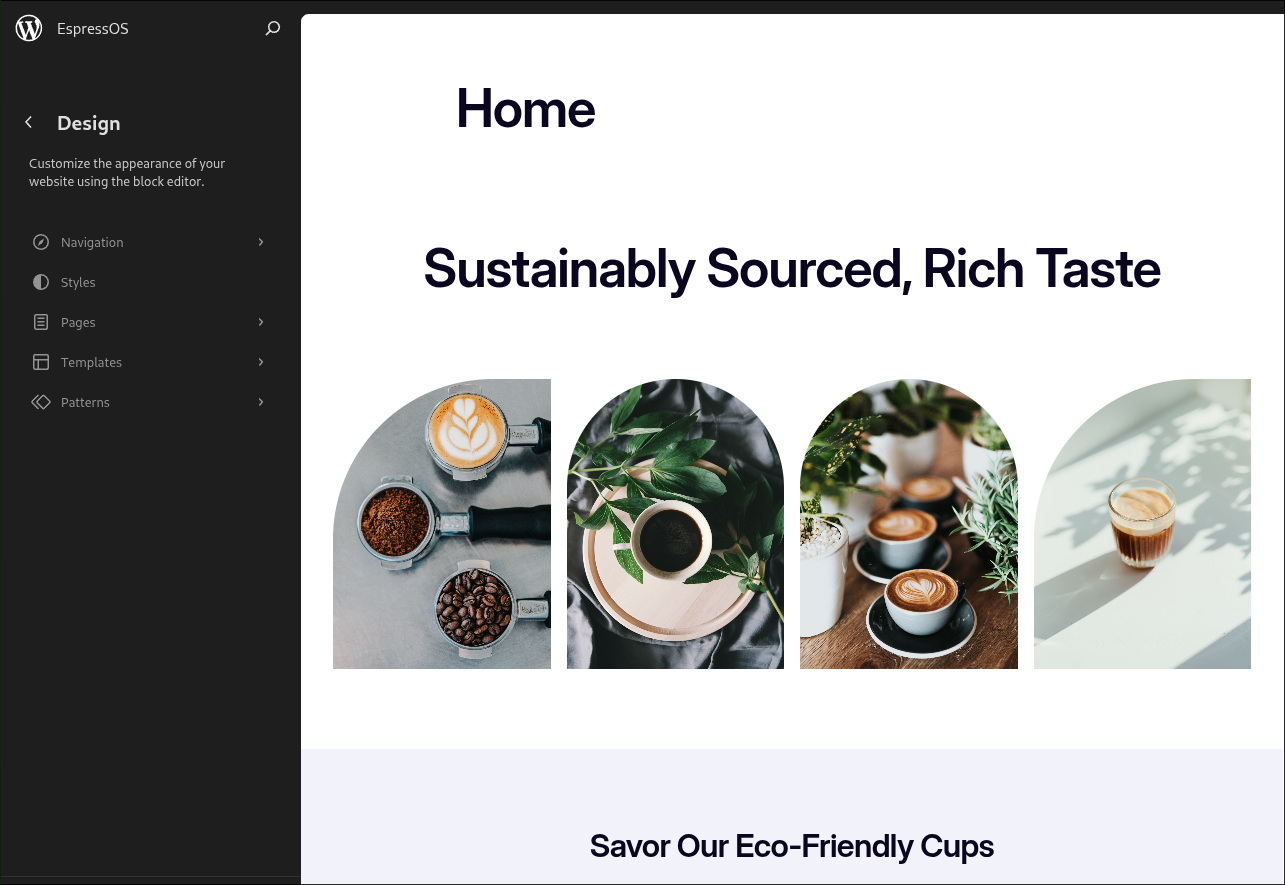
The site editor will open, showing your homepage layout.
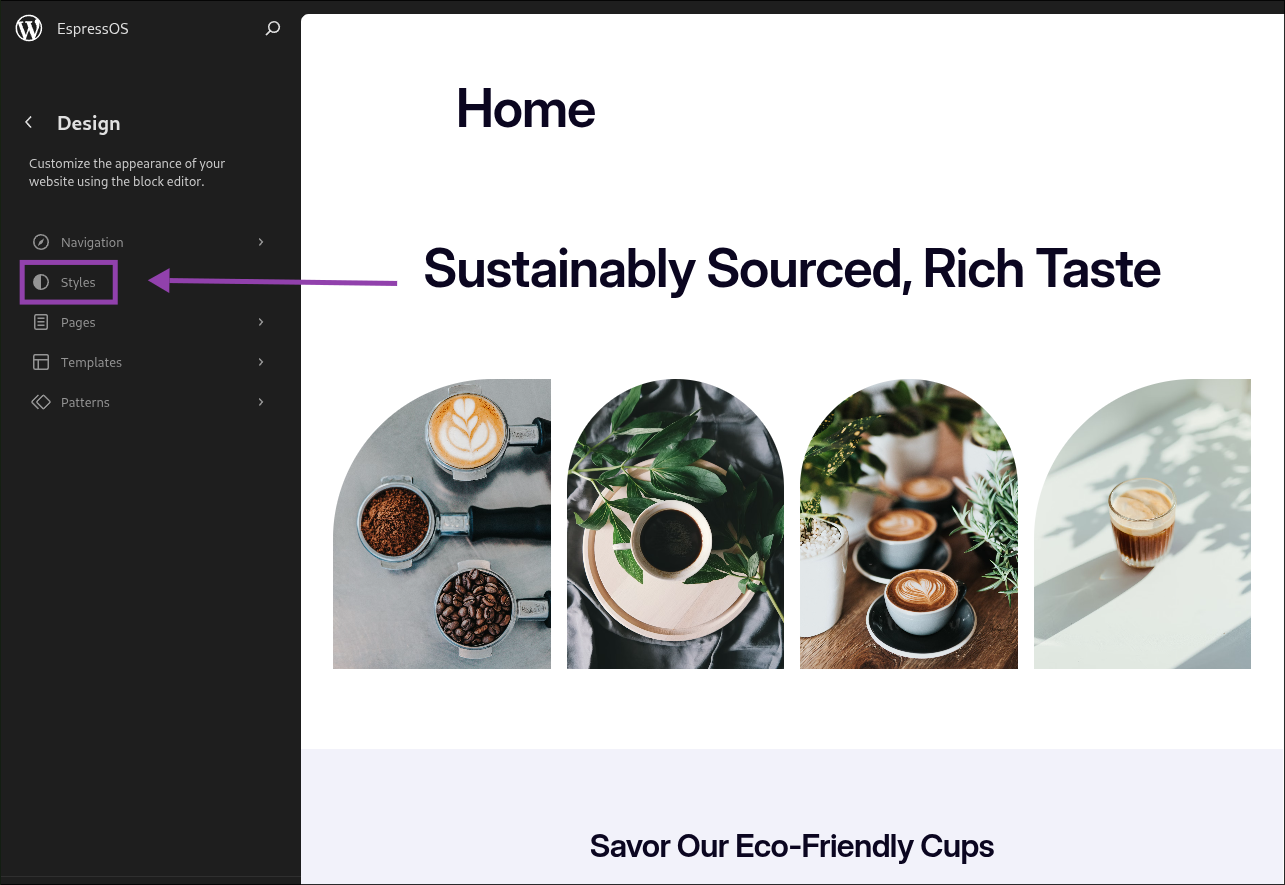
Click the “Styles” icon (a half-shaded circle).
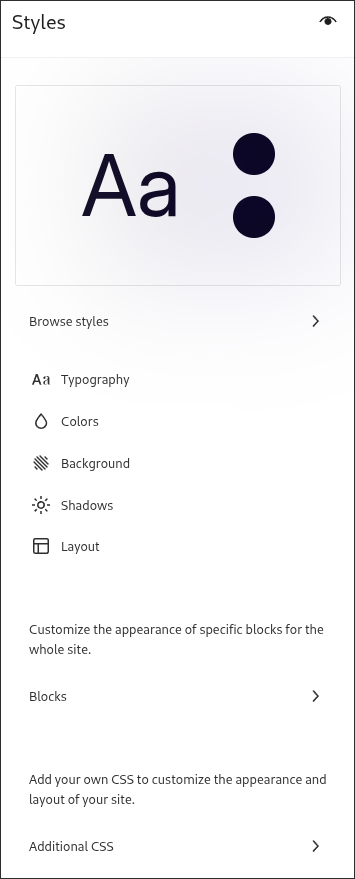
From here you can:
Click “Typography” to set global fonts for headings and paragraphs.
Click “Colours” to set your site’s colour palette for text, backgrounds, and links.
Click “Layout” to adjust spacing and container widths.
Use “Blocks” to change the default style of specific block types (for example, make all buttons the same colour and shape across your site).
Any changes you make here will apply everywhere, keeping your design consistent. When you’re finished, click “Review X Changes” in the bottom left corner, then click "Save".
Tips for Best Results
Keep a consistent design across all pages so the site feels cohesive.
Avoid clutter: too many blocks or sections can make pages hard to read.
Optimise images before uploading to keep page load times fast.
Review your site on both mobile and desktop to make sure the design works everywhere.
 Updated 3 months ago
by
Tristan Payne
Updated 3 months ago
by
Tristan Payne