Managing files using Onyx File Manager
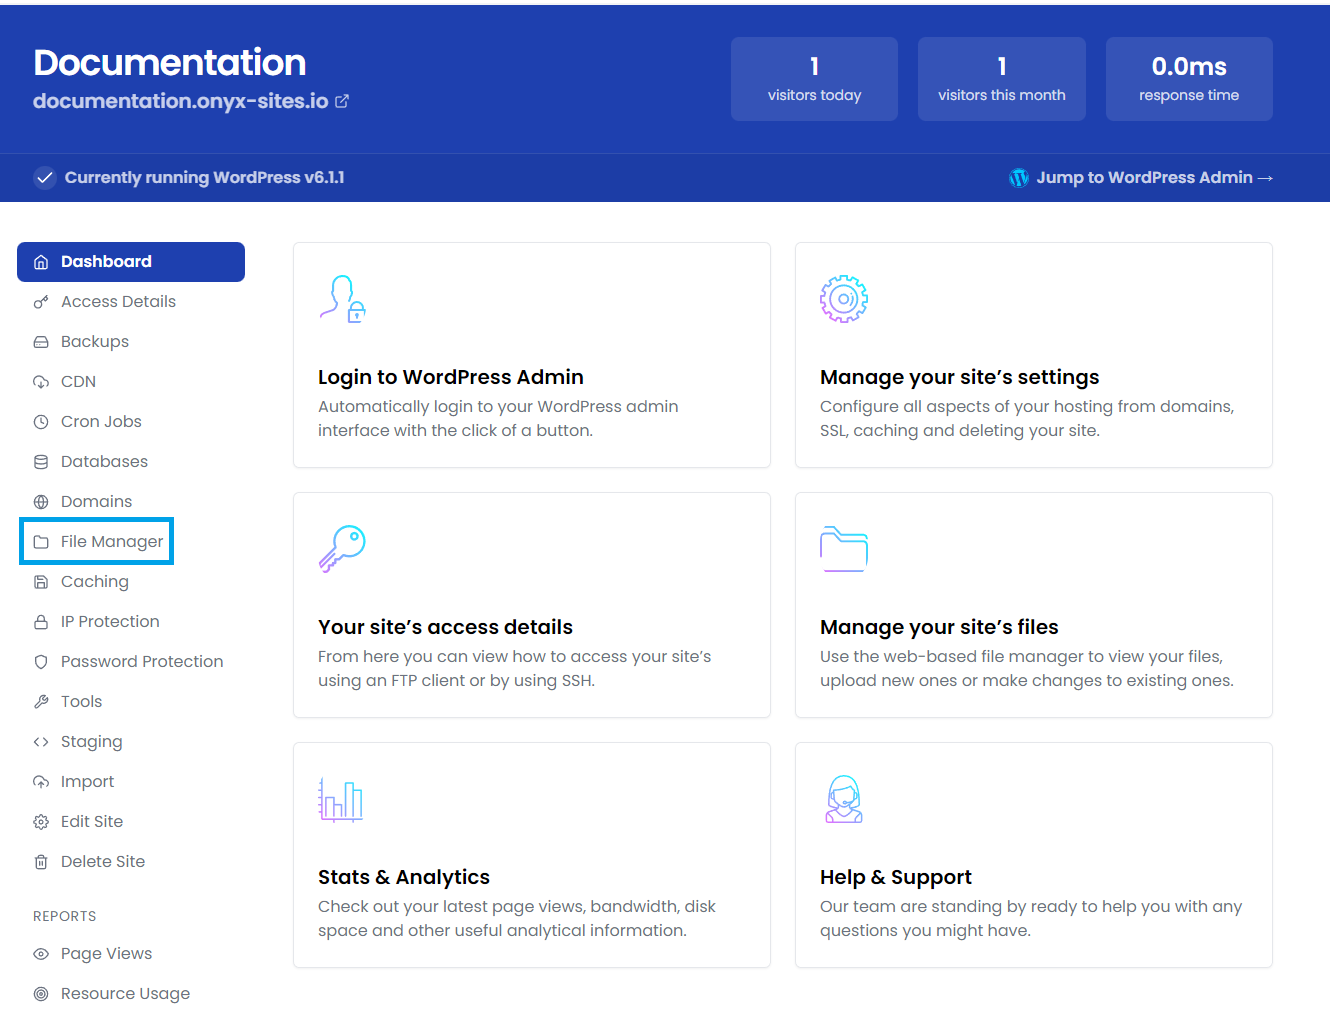
The Onyx File Manager can be found within each site's dashboard. Click File Manager in the left hand menu to access it.
We have a separate guide on using SFTP to access your Onyx files and folders.

How to get around
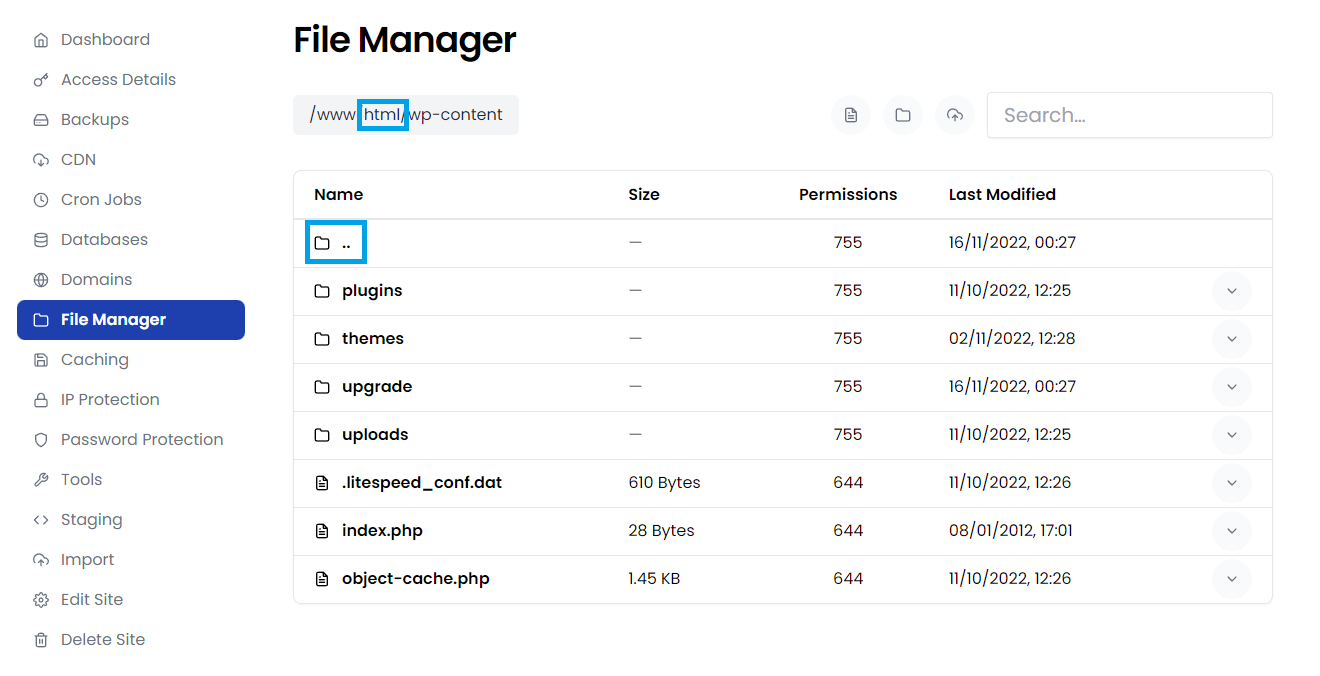
The double fullstop .. will take you back to the previous directory (up one level).
You can also hover over any part of the full path shown at the top and click any folder to go straight back there.

In the Name column, you can click on the underlined directory names to traverse to that directory.
New File
Clicking New File will prompt for a filename - enter a name and click OK. The file editor will then open. Add content to the new file and Save to return to the file and folder view.
New Directory
Clicking New Directory will prompt for a directory name - enter a name and click OK. The directory will be created and you will return to the file and folder view in the new directory.
Move (a file or directory)
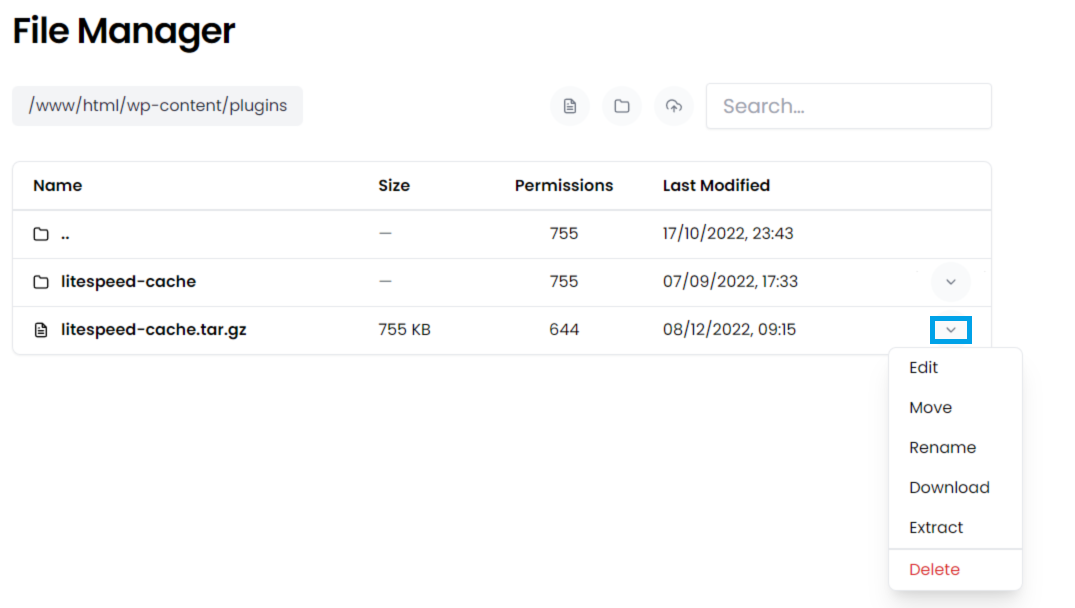
Clicking Move will prompt for a new directory location for the file or folder. Enter the new path and click OK to complete the move.
Delete (a file or directory)
Click Delete to remove a file or folder. Click OK at the prompt to confirm deletion.
Compress (and Extract)
Clicking Compress will create a .tar.gz compressed archive of the file or folder selected. The original file or folder will be left intact.
If you upload a plugin, theme or other archive you will see an Extract button - clicking this will expand the archive in to the current location.

Upload a file
Clicking Upload a file will prompt with your file explorer for the file you wish to upload. You can upload a single file - but this could be an archive (e.g. .zip) containing a theme or plugin - which you could then Extract once uploaded.
Editing files
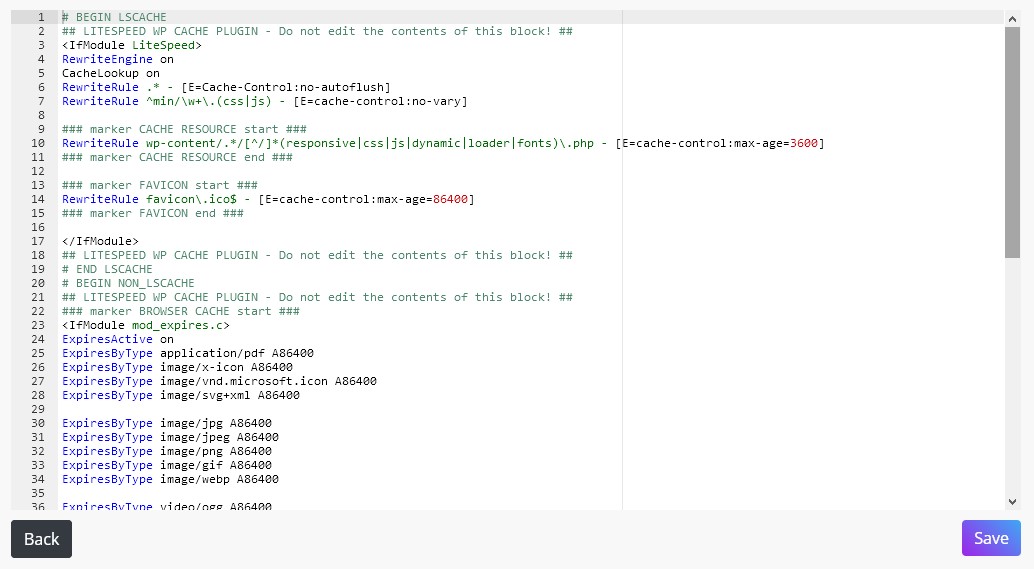
Clicking on any editable file will open it in the Onyx file viewer/editor.

Click the Back button to return to the file and folder view or click Save after making any changes.

