JetBackup - How to view queued jobs and email notifications

This guide walks you through accessing the JetBackup Job Queue and setting up Email Notifications.
In order to access JetBackup you will have to be able to access your cPanel account. If you aren't sure how to access this, please see our guide on Logging in to cPanel (Opens in a new window)
Viewing the Job Queue
- Log into cPanel.
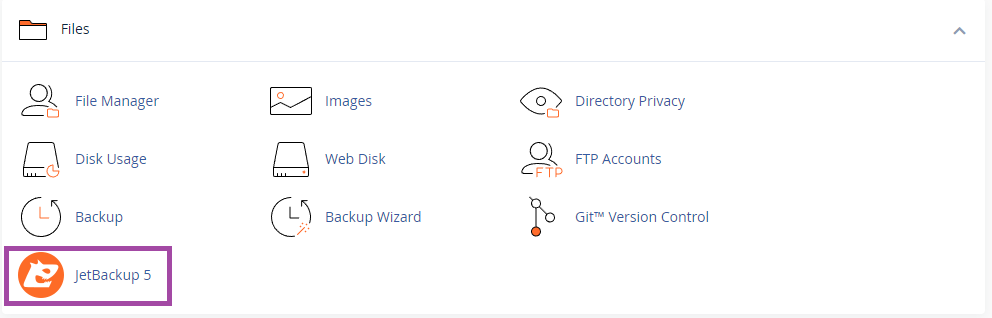
- Under the Files section, click on JetBackup to go to the JetBackup Dashboard.

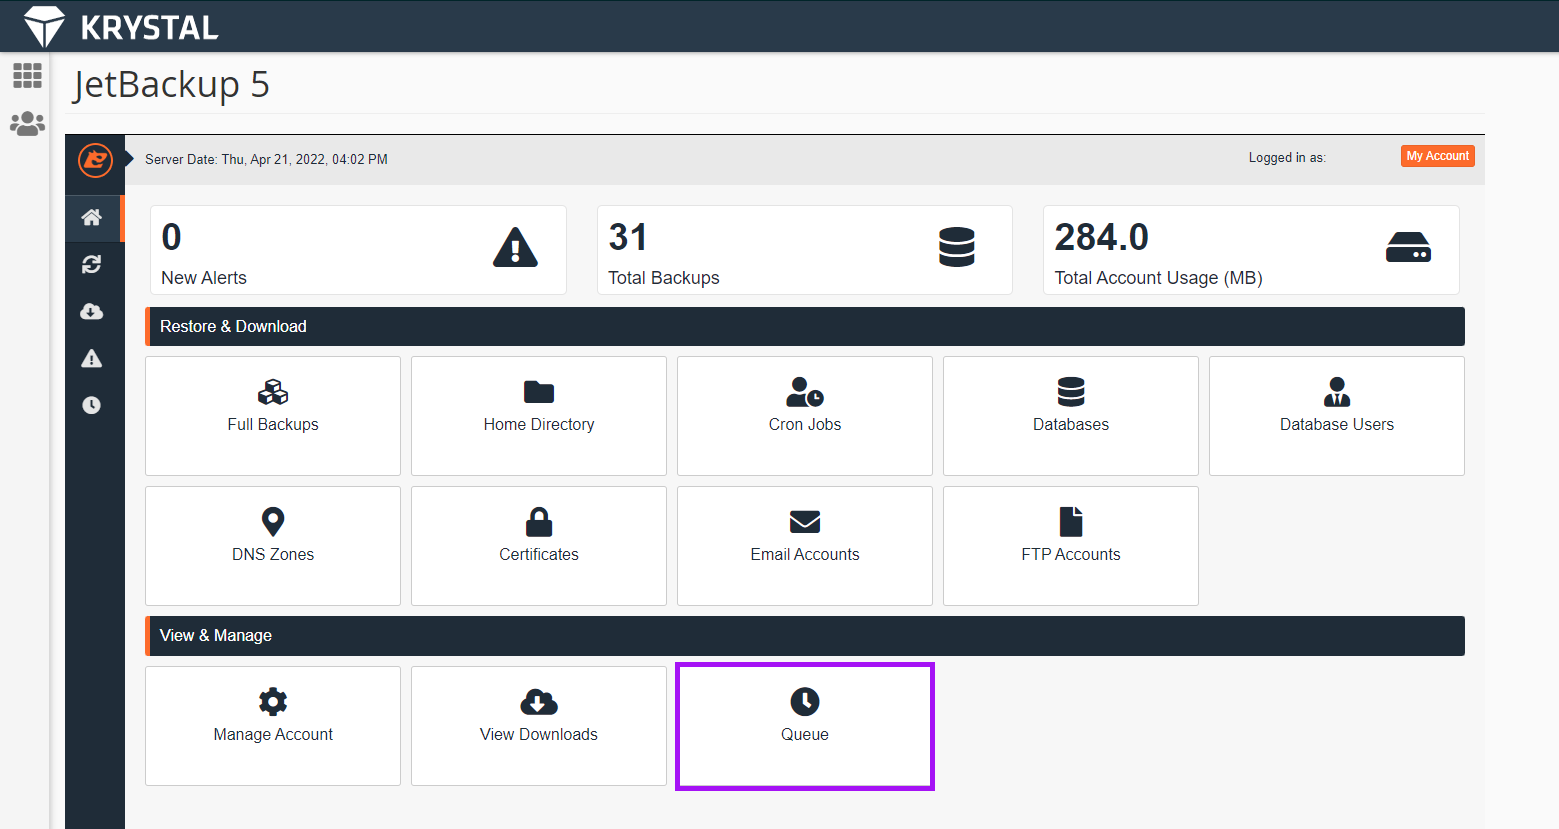
- From the dashboard, click on Queue.
The queue will display information on the type of job, the date the job was created, the total execution time and the status.
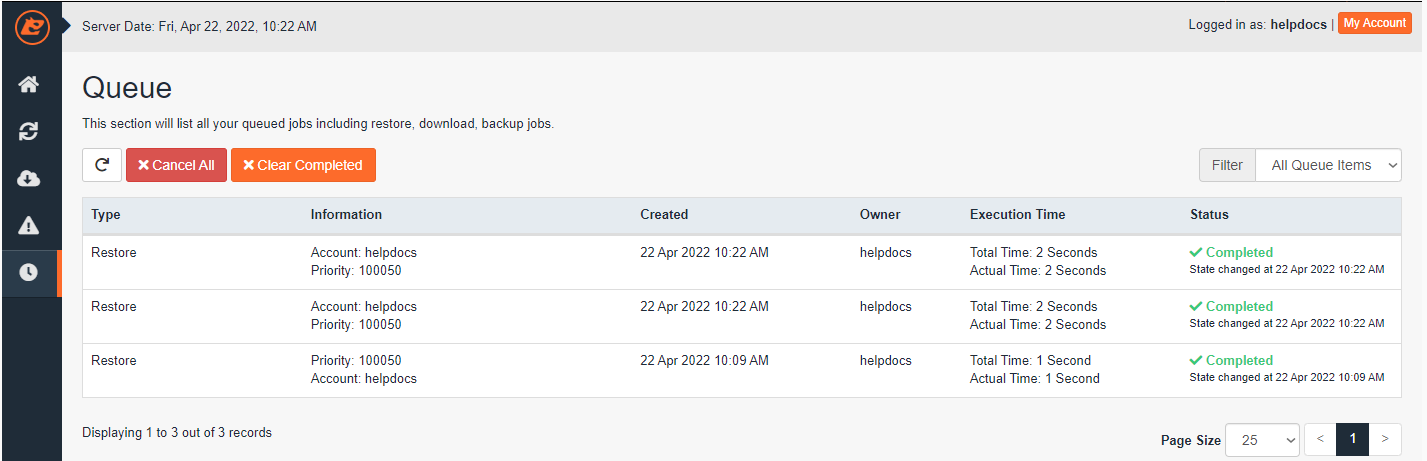
Possible queue states:
- Completed: Your queued job has been completed successfully
- Failed: Your queued job has failed to restore - please contact our support team (Link opens in a new window) who will investigate this further.
- Cancelled: Your queued job has been manually cancelled
- Pending: The server is preparing your account for restore. Please do not make any changes until this has completed.
- Processing: The server is processing your restore. Please do not make any changes until this has completed.
Email notifications of completed tasks
With larger accounts, restores can take a while to complete. Because of this, JetBackup includes Email notifications for completed jobs.
- Log into cPanel.
- Under the Files section, click on JetBackup to go to the JetBackup Dashboard.
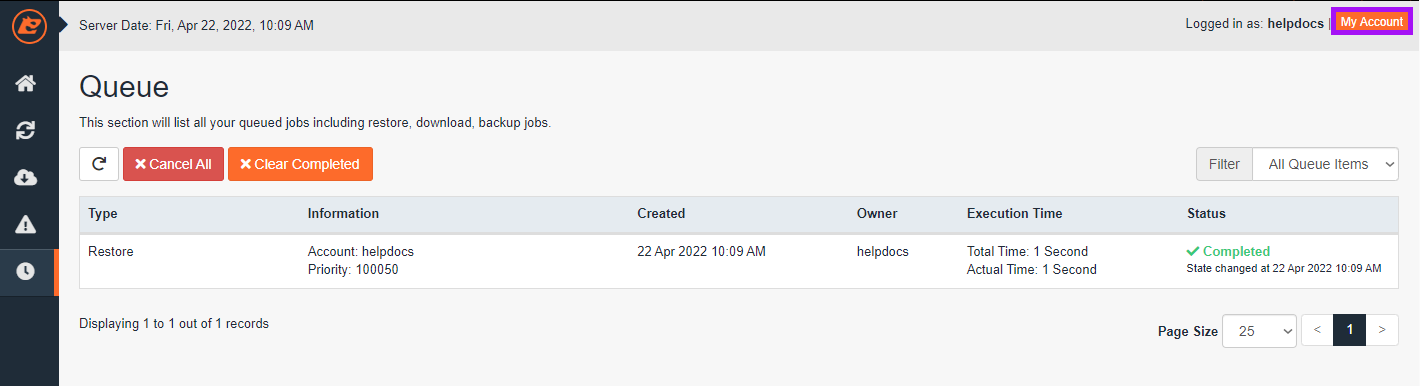
- To get email notifications when a JetBackup task has completed, click My Account.
- Enter your email address, click Save to finish.
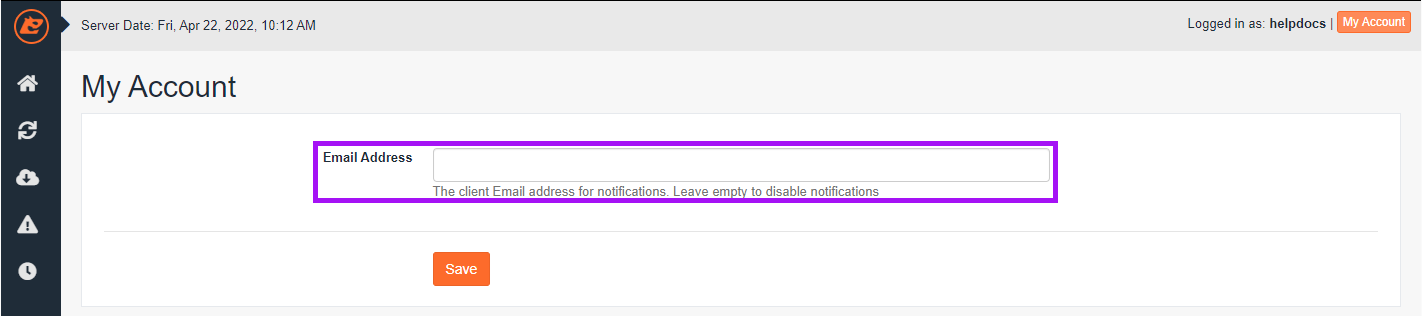
TIP: Removing the email address from this menu will disable notifications!