Reset a WordPress password using phpMyAdmin

Losing access to your WordPress site can be stressful. Particularly if it's a result of a site being hacked, however, don't panic!
This guide shows you how to update a WordPress user's password directly in the database using phpMyAdmin.
Try the easier routes first. The Lost your password? link on your WordPress login page works whenever you can still receive email at the address on the account, and any other administrator on the site can reset your password for you in seconds. Our guide on how to reset your WordPress password covers those. Editing the database by hand is the option for when neither of those is available.
If you have lost access because the site was hacked, changing one password will not be enough on its own - please read My website has been hacked! as well.
Finding your database name:
Before we can edit the database, we will first need to find out which database we need to modify.
If you're only hosting a single website, you can skip this step, otherwise, follow the steps below:
- Log into cPanel
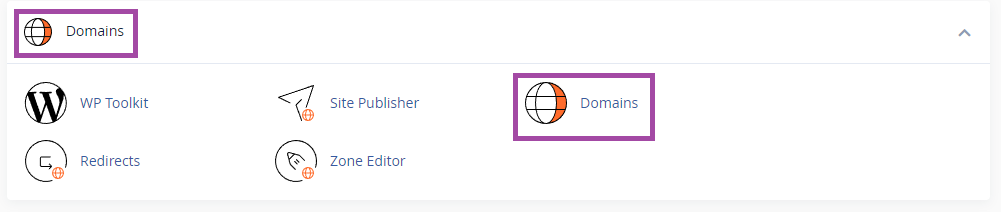
- Navigate to the "Domains" section and click on the "Domains" option
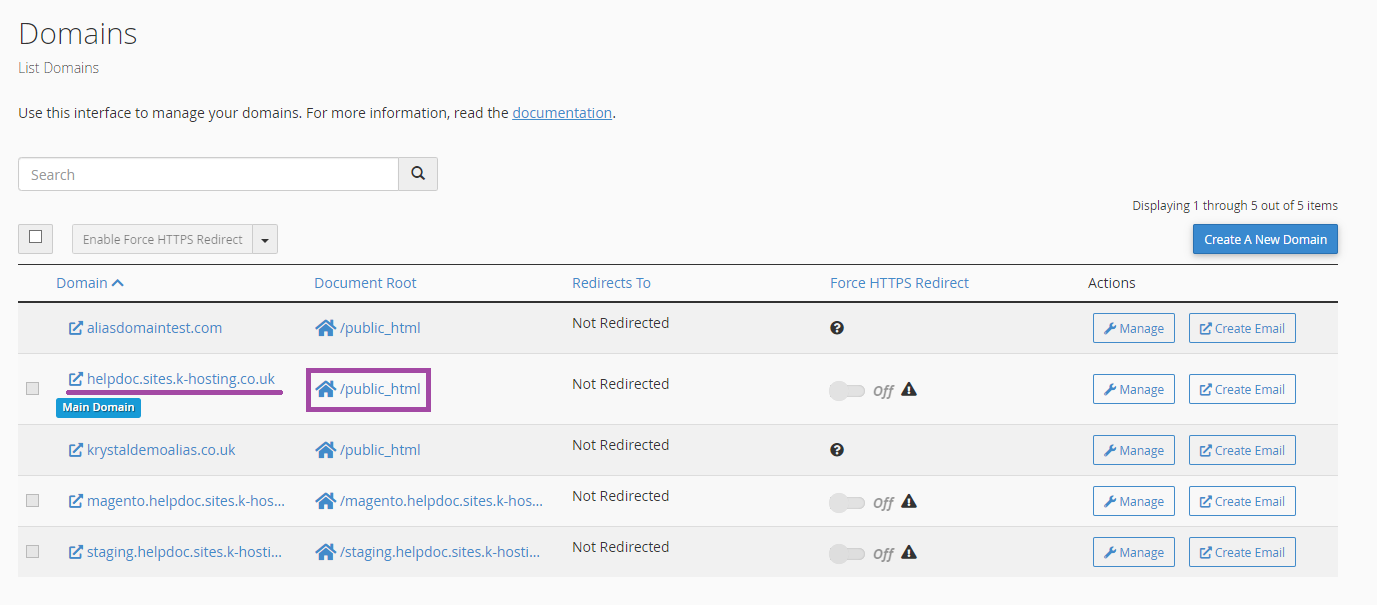
- Find the domain name for your website and click the link to go to the document root for that site. In this case it will be public_html
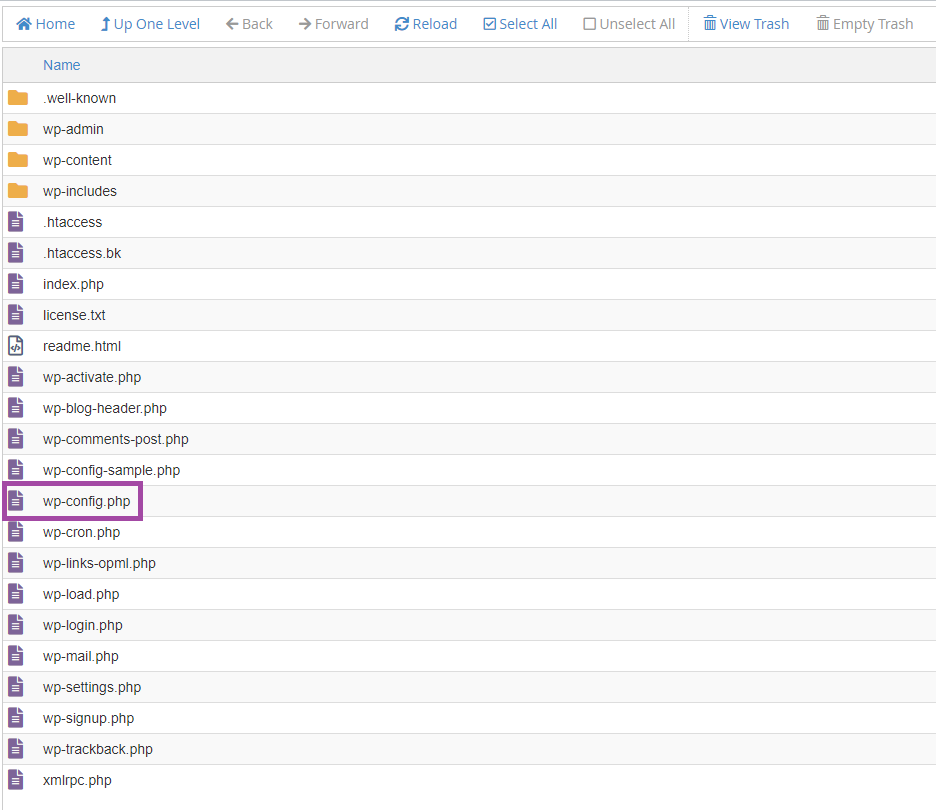
- Find the wp-config.php file
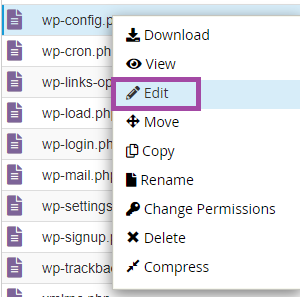
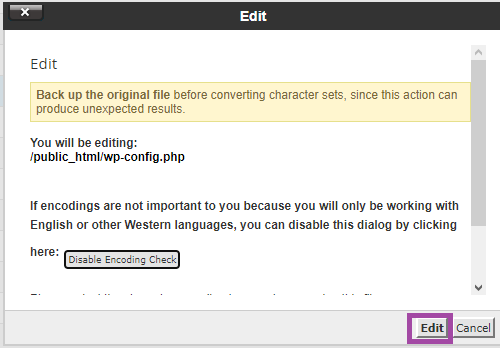
- Right click on wp-config.php and select "Edit"
- You will receive a warning, click "edit" to continue.
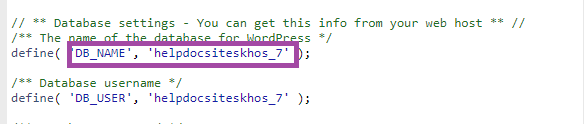
- Look for the "DB_NAME" section, here you can find the name of your database. In this case it is "helpdocsiteskhos_7".
Changing a password in phpMyAdmin:
Once you have your database name, follow the steps below to update the password.
- Login to cPanel
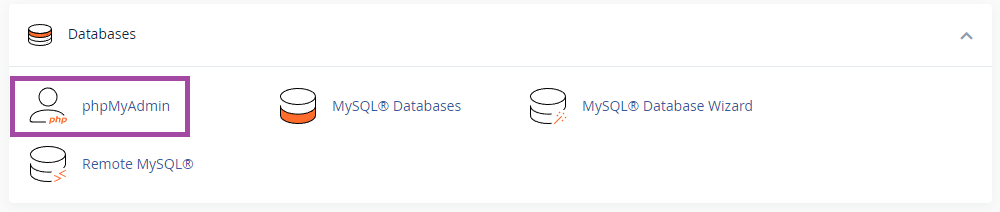
- Navigate to the "Databases" section and click "phpMyAdmin"
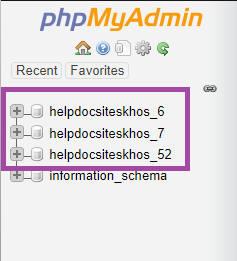
- On the left hand side you will see a list of databases, select your database to open a list of tables.
- Search for the wp_users table
wp_users on your site. The part before the underscore is the table prefix, and although it defaults to wp_, one-click installers and security plugins often change it to something random. It is not related to your cPanel username - that is the prefix on the database name, which is a different thing.You can find yours in the same
wp-config.php file you opened above: look for the line beginning $table_prefix. Whatever it says, the table you want is that prefix followed by users - so it ends in _users, plural. Be careful not to pick _usermeta, which sits right next to it.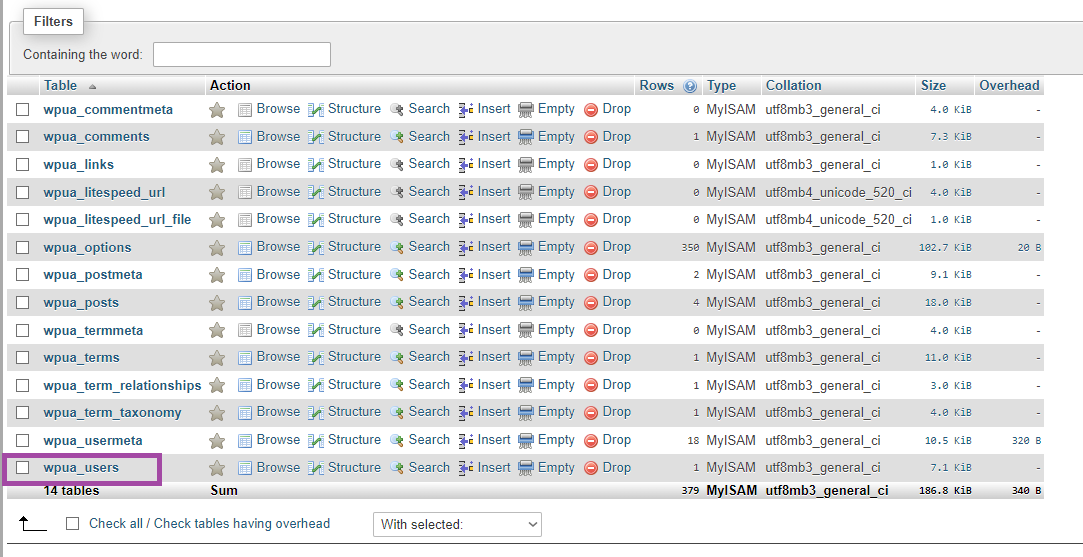
- You will now see a list of WordPress users. Find the email address relating to the user you wish to update the password for and click "Edit"

- Find the "user_pass" section and enter your new password in the box in plain text.

- Click on the blank "Function" dropdown next to the password and select "MD5".
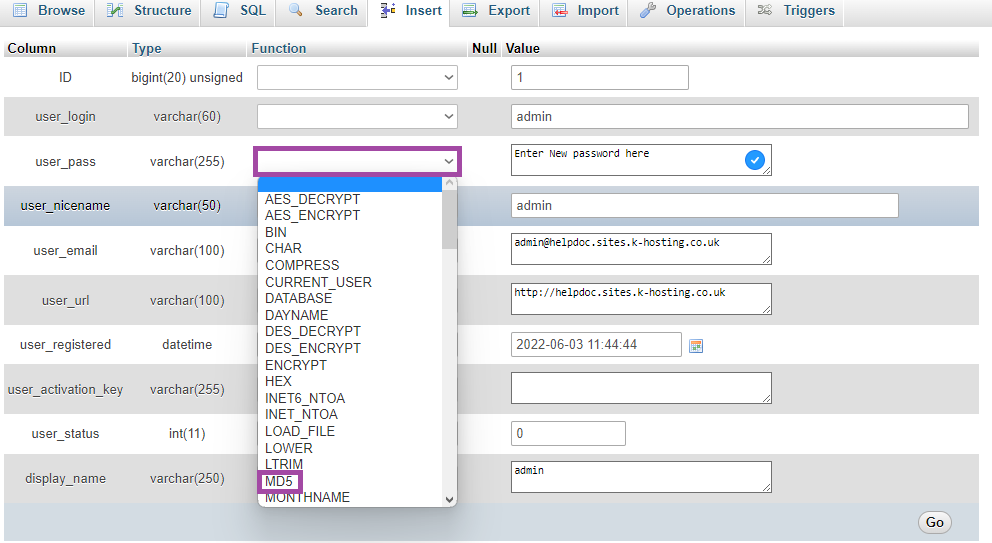
- Once you have entered the password and selected "MD5", click the "Go" option at the bottom of this screen.

- Done!
You've now updated your WordPress password and you should be able to log in to your WordPress dashboard as normal.
Log in reasonably promptly. Until you do, the new password is stored in the database in a weaker form than WordPress normally uses. The first time you log in successfully, WordPress replaces it with a properly secured version automatically - there is nothing else for you to do.
