Softaculous is able to import local (same server and hosting package) or remote (different server or hosting package) application installations.
Softaculous is also able to Clone sites and create Staging sites (where any changes can be pushed back to the original site).
For the purposes of this article we will walk through importing both a local and remote WordPress site into Softaculous - the process is similar for all other applications supported by Softaculous.
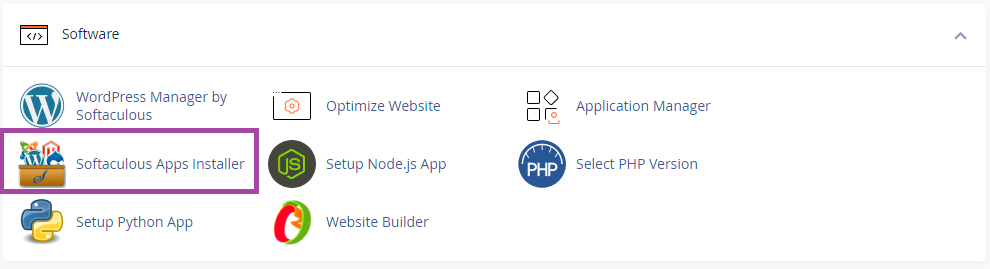
Open the Softaculous Apps Installer from the Software section of cPanel.
Type the name of the application you'd like to import in to the search box, and then select it from the list.
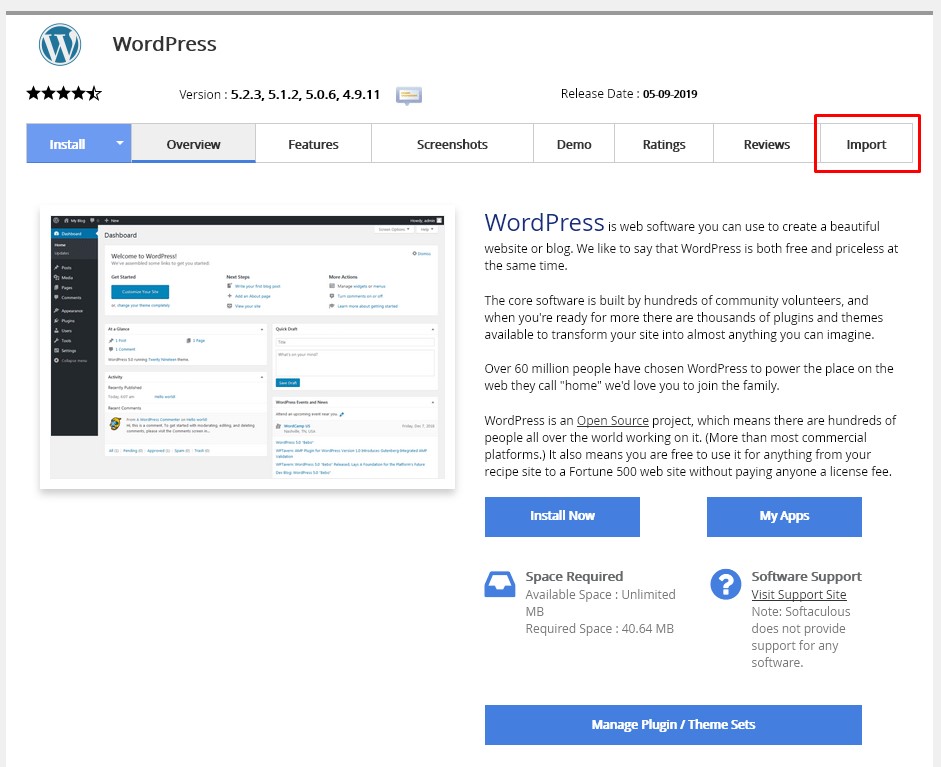
With WordPress selected, click the Import tab. The steps so far are the same whether you're doing a local or remote import.
Now follow either the Local Import or Remote Import instructions below as appropriate.
Local Import
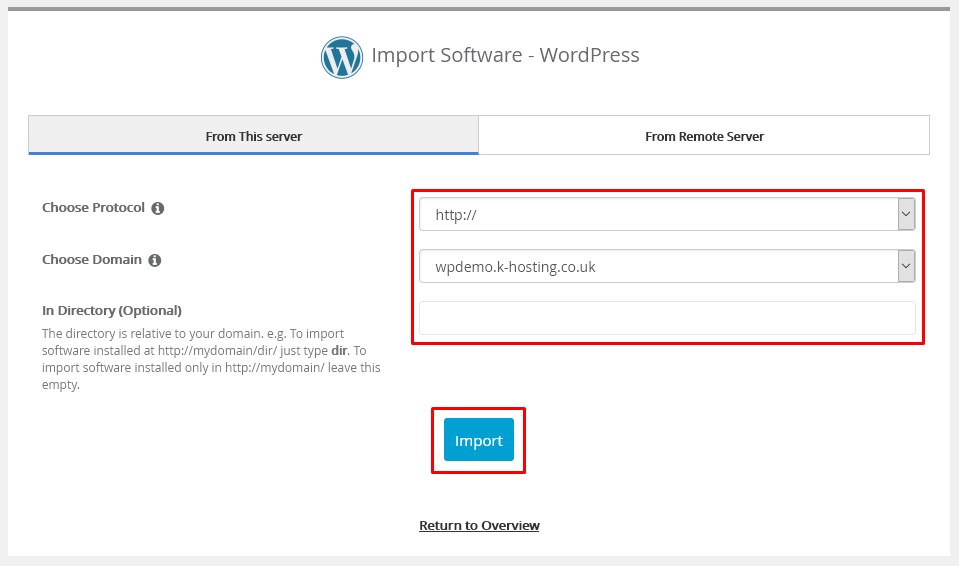
Ensure you have the From This Server tab selected.Ensure the correct details are entered: Choose Protocol - select http:// or https:// Choose Domain - select the domain containing the site to import In Directory (Optional) - if the site is installed in a directory or folder enter it here Click Import to complete the process.
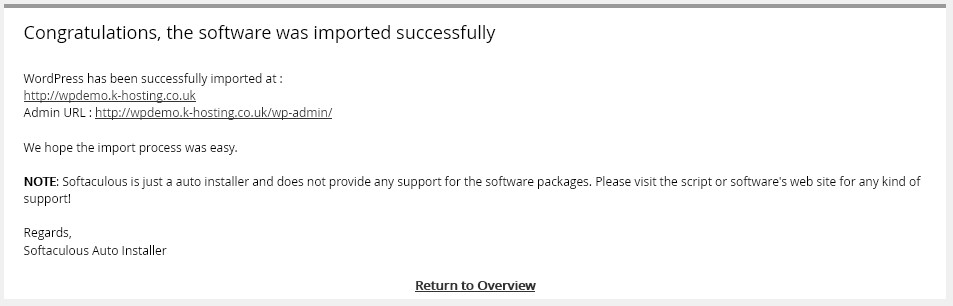
You'll see a success notice once the import has completed.Click Return to Overview to get back to the WordPress installations dashboard.
You'll see the newly imported site under Current Installations. - The URL under the Link column will take you to the site homepage (if you've updated your DNS). See our article on viewing your website before updating DNS to test the new site. - The person icon under the Admin column is a one-click link to the WordPress admin dashboard - you will be automatically logged in.
Remote Import
Ensure you have the From Remote Server tab selected.
The Remote import screen is in two section - Source followed by destination. Enter the required Source details: Domain Name - the location of the installed application to be migrated. Server Host (Optional) - the IP address that the source URL should resolve to. Leave this blank if the source correctly resolves via DNS. FTP Information - It's important you know, and enter the correct FTP connection information here. Using incorrect details will result in an error and your import will not complete.
Protocol - select the protocol specified by the remote server
Port - the FTP port - usually set when selecting the Protocol - but can be changed here if you're using a non-standard port
FTPUsername - the full FTP username
FTPPassword - the FTP password
FTPPath - enter the path from the accounts root directory (or where you get dropped after FTP login) to the webroot
Installation Directory (Optional) - if the application is installed in directory or folder below the webroot enter it here
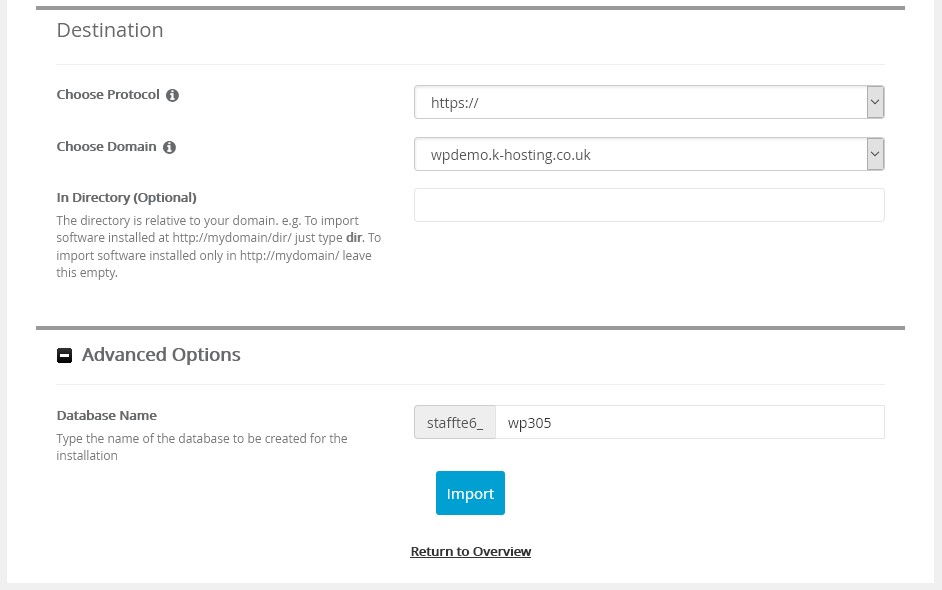
Then enter the required Destination details.
Choose Protocol - select http:// or https://
Domain - select the domain you'd like the application to be served from once imported.
InDirectory (optional) - usually left blank to serve the imported site directly from the domain - but can be entered to serve the site from a directory
Advanced Options - you can give the newly created database a custom here if required.
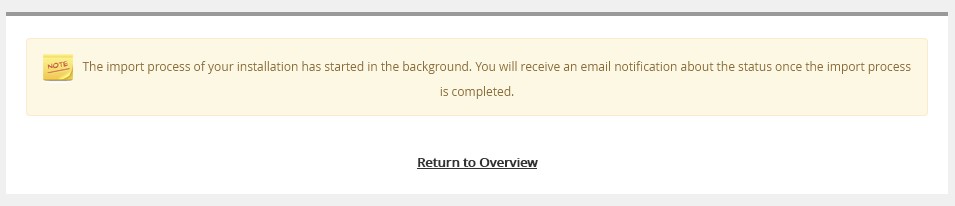
Click the Import button to complete the process. You'll see an in progress message and when complete you'll receive and email (to the address set in Softaculous Email settings) - you'll also see the site in the Softaculous All Sites list and WordPress dashboard. Clicking Return to Overview will take you to the WordPress dashboard and you'll see your newly imported site.
You'll see the newly imported site under Current Installations.
- The URL under the Link column will take you to the site homepage (if you've updated your DNS). See our article on viewing your website before updating DNS to test the new site.
- The person icon under the Admin column is a one-click link to the WordPress admin dashboard, you'll be automatically logged in.