Accessing and working with Staging sites
 Updated 4 months ago
by
Tristan Payne
Updated 4 months ago
by
Tristan Payne
Staging sites are a special type of clone - in that any changes you make on a staging site can be pushed back to the live site it was created from.
Staging sites do not count towards your Onyx site limit like Cloned sites. You can have up to 2 staging sites per live site.
Accessing Staging sites
Staging sites can be accessed either via the Sites top menu where they appear under the live site with a purple arrow indicator.

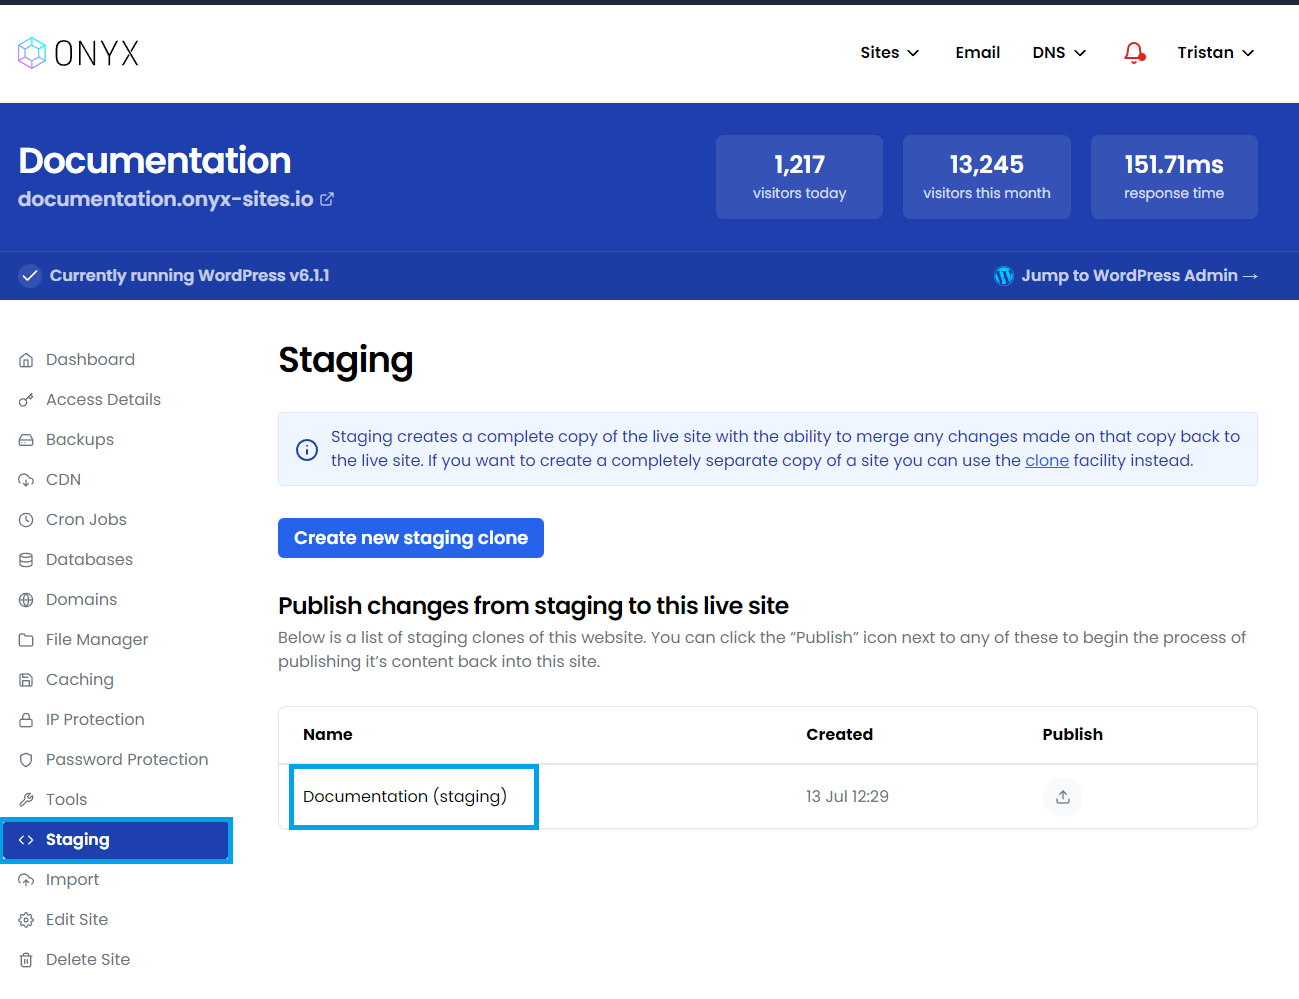
They can also be accessed via the Staging menu when viewing the live site.
Selecting a staging site in either of these places will take you to that sites dashboard:
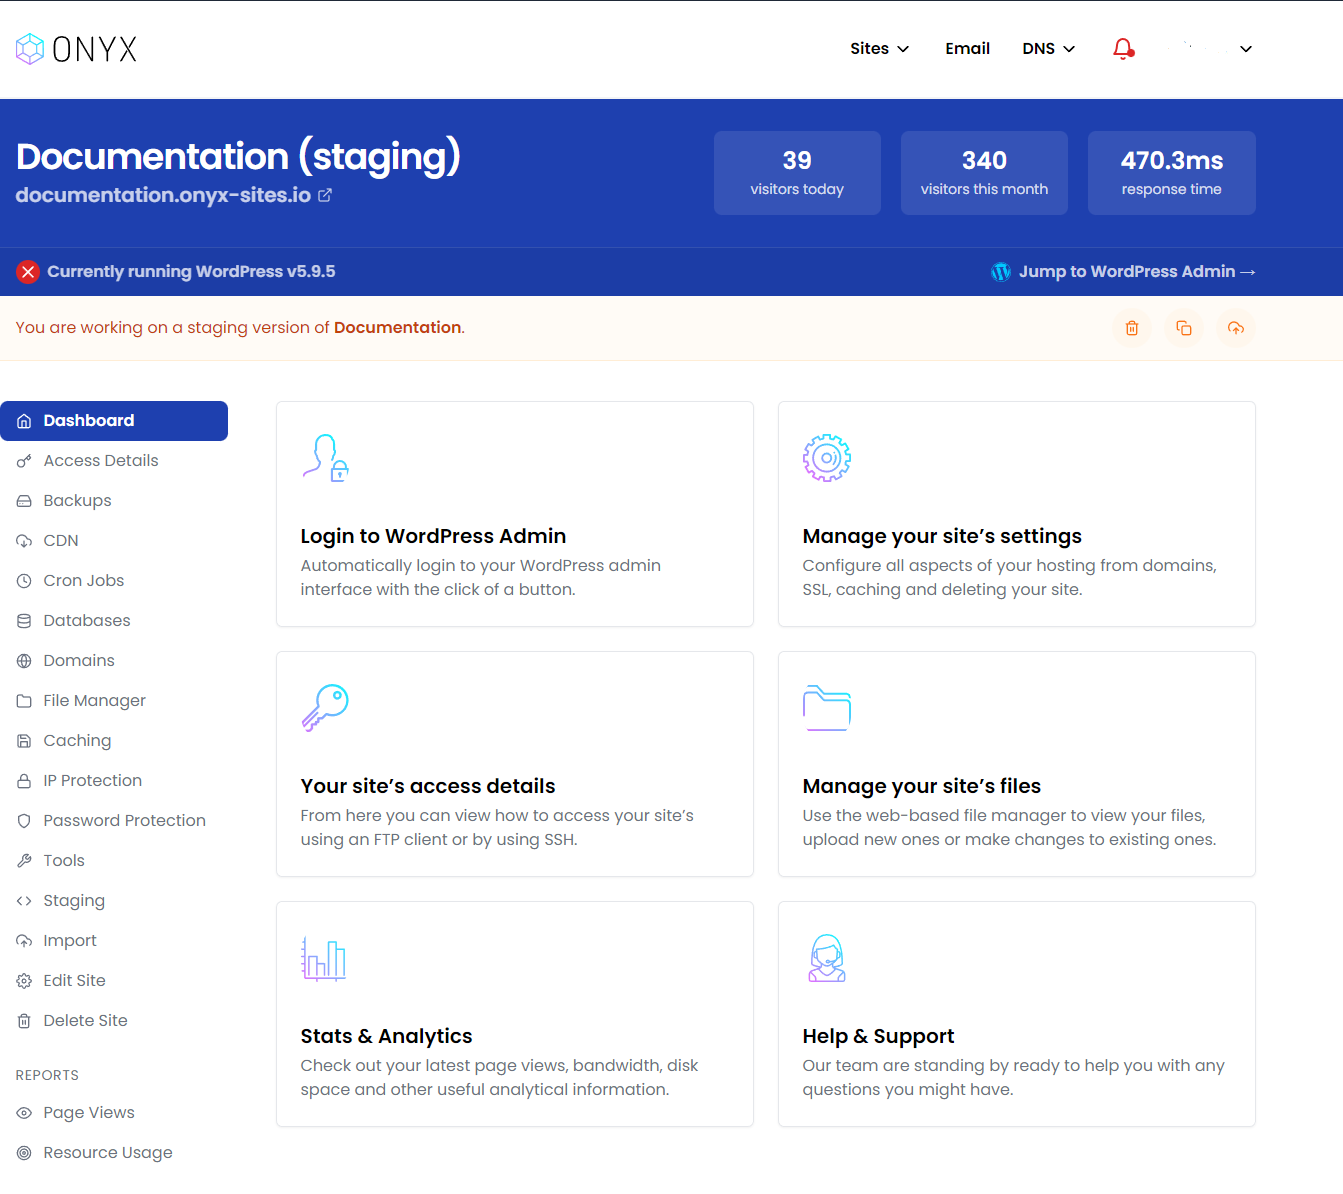
Staging sites are clearly labelled with Orange banners in their dashboard.
Pushing changes back to the live site
Again, there are two places where you can publish changes from a staging site back to the live site.
Either via the live site's Staging page:

or within the staging site itself:

Clicking either the Publish link on the live site dashboard or Publish to ... button on the staging site will take you in to the two-step push process.
You will be given the choice between either a full merge or a manual merge

A Full Merge will merge your entire staging site files and database into the live site.
A Manual merge will give you control over what is merged into the new site.
You'll see a Generating a preview banner for a few moments before begin shown the changed files list.
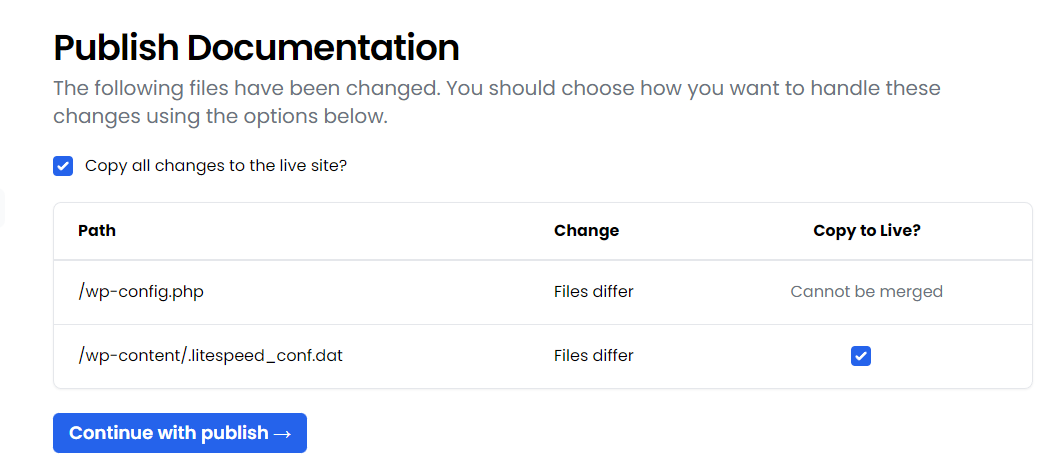
Check that all the files you want to push back to the live site are ticked. If the file exists it will be overwritten, if not it will be created.
Then click Continue with publish to view the database changes.
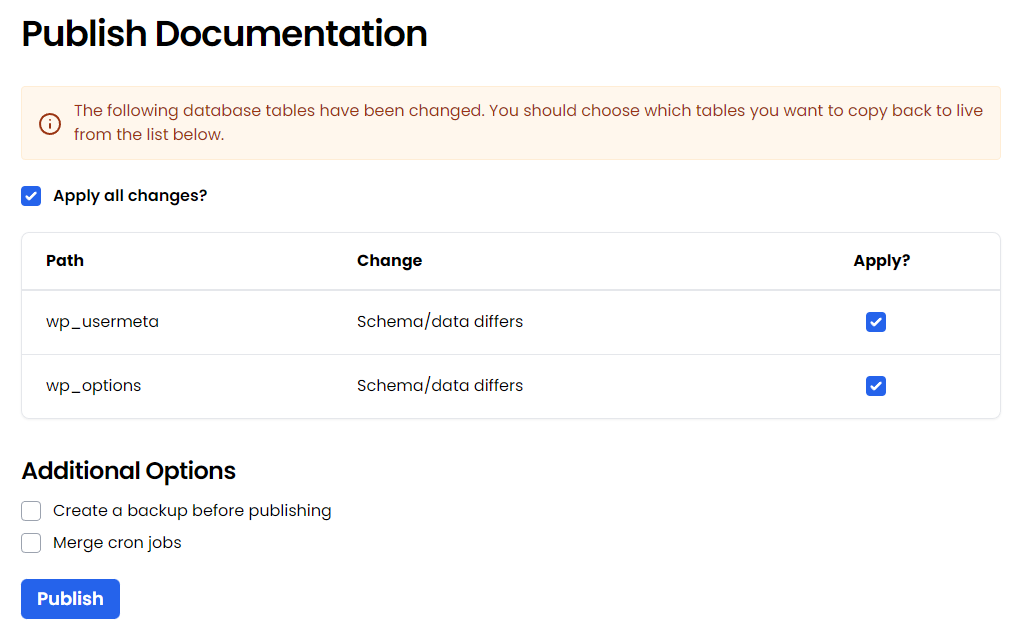
Again here, tick next to those tables you want to push back to the live site.
Database tables are overwritten if they exist on live - so be sure to leave unticked any you don't want to change on live - for example the WooCommerce tables if you have a live e-commerce site or the wp-users table if you want to retain the original users and login details on your live site.