How to force HTTPS (SSL) on your Onyx Site
 Updated 3 years ago
by
Tristan Payne
Updated 3 years ago
by
Tristan Payne
So, you've signed up for Onyx, you've configured your domain names and are using your free LetsEncrypt SSL certificates but you're still not seeing the green padlock or secure notice in your web browser. The steps in this guide will walk you through forcing all website traffic to use https://.
.htaccess SSL redirections will NOT work on Onyx when our caching is enabled. However, the steps below will ensure https redirection works as intended.Configure HTTPS Redirection for Primary Domain
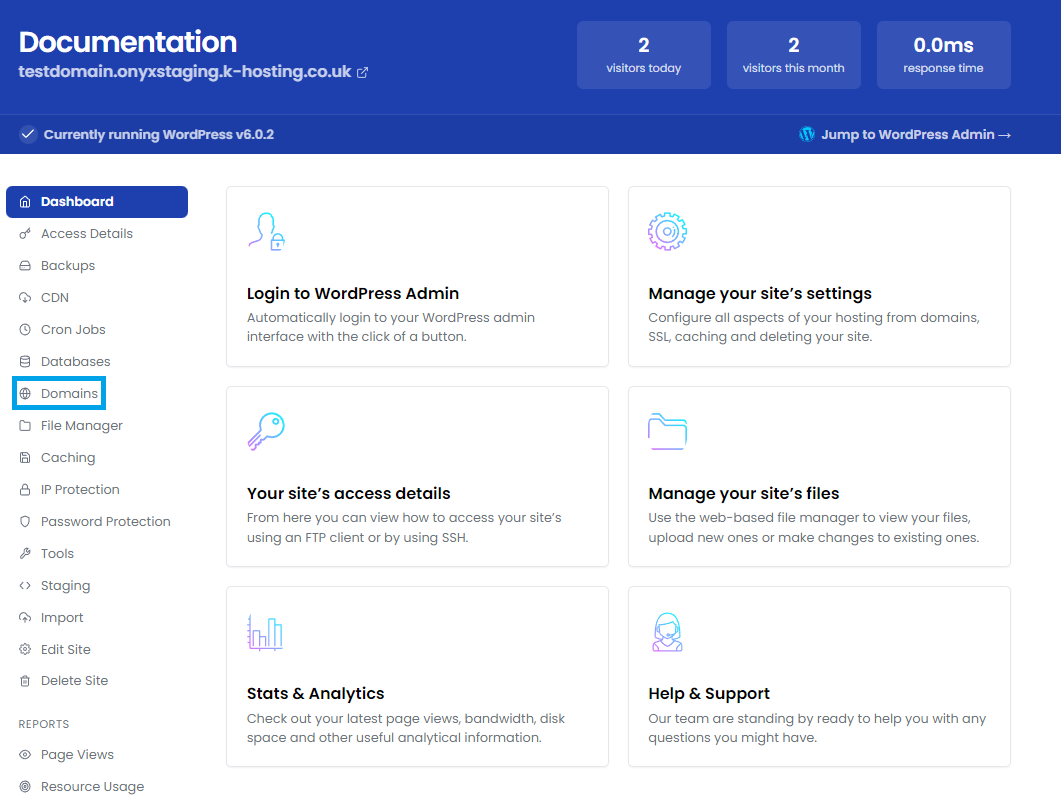
- Login to Onyx and Manage the site for which you wish to make this change.
- On the left hand menu click "Domains".
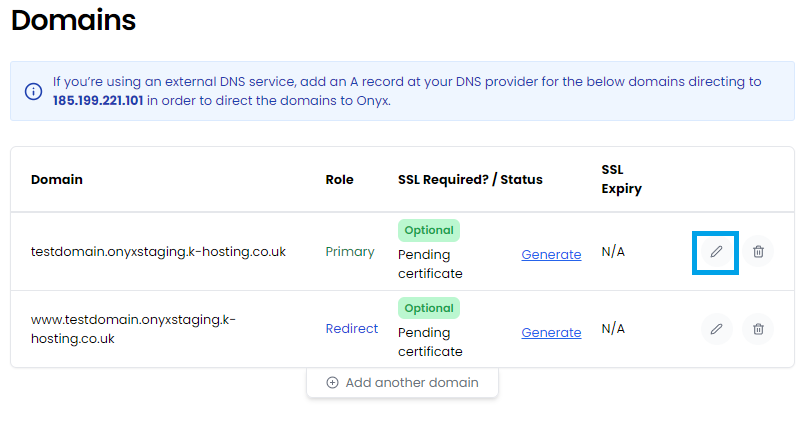
- Click the "Edit" option on the domain you would like to force HTTPS on.
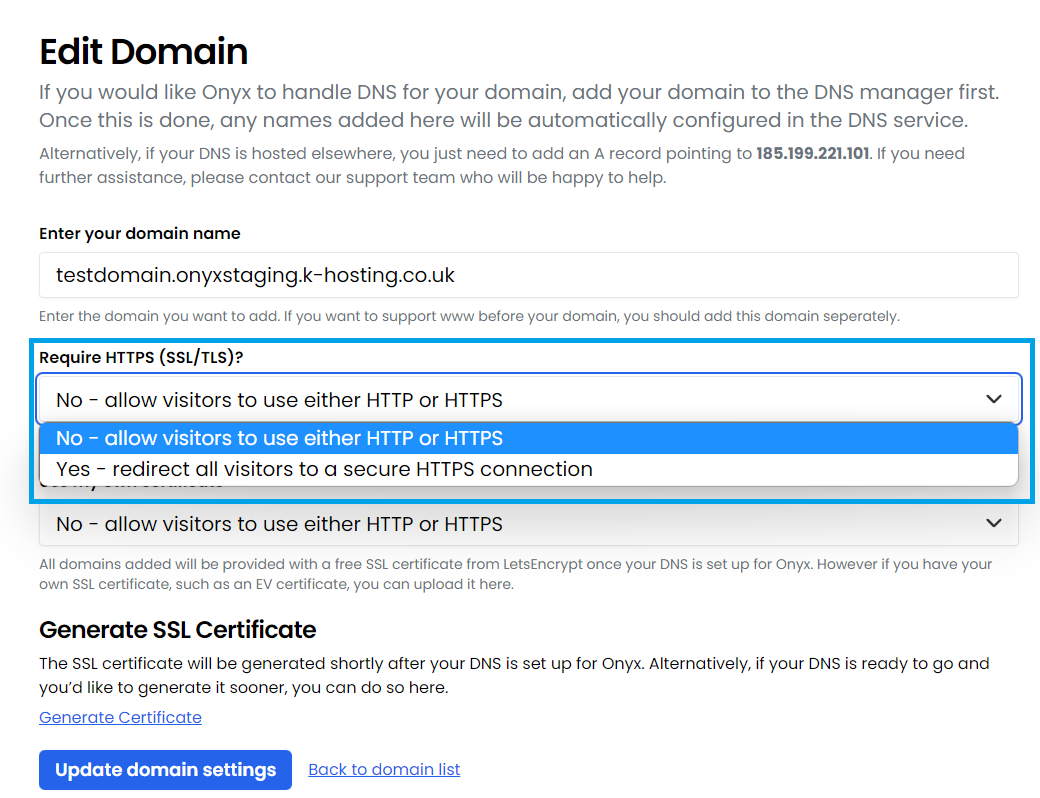
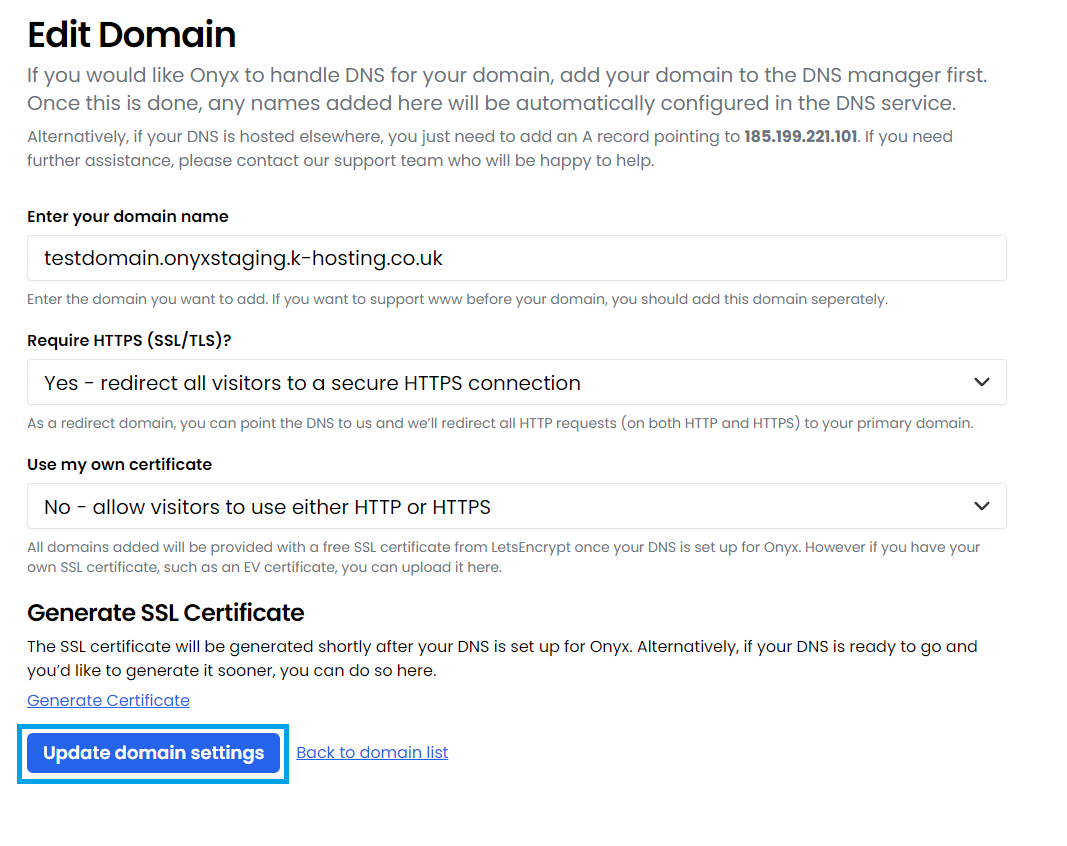
- Drop-down the Require HTTPS (SSL/TLS)? options and select Yes - redirect all visitors to a secure HTTPS connection.
- Click Update domain settings.
Fix Mixed Content or non-secure warnings
The changes made in Step 1 should handle SSL forcing for you in the vast majority of cases. However, where certain plugins are installed or modifications to themes have been made, you may experience mixed content / non-secure warnings in your web browser.
We have a separate article with some ways to fix mixed content warnings (link to Krystal guide opens in a new window).