Enable the Onyx DNS tool
 Updated 3 years ago
by
Tristan Payne
Updated 3 years ago
by
Tristan Payne
This guide describes how to use the Onyx DNS tool to manage DNS entries for domains using the Onyx Nameservers.
If you are looking for instructions on how to add a domain to a new or existing Onyx site please read our connect your domain to Onyx guide for full instructions - this will configure DNS automatically for you.
In order to use the Onyx DNS tool to manage your DNS the nameservers for your domain must be set to:
ns1.onyx.io
ns2.onyx.io
Your domain will automatically be added to Onyx DNS when you connect your domain to Onyx.
Accessing the Onyx DNS tool
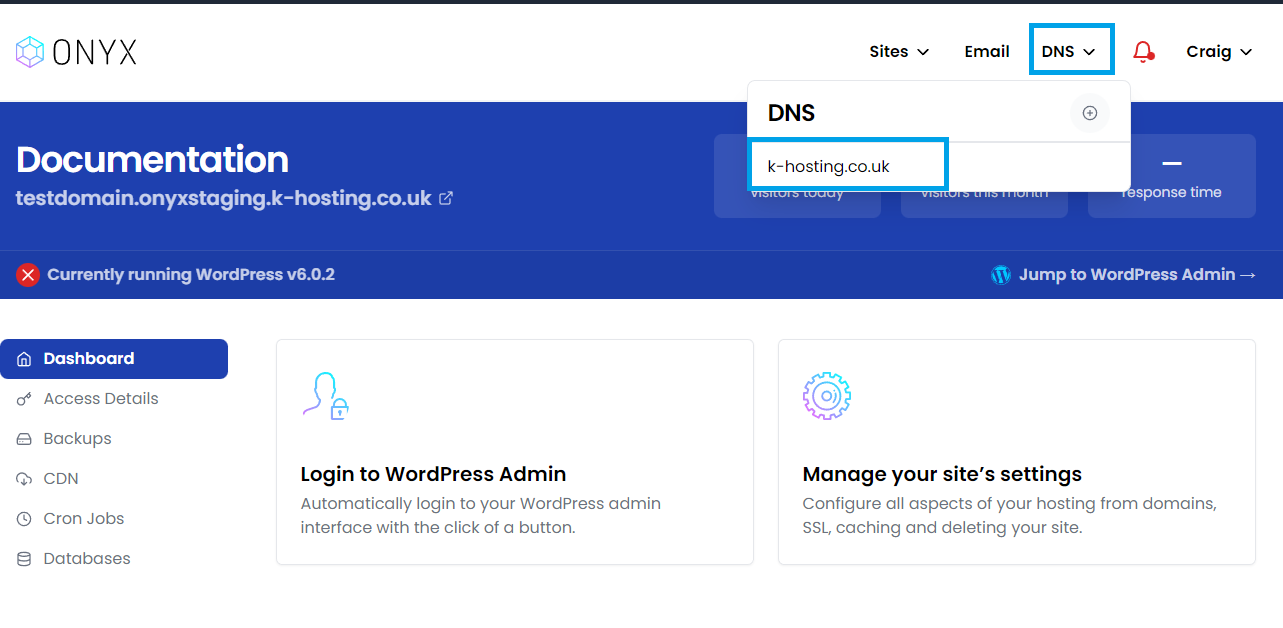
- You'll need to start by logging in to your Onyx dashboard.
- Then from the top menu click the DNS drop-down and select the domain you'd like to work with.
Adding (and removing) a domain
If the domain you'd like to add relates to a new or existing Onyx site, please follow our connect your domain to Onyx guide to add the domain as this will create all the required DNS entries.
- To add an unrelated domain and use the Onyx DNS tool to manage it's DNS entries click Add a DNS domain from the DNS drop-down.
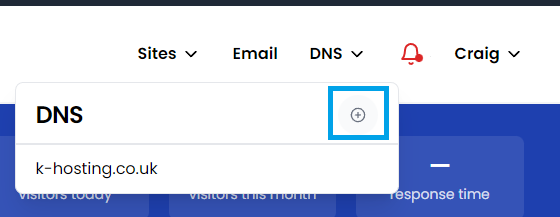
- Enter the domain you'd like to manage with the Onyx DNS tool and click Add this domain.

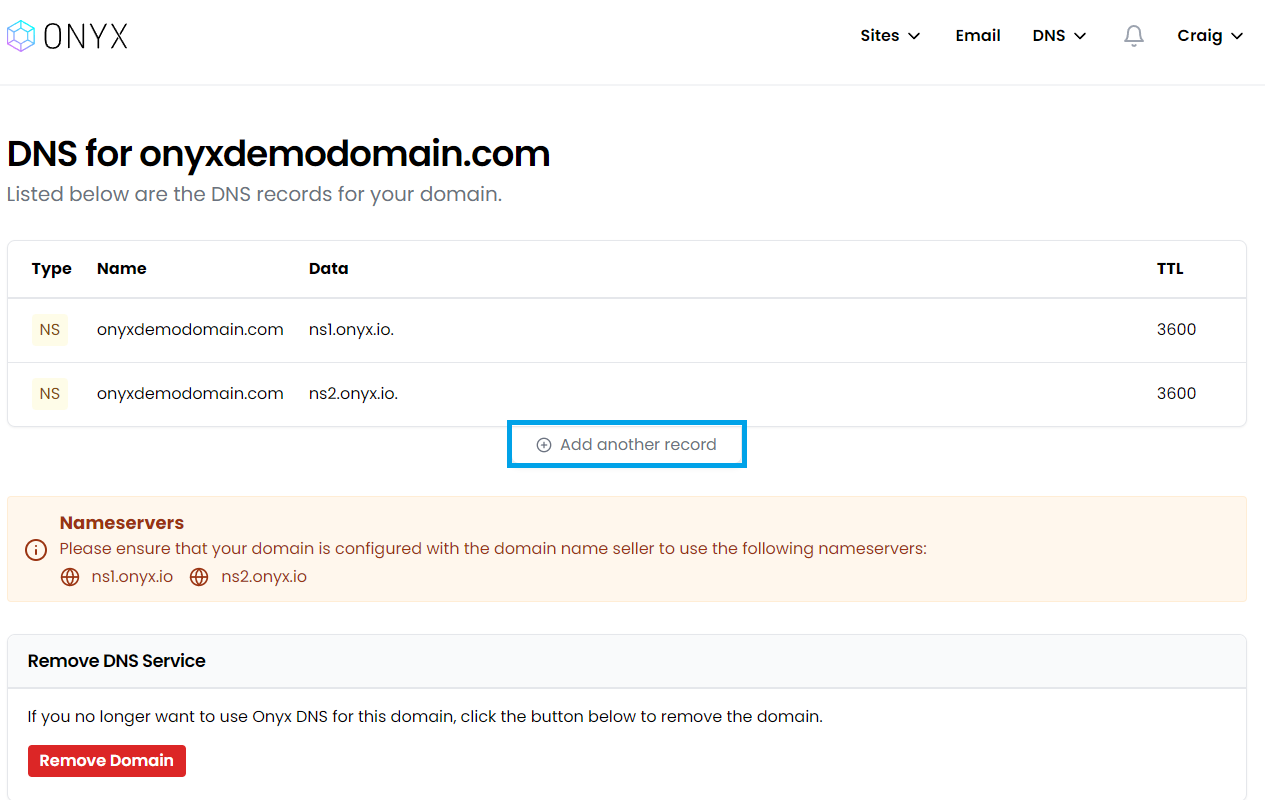
- You'll see a success banner, and now be able to Add/Edit/Delete DNS entries following the instructions below.

- To remove a domain from the Onyx DNS tool click the link under the Remove DNS service title.
Adding a DNS entry
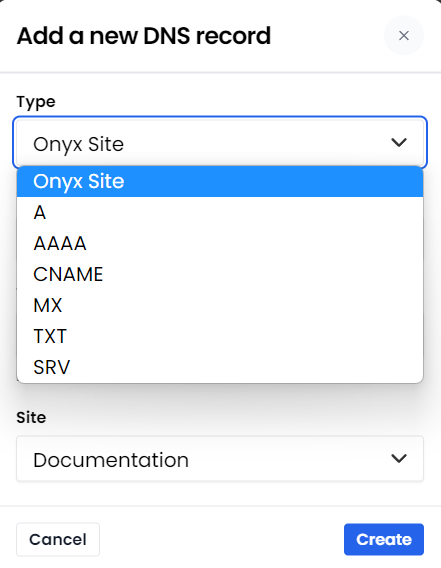
- To add a DNS entry, click the Add button.
- Select the type of DNS entry you'd like to add from the Type drop-down.
You can add the following DNS entries:
IPv4 A record, IPv6 AAAA record, CNAME, MX, TXT, SRV
Appropriate information will then be requested. Once entered click the Create button to add the DNS entry.
Editing a DNS entry
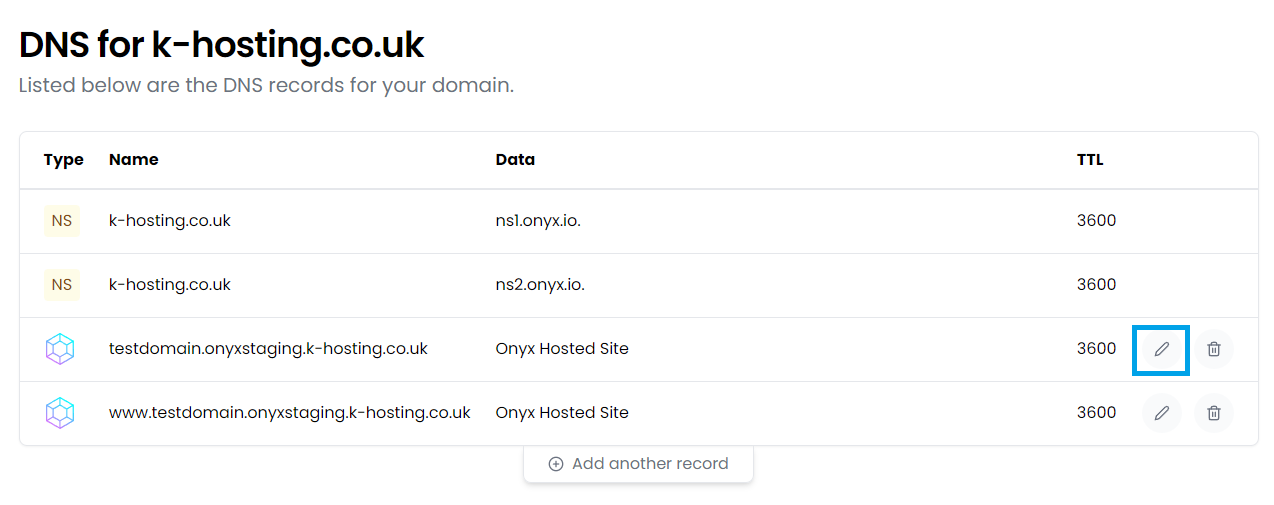
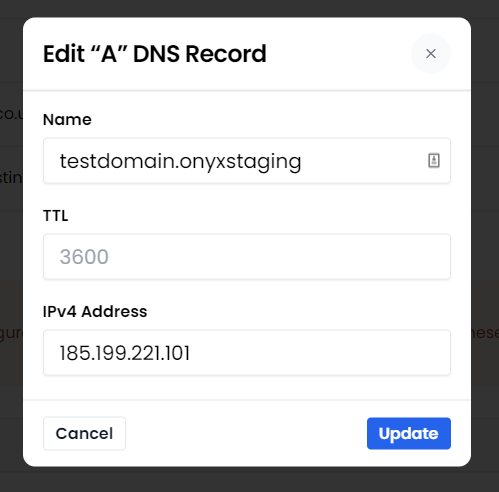
- To edit a DNS entry, click the Edit button.
- Once you've made the required changes click the Submit button within the Edit window.
Deleting a DNS entry
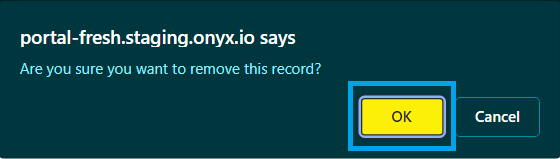
- To delete a DNS record, click the Delete button.

- You will be prompted to confirm, clicking OK will delete the record.