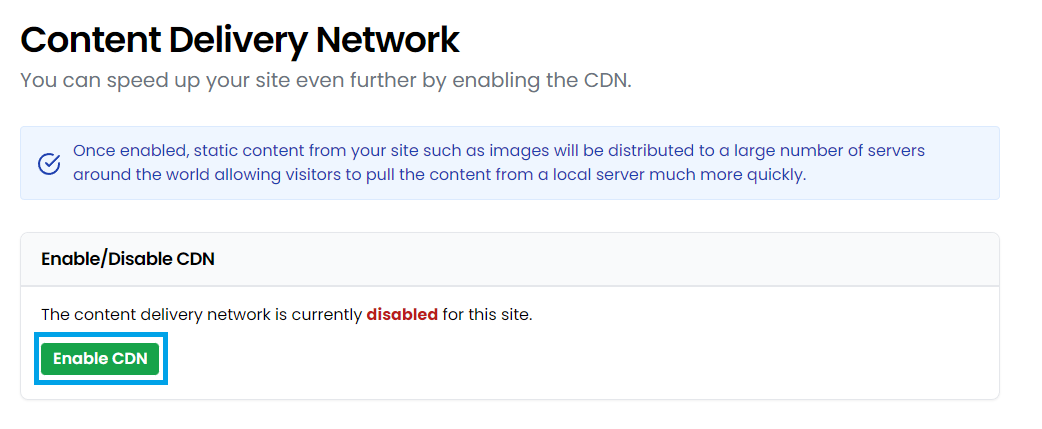
Click the Enable CDN buttonThe CDN will then enable behind the scenes, you will see 'Updating CDN' until the process if complete, then the button will change to 'Disable CDN'Your site content will gradually be pulled to our CDN network. For larger sites this may take some time. It is now recommended you clear the Onyx cache so your site pages are then regenerated using CDN links.
CDN Options
After you've enabled the CDN you'll see the screen below that shows a number of options.
You can visit this screen to Purge the CDN Cache - if you've changed any static content on your site you may need to purge the CDN cache to ensure that old content is not being served.
You can also limit this sites CDN quota if you have multiple sites in your package. Simply enter a number of Gb and click Set Limit.
If you're using a third party DNS service you can also add your own CDN domain name here. If you are using Onyx your custom CDN name will be automatically configured in DNS and no further action is required.
Disable CDN
Follow instructions 1-3 from the Enable CDN section above, then click the Disable CDN buttonThe CDN will then disable behind the scenes, you will see Updating CDN until the process is complete - the button will then change to Enable CDN. Your site content will now load from the Onyx platform directly. It is now recommended you clear the Onyx cache so your site pages are then regenerated without CDN links.
 Updated 3 years ago
by
Tristan Payne
Updated 3 years ago
by
Tristan Payne