How to update your personal information using Krystal Identity
Krystal Identity is our secure platform to manage your personal information and access to your Krystal-powered services!
Using Identity you can manage:
- Your email address(s)
- Your Name
- Your Krystal Services Password(s) and security
Access via the Krystal Client area
In order to update your contact information, you will first need to login to your Krystal Client area (Internal link opens in a new tab)
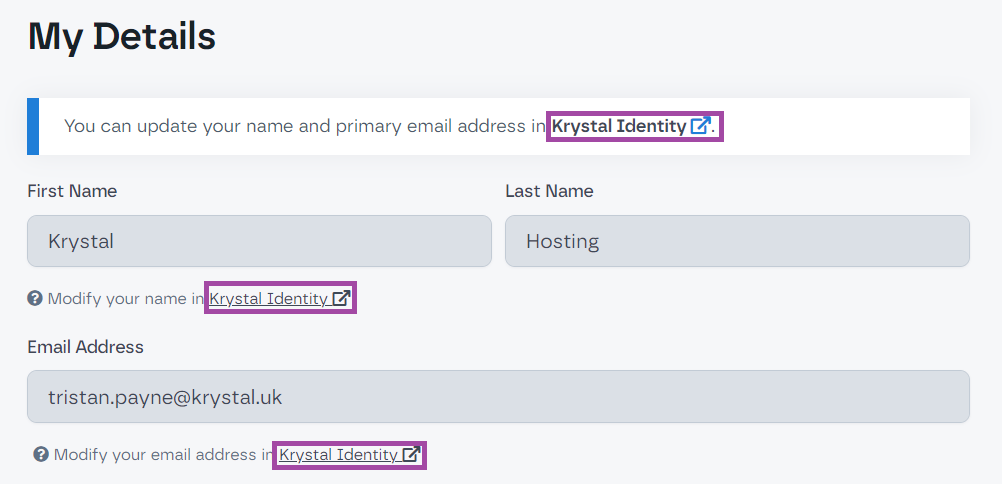
- On the right hand side of the screen, click the "Update" button

- As your personal information is now managed via Krystal Identity, click one of the "Krystal Identity" links to continue.

Access via Identity.krystal.io
Please login to Krystal Identity (Internal Link opens in a new tab)
Updating your Name
- Click the "Settings" option on the left hand side

- Click "Details" section

- From here, you can update your name and once done, click "Save my details"

Updating your primary email address
Krystal Identity will always need to have an associated Primary email address. In order to update this, we will first need to add a new email address and then set this as the primary email address.
- Click the "E-mail addresses"

- Click the "Add another e-mail address" option.

- Enter your new email address and click the "Verify" button.

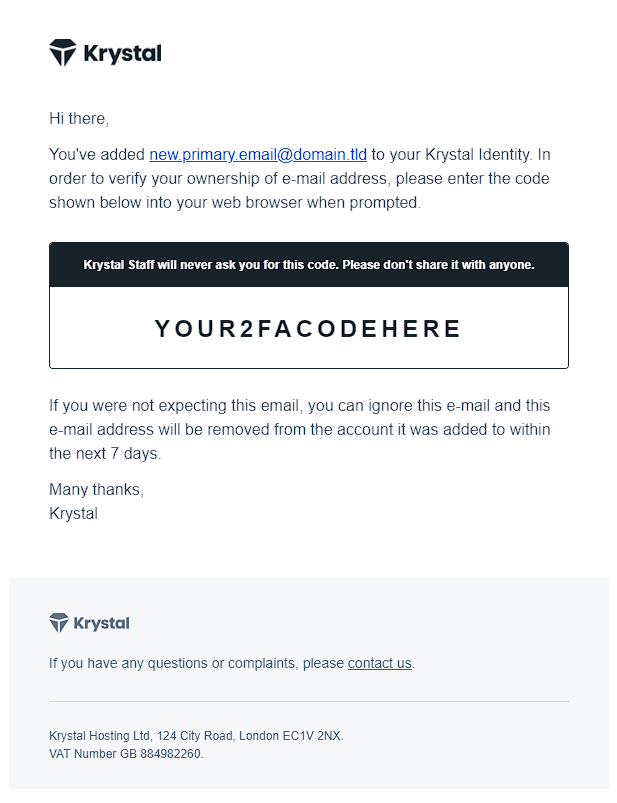
- You will be issued a one time verification code to your new email address.

- Paste the verification code into the form and click the "Verify ownership" button.

Now that the new email address has been added, we need to mark this as the Primary email address.
- Click the "Details" button beside your new email address.

- Click the "Make primary address" button

- Done! Your new primary email address has been added.
Removing an email address
Tip: You cannot remove the primary email address, to do this you will first need to add a new primary email address (Internal link)
- Select "E-mail addresses"

- Select the "Details" button beside the email address you would like to remove.

- Click the "Remove" button.

- Done!

