Adding a new cPanel email account

This article walks you through adding a new email account to one of your domains within cPanel.
Remember, you can add email accounts to any primary domain, subdomain, addon or alias domain.
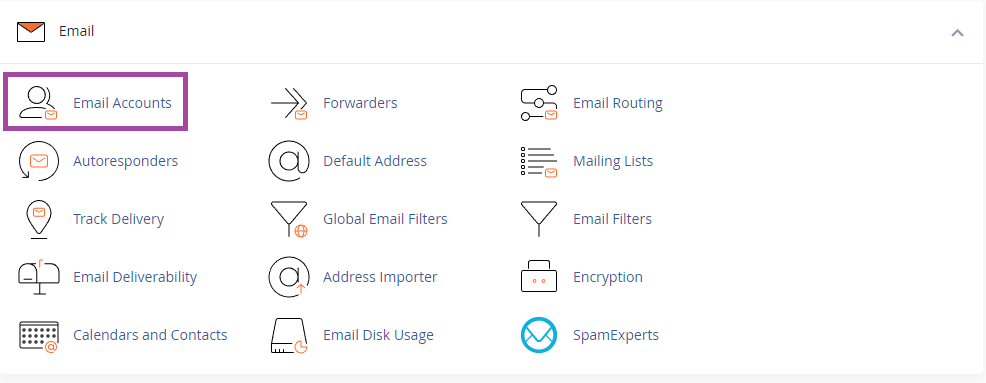
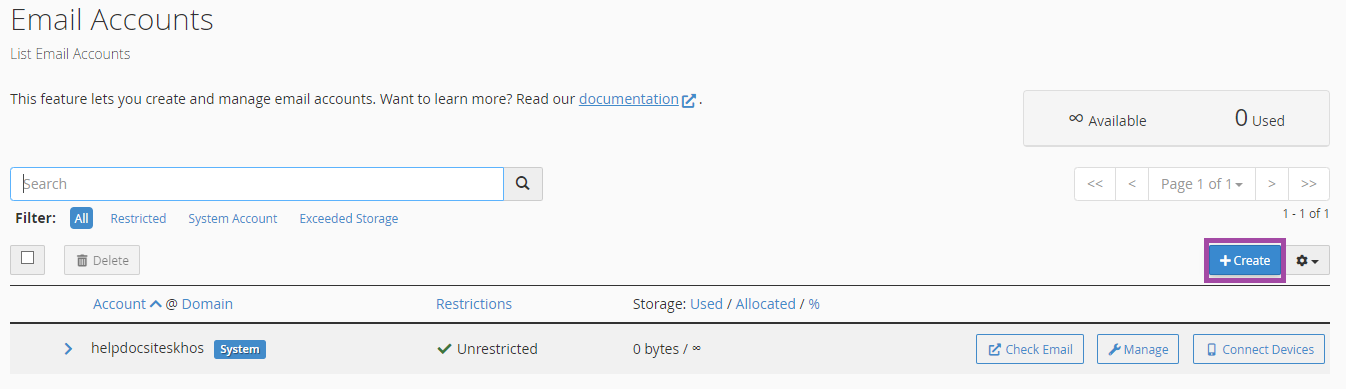
cPanel > Email > Email Accounts > click Create
- Within the cPanel Email section, click Email Accounts
- Then click the Create button
- You'll now see the form to add new account details.
- If you have more than one domain on the account, select the Domain (the part after the @ in your email address) from the drop-down. If you only have one domain there is nothing to choose - it is shown beside the Username field.
- Enter your email Username (the part before the @ in your email address).
- Enter a Password, or click Generate to have one created for you.The eye icon hides or reveals the password as you type. The Generate button creates a password for you, and the drop-down arrow beside it lets you change the Length and which characters are included.
- To set a mailbox size, plus addressing or the welcome email, open Optional Settings and click Edit Settings. These are collapsed by default.
- Under Storage Space, enter the maximum size of the mailbox on the server, or select Unlimited. Please note that disk space used by your mailbox counts towards your overall package disk limit.
- Choose whether to Automatically Create Folders for Plus Addressing.
Plus addressing can be a good way to organise your incoming email and potentially spot spam email.
You use it by adding + and a word after your email address username e.g. for the email address demo@example.co.uk - if I signed up to my favourite blog I could use the email address demo+blog@example.co.uk.
Now, any email using that address would be delivered into an automatically created blog folder within my email account.
Should you start to see unsolicited email arriving in any of these plus address folders you'll be able to either unsubscribe or contact the relevant organisation to confirm whether your email address has been resold. - Decide whether to Send a welcome email with instructions to set up a mail client — you would be able to view this email in webmail prior to setting up your email client. The checkbox is ticked by default; untick it if you don't want to send the welcome email.
- Tick Stay on this page after I click Create if you want to create more accounts, or leave it unticked to be taken back to the Email Accounts list.
- Finally, click Create to complete the process. You can view this email account in webmail straight away, or move on to Configure your email client to set it up in Outlook, Apple Mail, Thunderbird or your phone.
