WordPress admin login/dashboard IP protection
 Updated 3 years ago
by
Tristan Payne
Updated 3 years ago
by
Tristan Payne
This article describes using IP address protection to restrict access to the WordPress admin login/dashboard. This does not prevent users from accessing your site, it only restricts access to the WordPress admin login/dashboard. You could use Onyx Password Protection or a Maintenance Mode/Coming Soon plugin to prevent users seeing your site whilst it's in development or whilst you are making changes.
There are two steps to complete, firstly enabling the admin IP protection, and then secondly providing the allowed IP address(es).
Once admin IP protection is enabled, all IP addresses, except those explicitly permitted, will be denied access to the WordPress admin login/dashboard.
Changes made here (enable/disable or add/remove IP) can take up to 60 seconds to be live.
Enable & disable admin IP protection
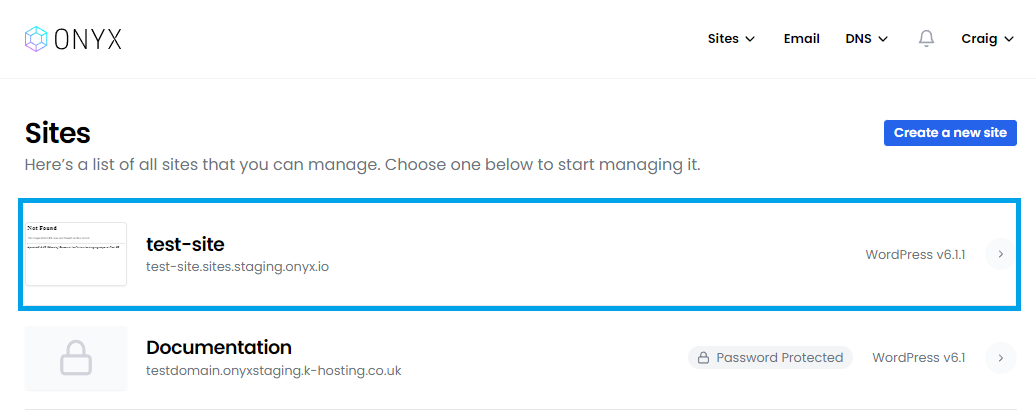
- You'll need to start by logging in to your Onyx dashboard.
- From your Onyx dashboard, click the site you'd like to access.
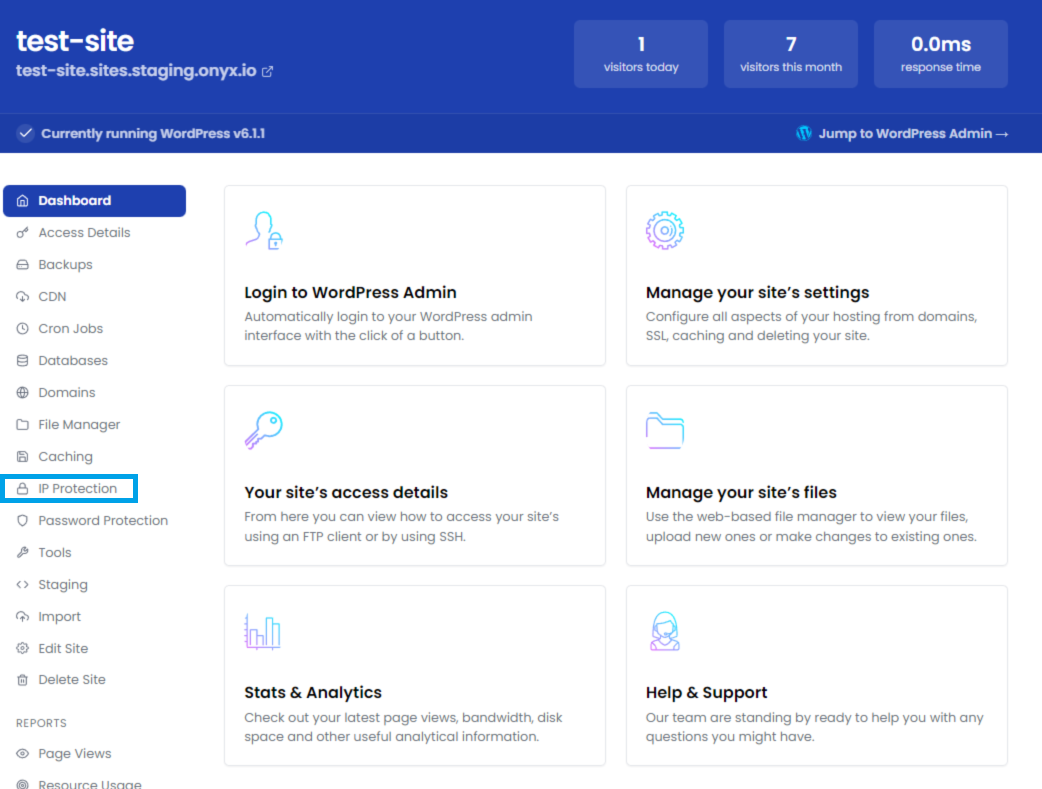
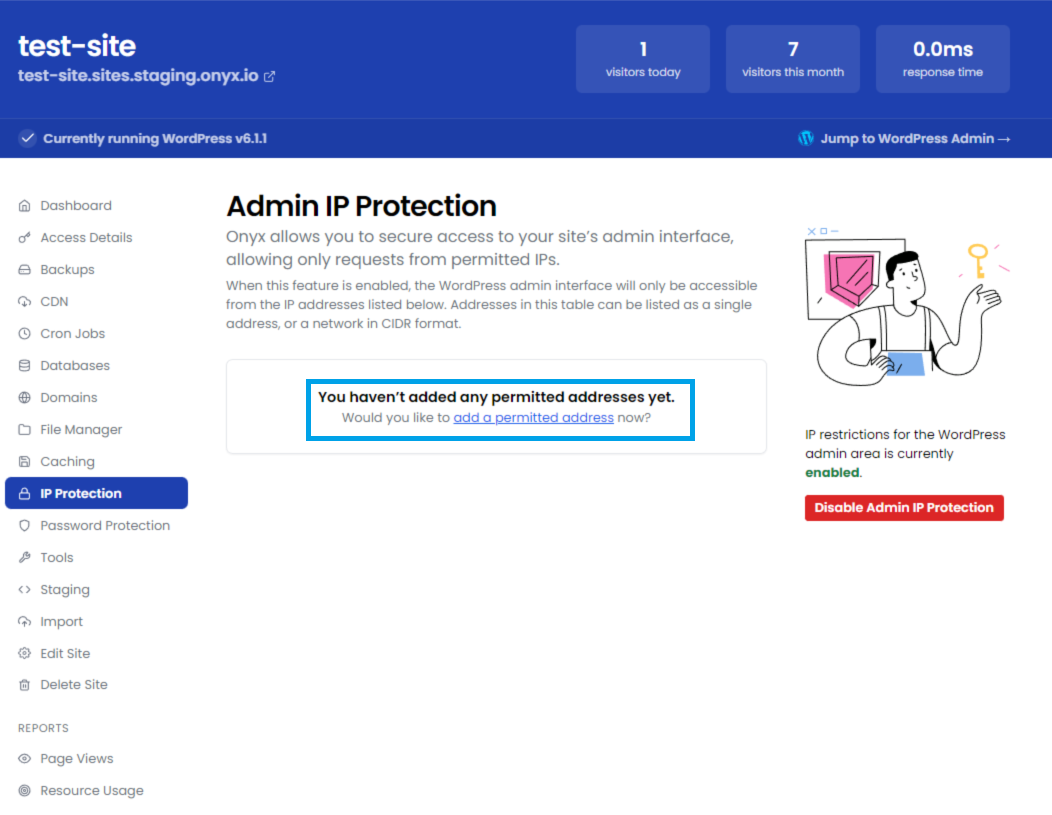
- On the left hand menu, click the IP protection button.
- Click the Enable Admin IP Protection button. Once enabled, this will change to Disable Admin IP protection and can be disabled at any time by clicking this option.
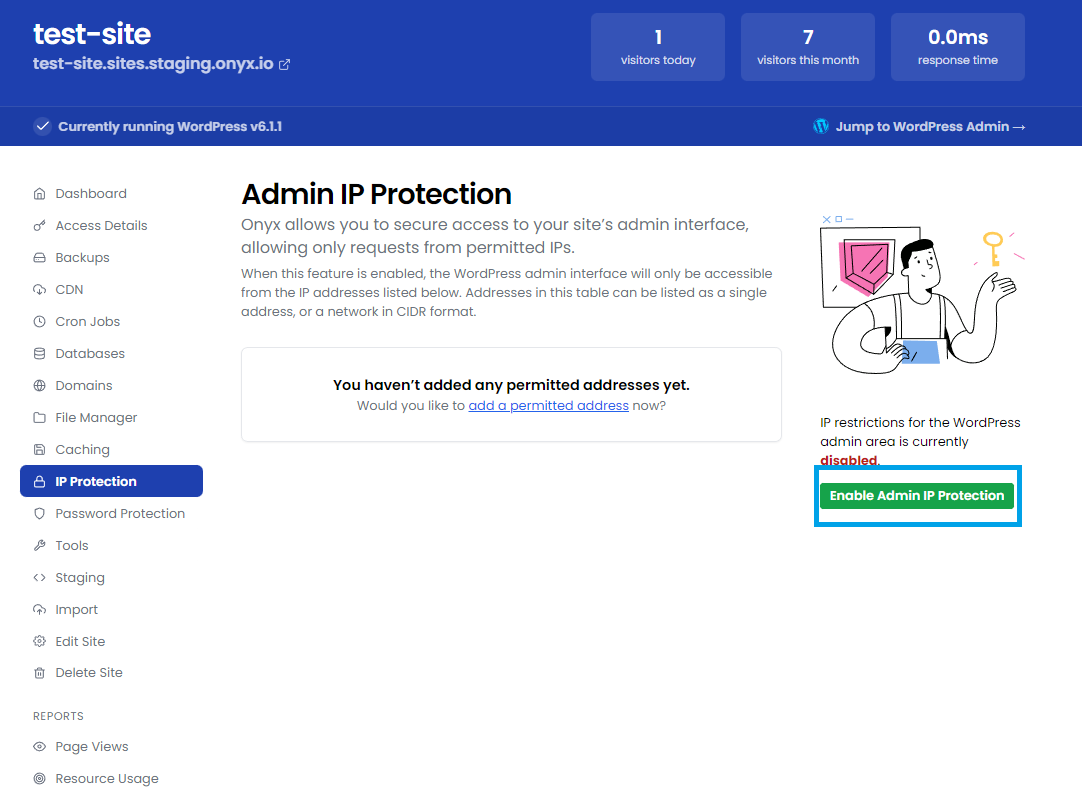
- Click the add a permitted address button
- Your local IP address will be added to the IP Address section automatically. Add a custom Label and click save.

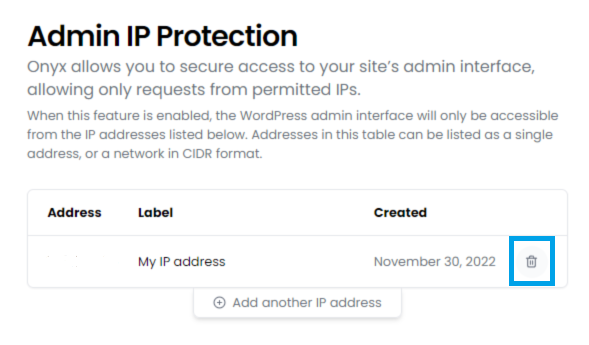
Create a permitted IP address
- Enter a permitted IP address and give it a description label. The system displays your current public IP address should you wish to add that.

Remove a permitted IP address
- Click the Remove link next to the IP address you wish to remove. You will be prompted to confirm removal, click OK and the IP address will be removed.