Password protect your WordPress site
 Updated 3 years ago
by
Tristan Payne
Updated 3 years ago
by
Tristan Payne
Onyx has two built-in ways to control access to your sites. This article describes one way - using password protection to restrict access to the entire WordPress site. This is independent of, and in addition to any WordPress login your site may require.
You could use a Maintenance Mode plugin to prevent users seeing your site whilst it's in development or whilst you are making changes.
There are two steps to complete, firstly enabling the password protection, and then secondly creating authorised users.
Changes made here (enable/disable or add/remove authorised users) can take up to 60 seconds to be live.
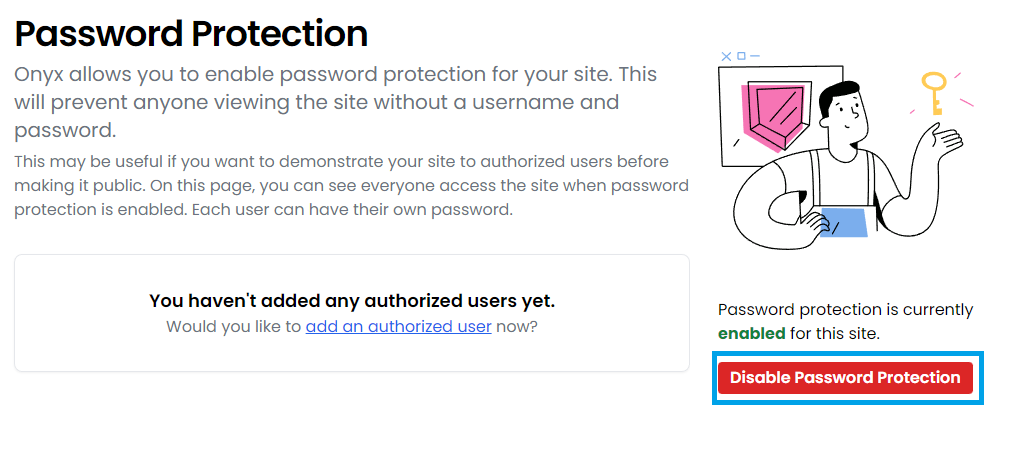
Enable & disable password protection
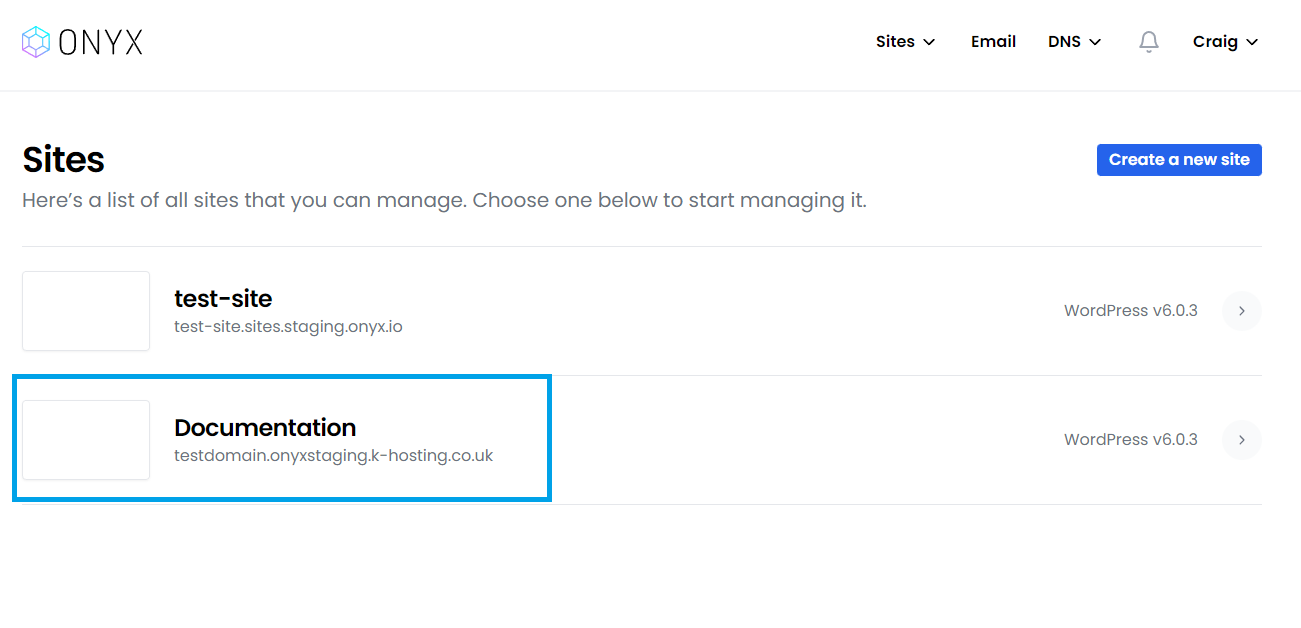
- You'll need to start by logging in to your Onyx dashboard.
- From your Onyx dashboard, click the the site you'd like to access.
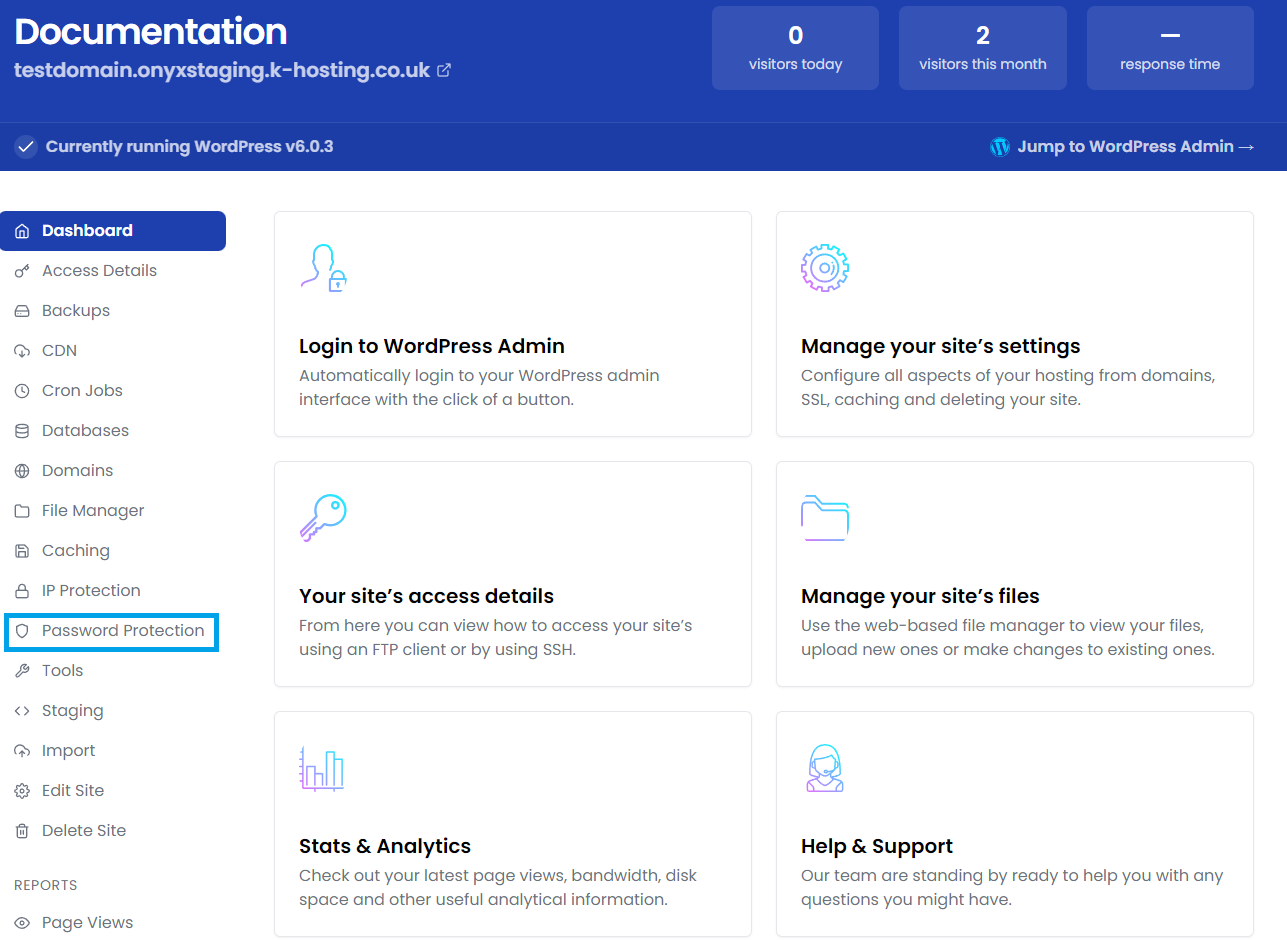
- On the left hand menu, select Password Protection.
- Click the Enable Password Protection button.
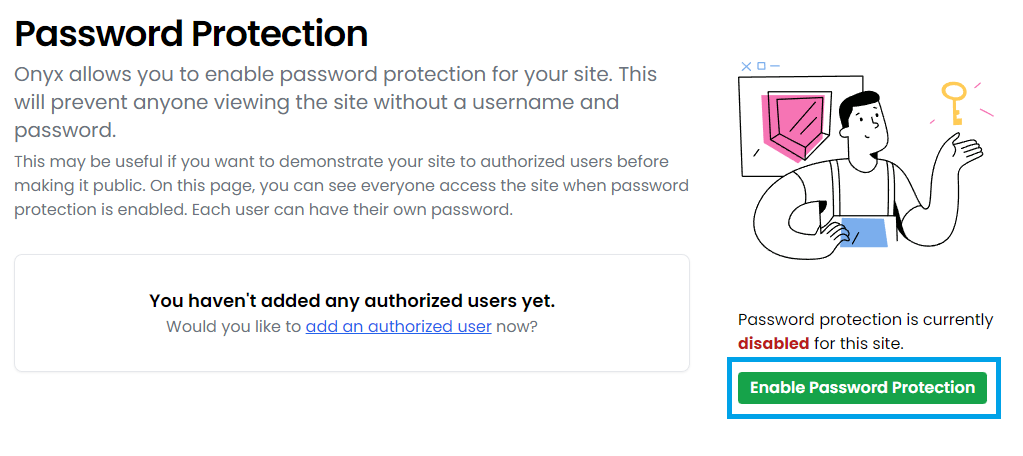
Once enabled this button will change to Disable Password Protection. This can be clicked to remove the password protection.
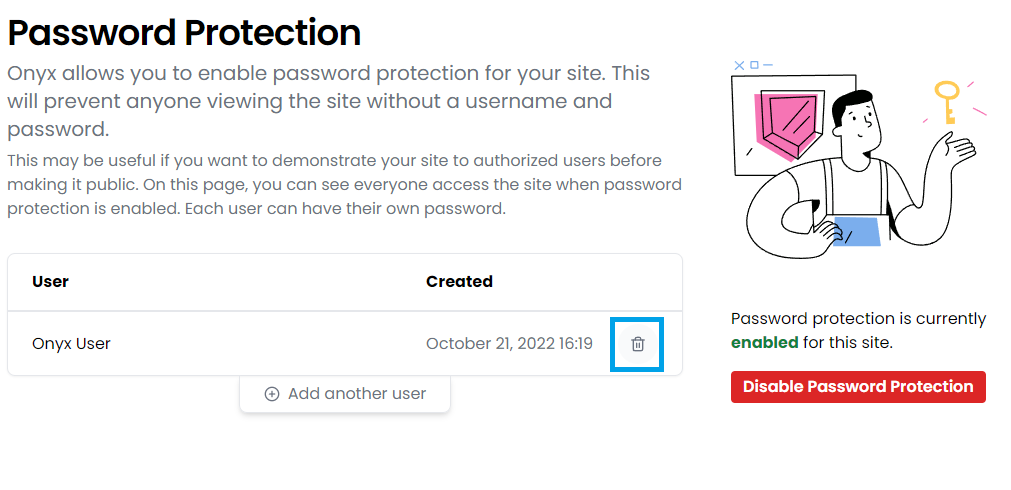
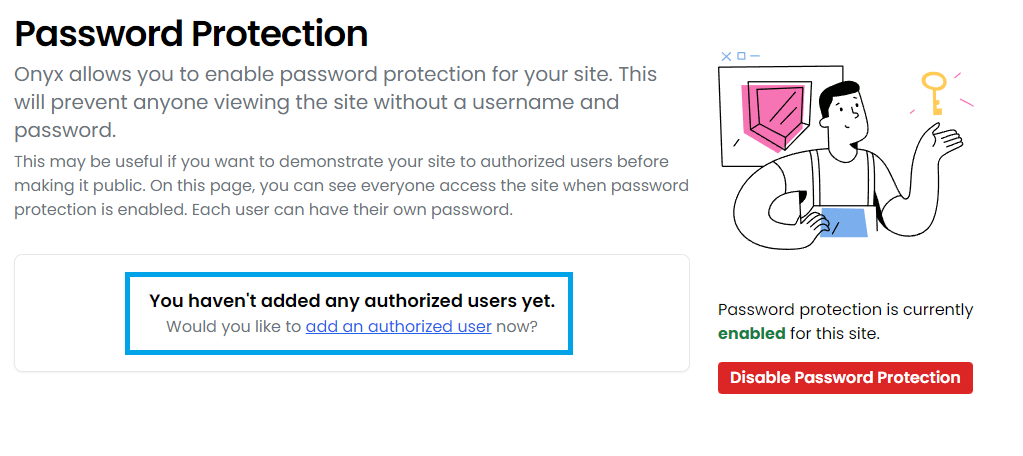
Create an authorised user
- Click the add an authorized user button.
- Enter a username and secure password and click the Create button.

Remove an authorised user
- Click the remove button next to the user you'd like to remove.