Managing DNS for Standalone Domains (Not cPanel hosted)

Access the DNS Manager
Log in to your Client Area.
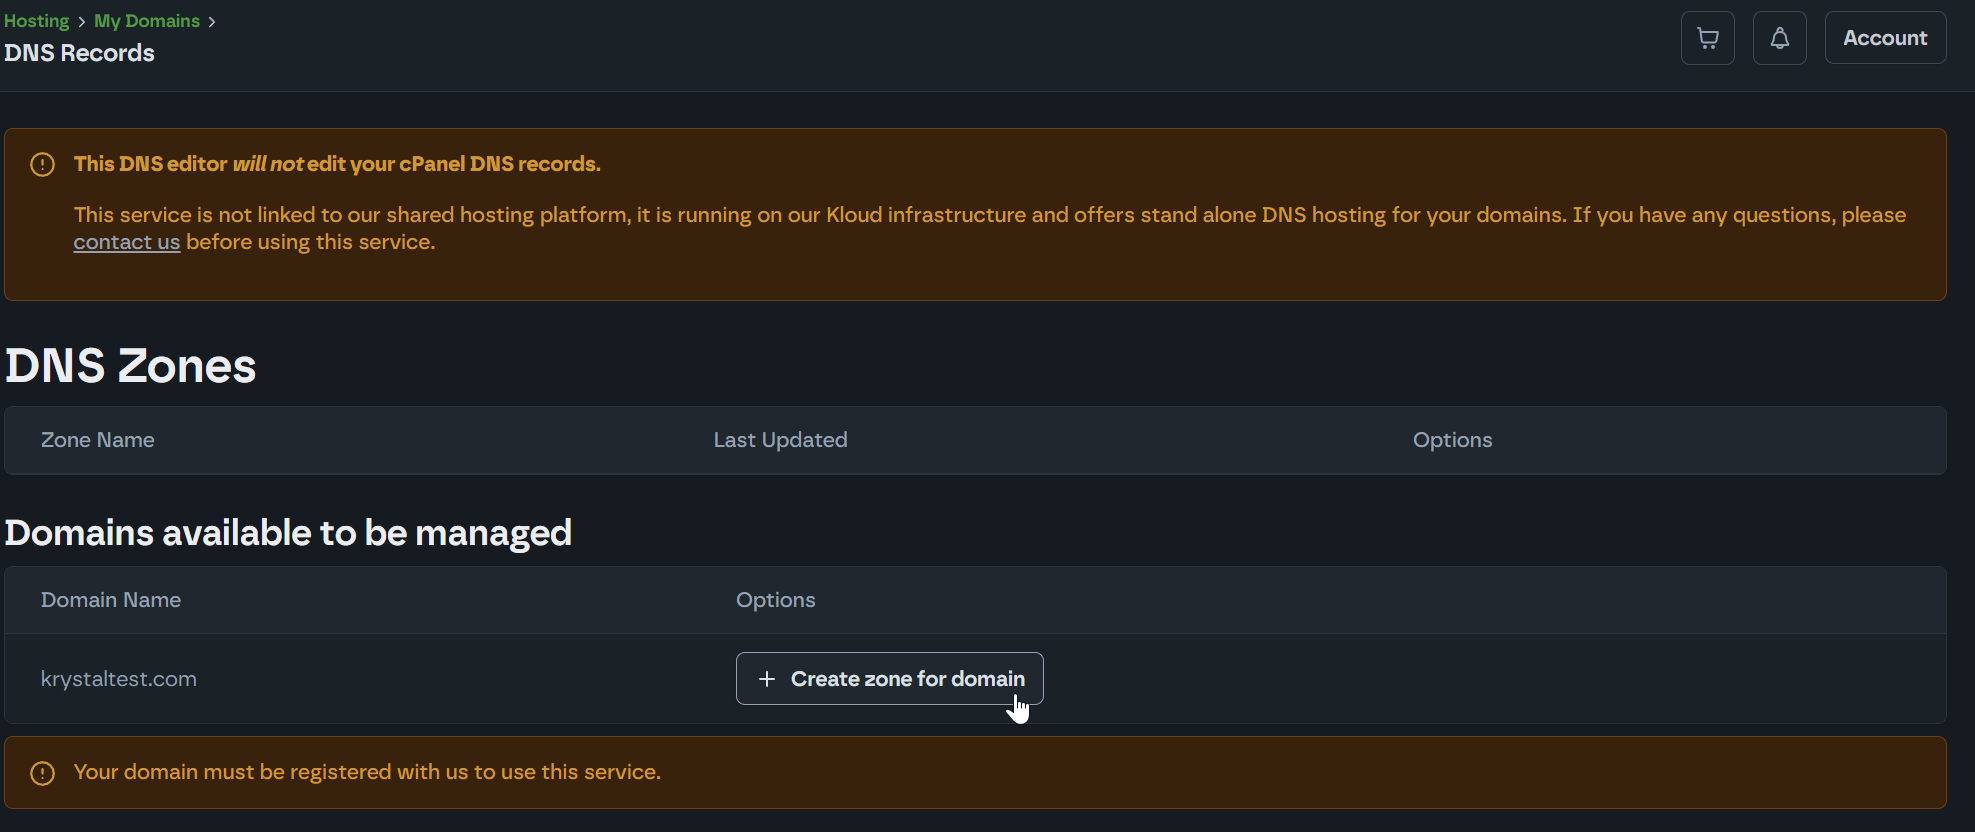
Click on the "DNS Records" in the left hand navigation sidebar.
If you see “domain is not yet setup for DNS,” click Create zone for domain.
Point Your Domain to Our Nameservers
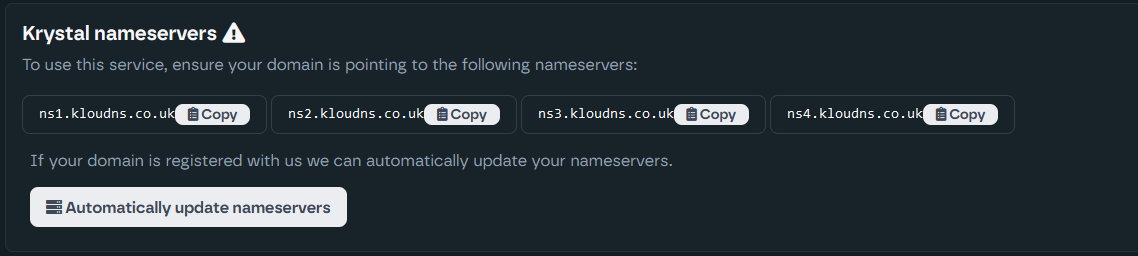
In your domain registrar’s settings, change the nameservers to:
- ns1.kloudns.co.uk
- ns2.kloudns.co.uk
- ns3.kloudns.co.uk
- ns4.kloudns.co.uk
If your domain is registered with us, click Automatically update nameservers to do this instantly.
Add or Edit DNS Records
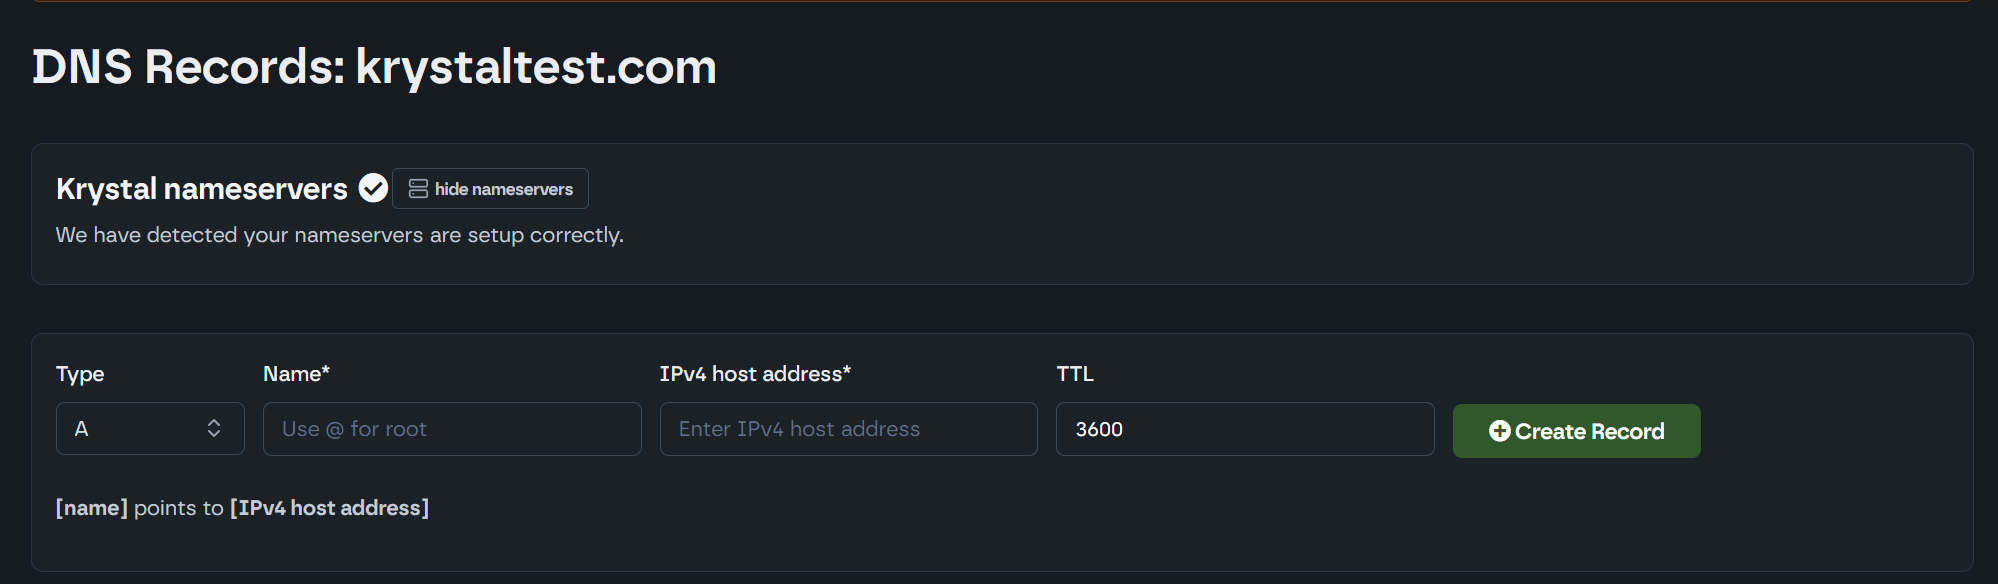
In the DNS manager, click Create Record to add a new entry.
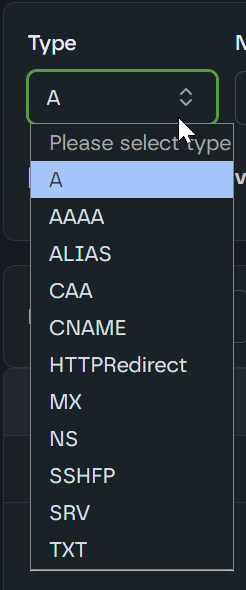
Choose a Type (A, CNAME, MX, etc.).
Enter the Name (often “@” for the root domain) and the Hostname or IP address you want to point to.
Adjust Priority for MX records and TTL as needed.
Save each record.
Common Record Types
A Record: Points a name (e.g., @) to an IPv4 address.
CNAME: Aliases one domain to another (e.g., www → your root domain).
MX: Routes email to your mail server (e.g., mx1.krystal.uk).
TXT: Stores text-based data (e.g., SPF or verification entries)
Verify Changes
Once added, DNS changes should become active after a short propagation period.
Use these steps anytime you need to edit or create DNS records in the Client Area.