Restoring a Wordpress Website

Restoring your WordPress website by restoring the files and database separately is often preferable to performing a full account restore because it allows for greater control and precision. A full account restore replaces everything—emails, other subdomains, or applications—potentially undoing changes unrelated to the WordPress site. By restoring only the necessary components, you avoid overwriting other important data and ensure that only the WordPress site is affected.
To restore your WordPress site using JetBackup 5 in cPanel, follow these steps:
- Login to cPanel.
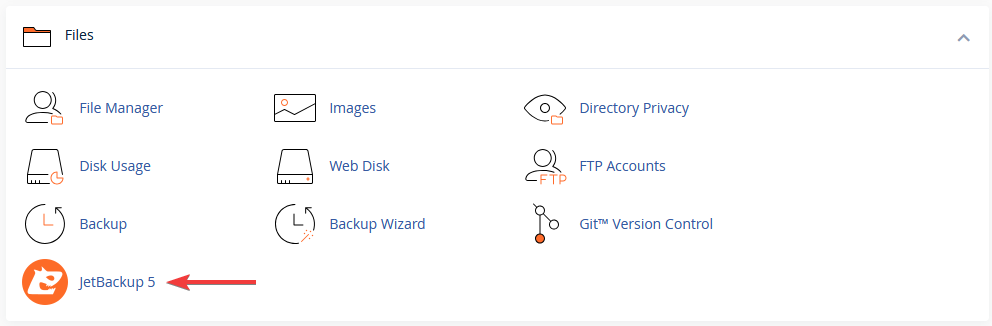
- Navigate to JetBackup 5. Look for the "JetBackup 5" section in your cPanel dashboard.
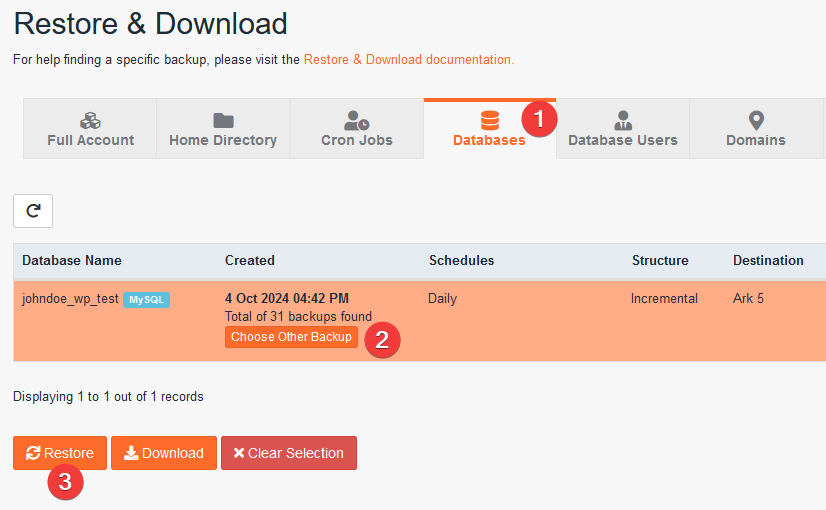
- Restore Database:
- Select "Databases"
- Find the backup of your WordPress database (review the wp-config.php file if you are unsure).
- To choose a different date click the "Choose Other Backup" button and select from the drop down
- Once selected, Click "Restore" at the bottom to begin the restoration process. (You can also download to save locally by using the Download button)
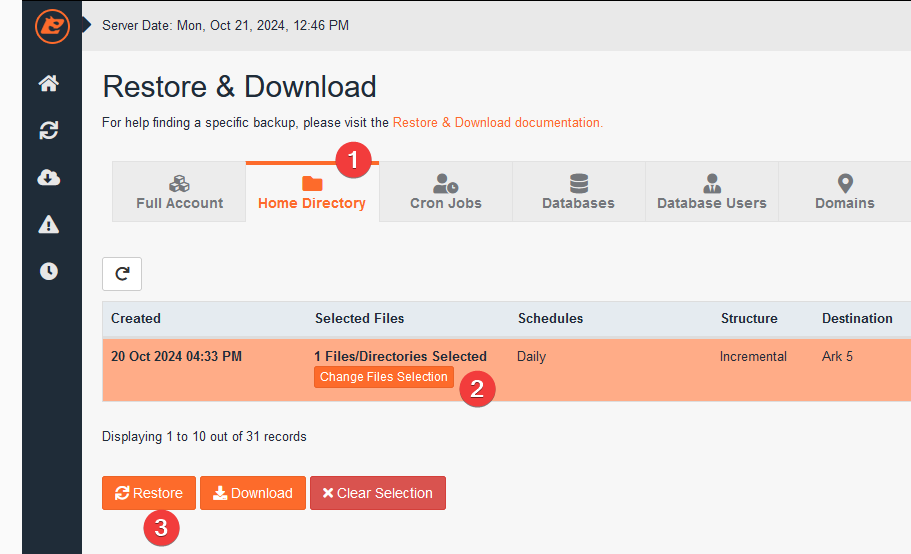
- Restore Home Directory:
- Go back to the JetBackup 5 main page and choose "Home Directory"
- Select the date you wish to restore the files from and click "Change Files Selection"
- (Click a folder name to enter the folder or tick the box next to the folder to restore the folder and its contents)
- Browse for your WordPress installation directory and tick the box next to the folder (usually
/public_html/). - Once you have ticked the files/folders. click "Select Files" and then click "Restore" at the bottom.
- Check Your Site: Use the Queue section of JetBackup to review the status of your restore. Once restored, ensure the site is functioning as expected.
By restoring the database and files separately, you maintain control over what gets restored and reduce the risk of disrupting unrelated services.